The following photos are supported with a short explanation of the whole process of making 3d mold/Inflatable.
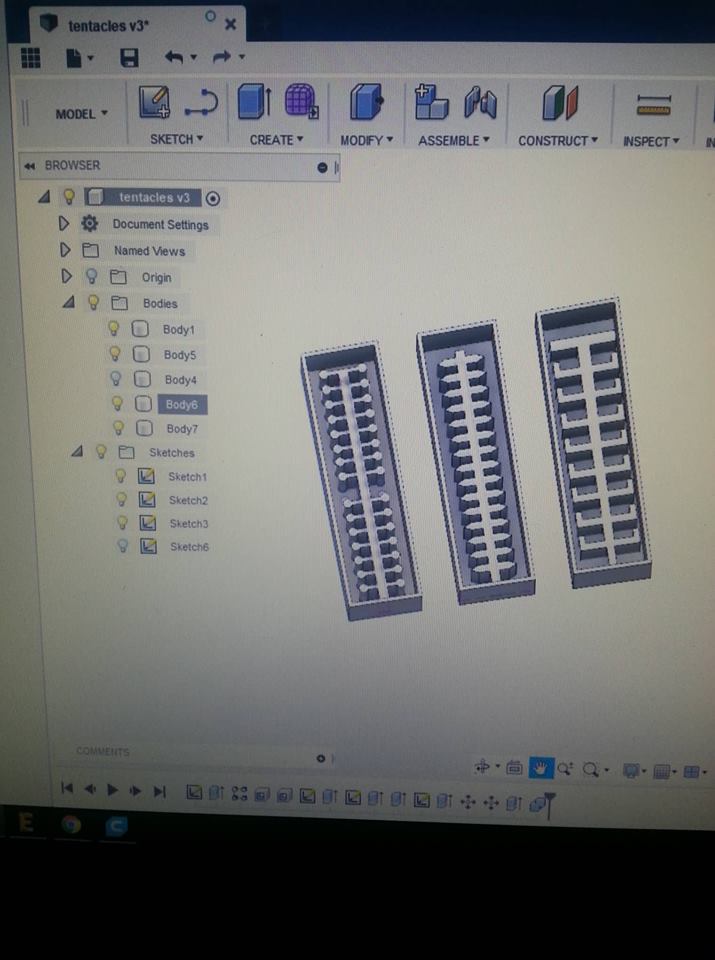
You have to make your mold shape on Fusion 360 or any other 3d modeling Software.
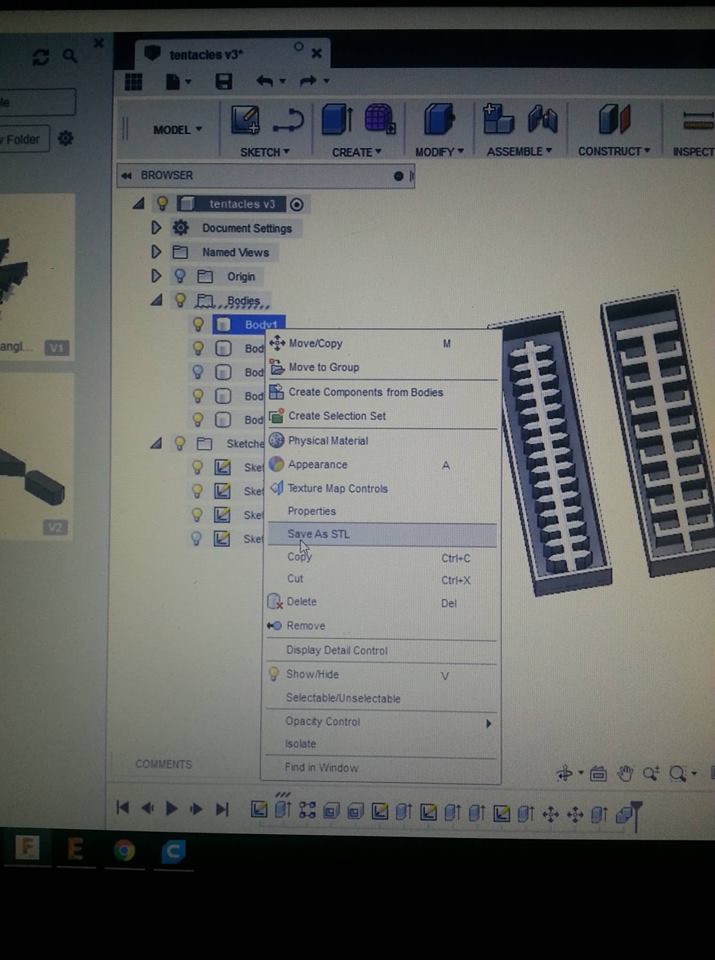
After you have created each component you need to save each body as STL file.
Right click on each body and Save as STL.
We save the files as STL because this is the format Cura reads.
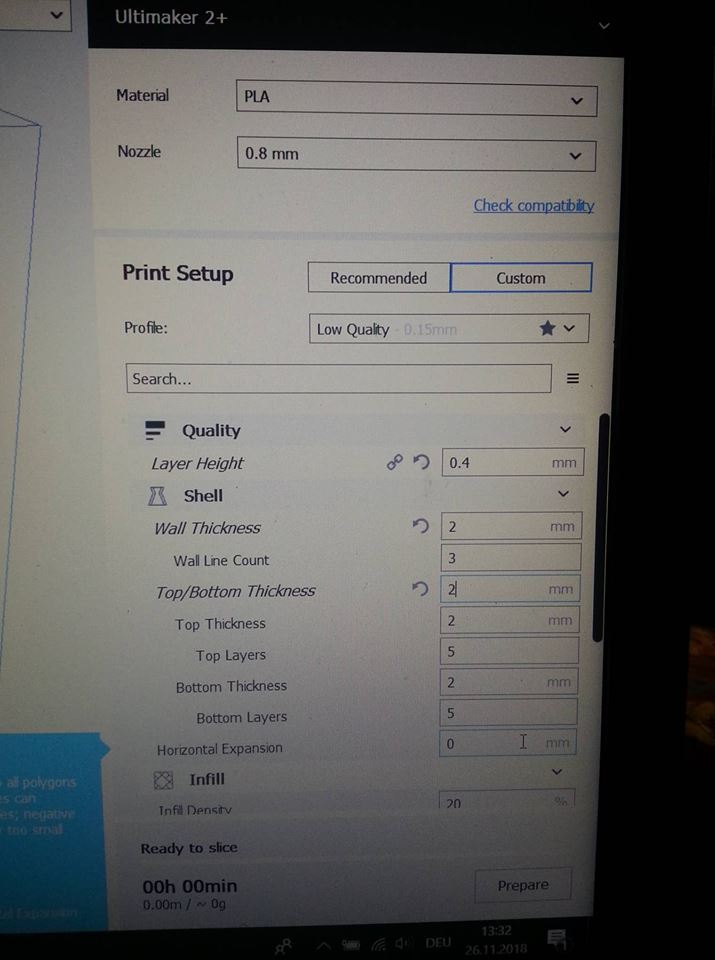
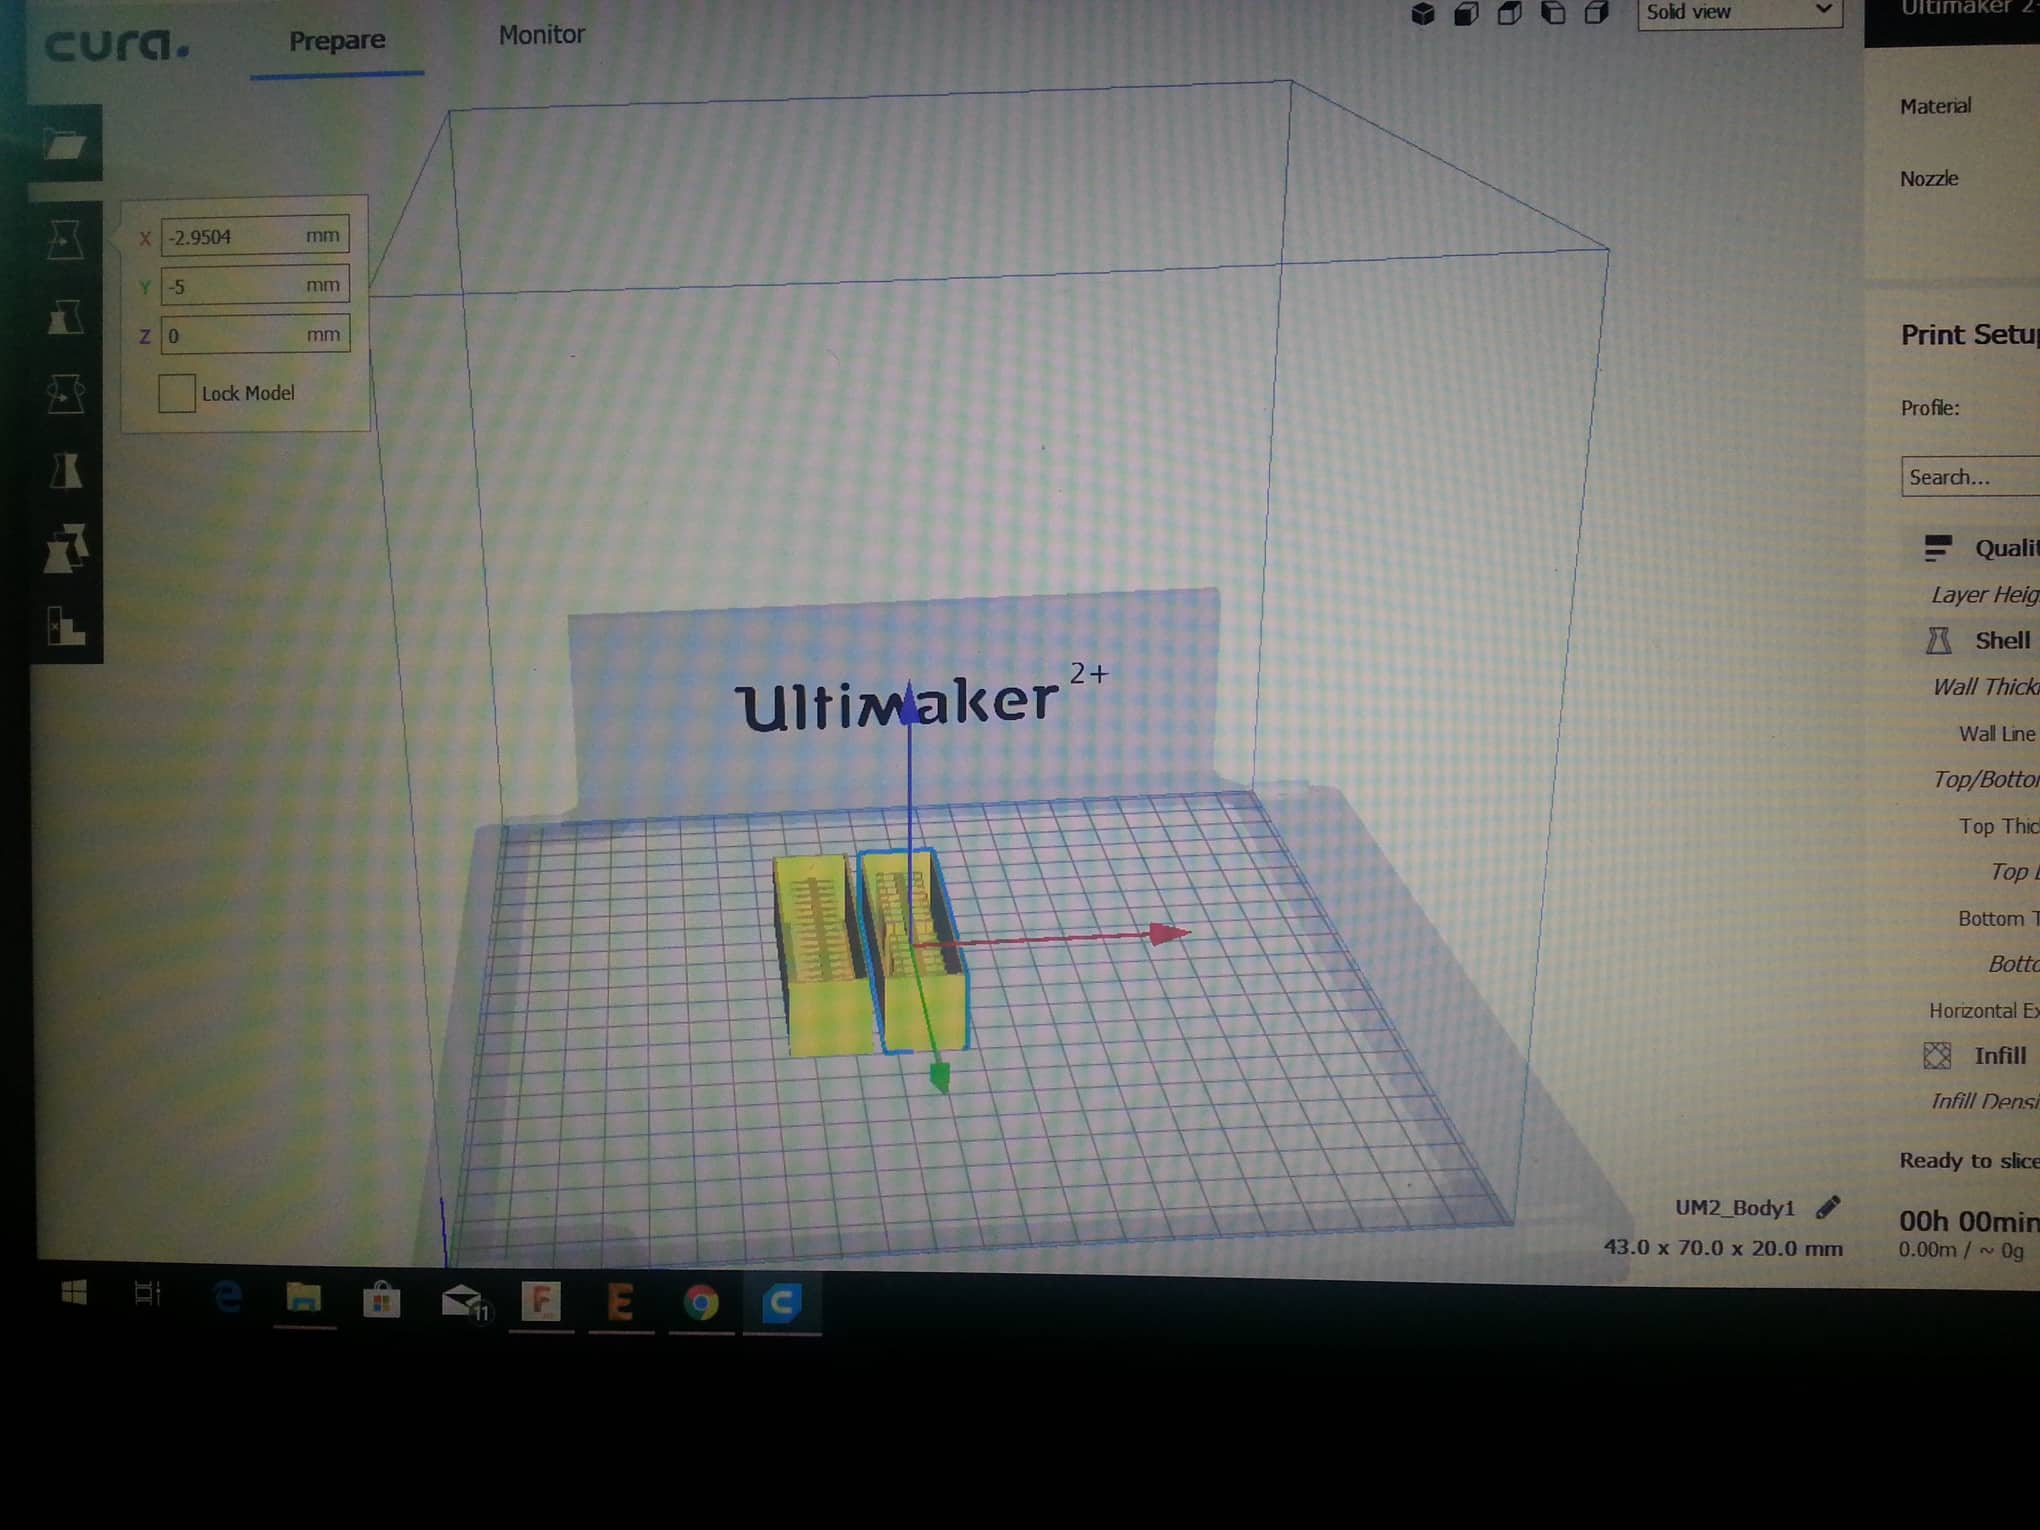
Cura is the program for the 3d printer. You should first choose the
3d printer you have. Then you can place the STL files. You can put
as many as you can gather on the plate, of course it is good to
leave a good size frame around them, for the ease of the pattern.
Another step you need to make sure is done is to place the flat on the plate.
This is more or less, how the setting look like for 0.8 nozzle.
Of course, this is this is not as precise as it can go.
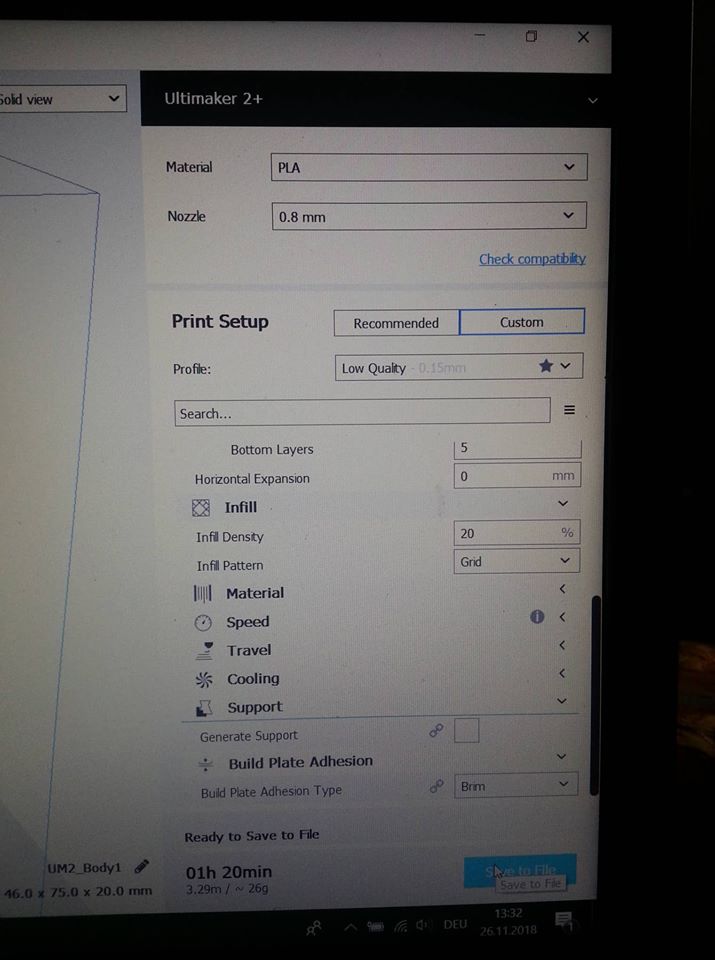
3d prints can be very smooth, filled or empty.
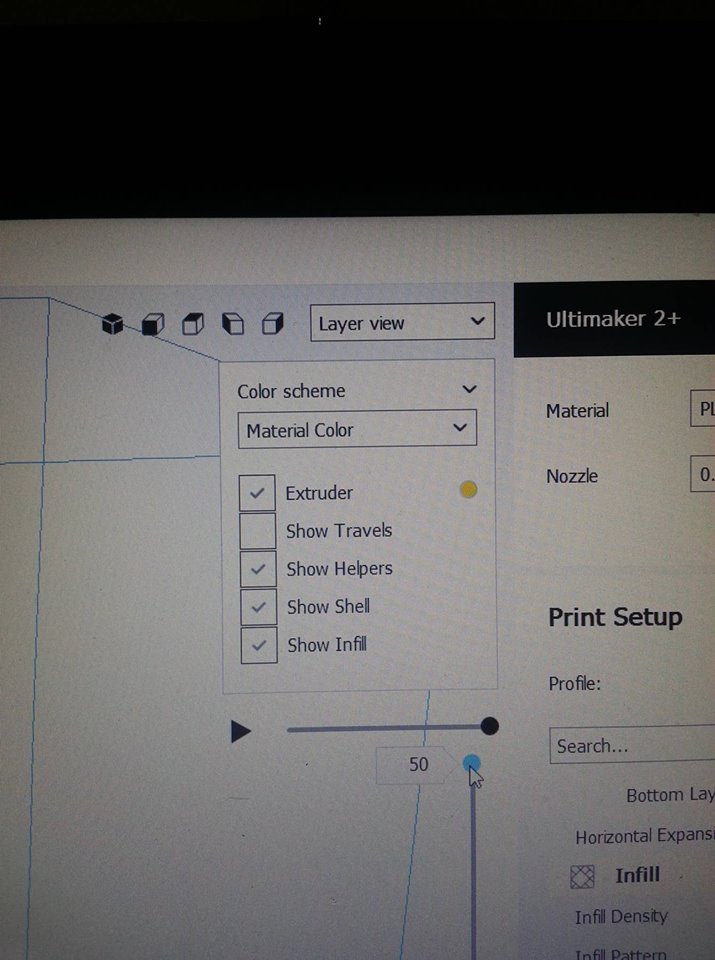
If you choose Layer View you can see layer by layer how the printer would proceed.
Good Luck and Have Fun!
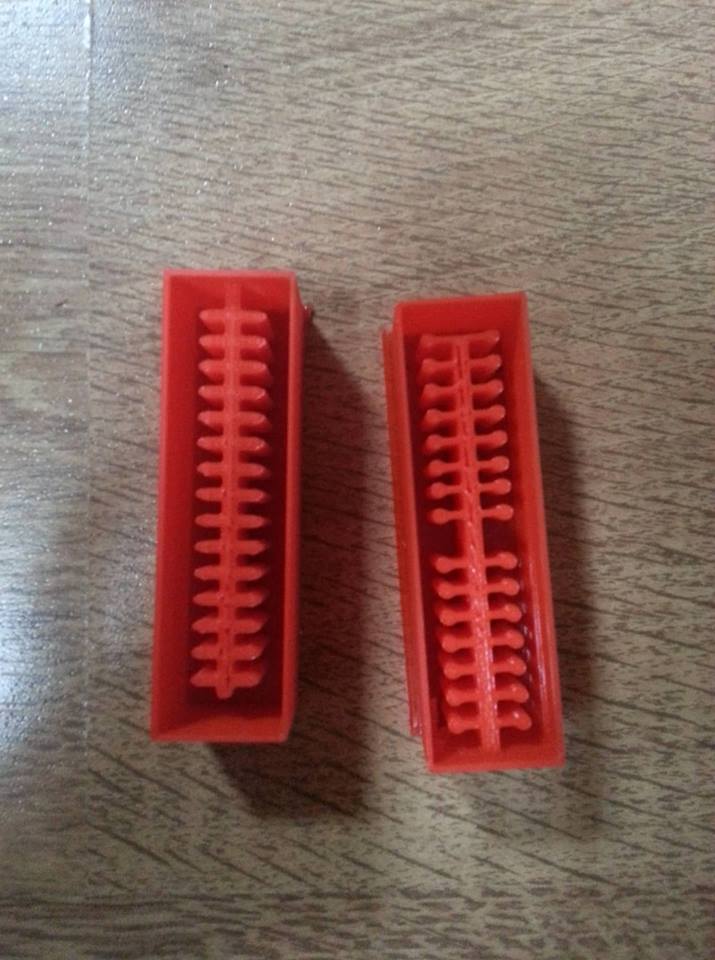
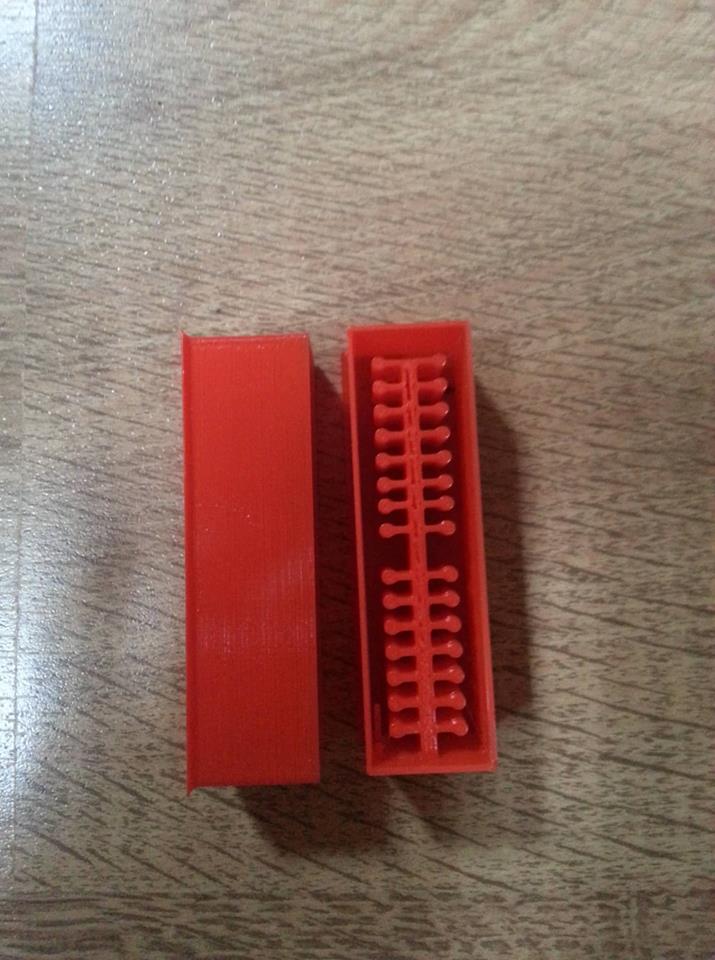
The molds are printed. Now we have to proceed with the Ecoflex 00-30
We worked with Eco-flex 30 and 50. 30 is softer and respectively 50 is harder.
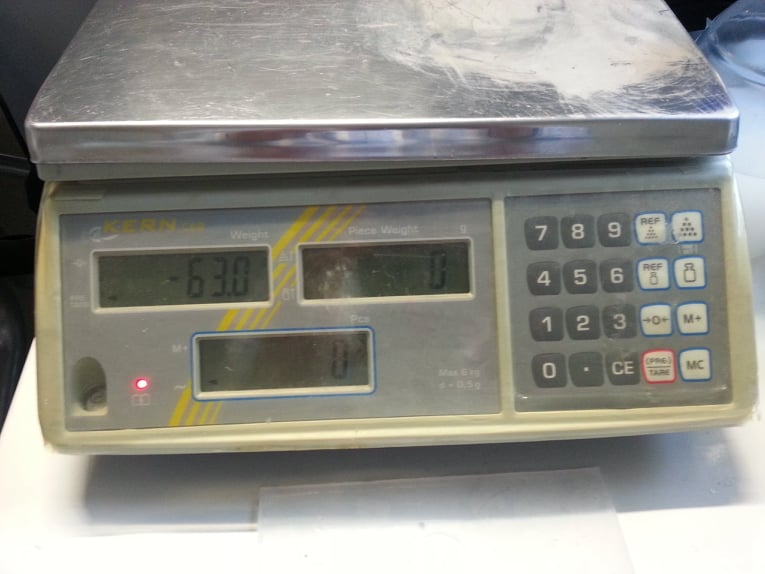
Most important part in mixing the rubber is to use equal quantities from part A
and part B. You should use a scale to weight everything precise.
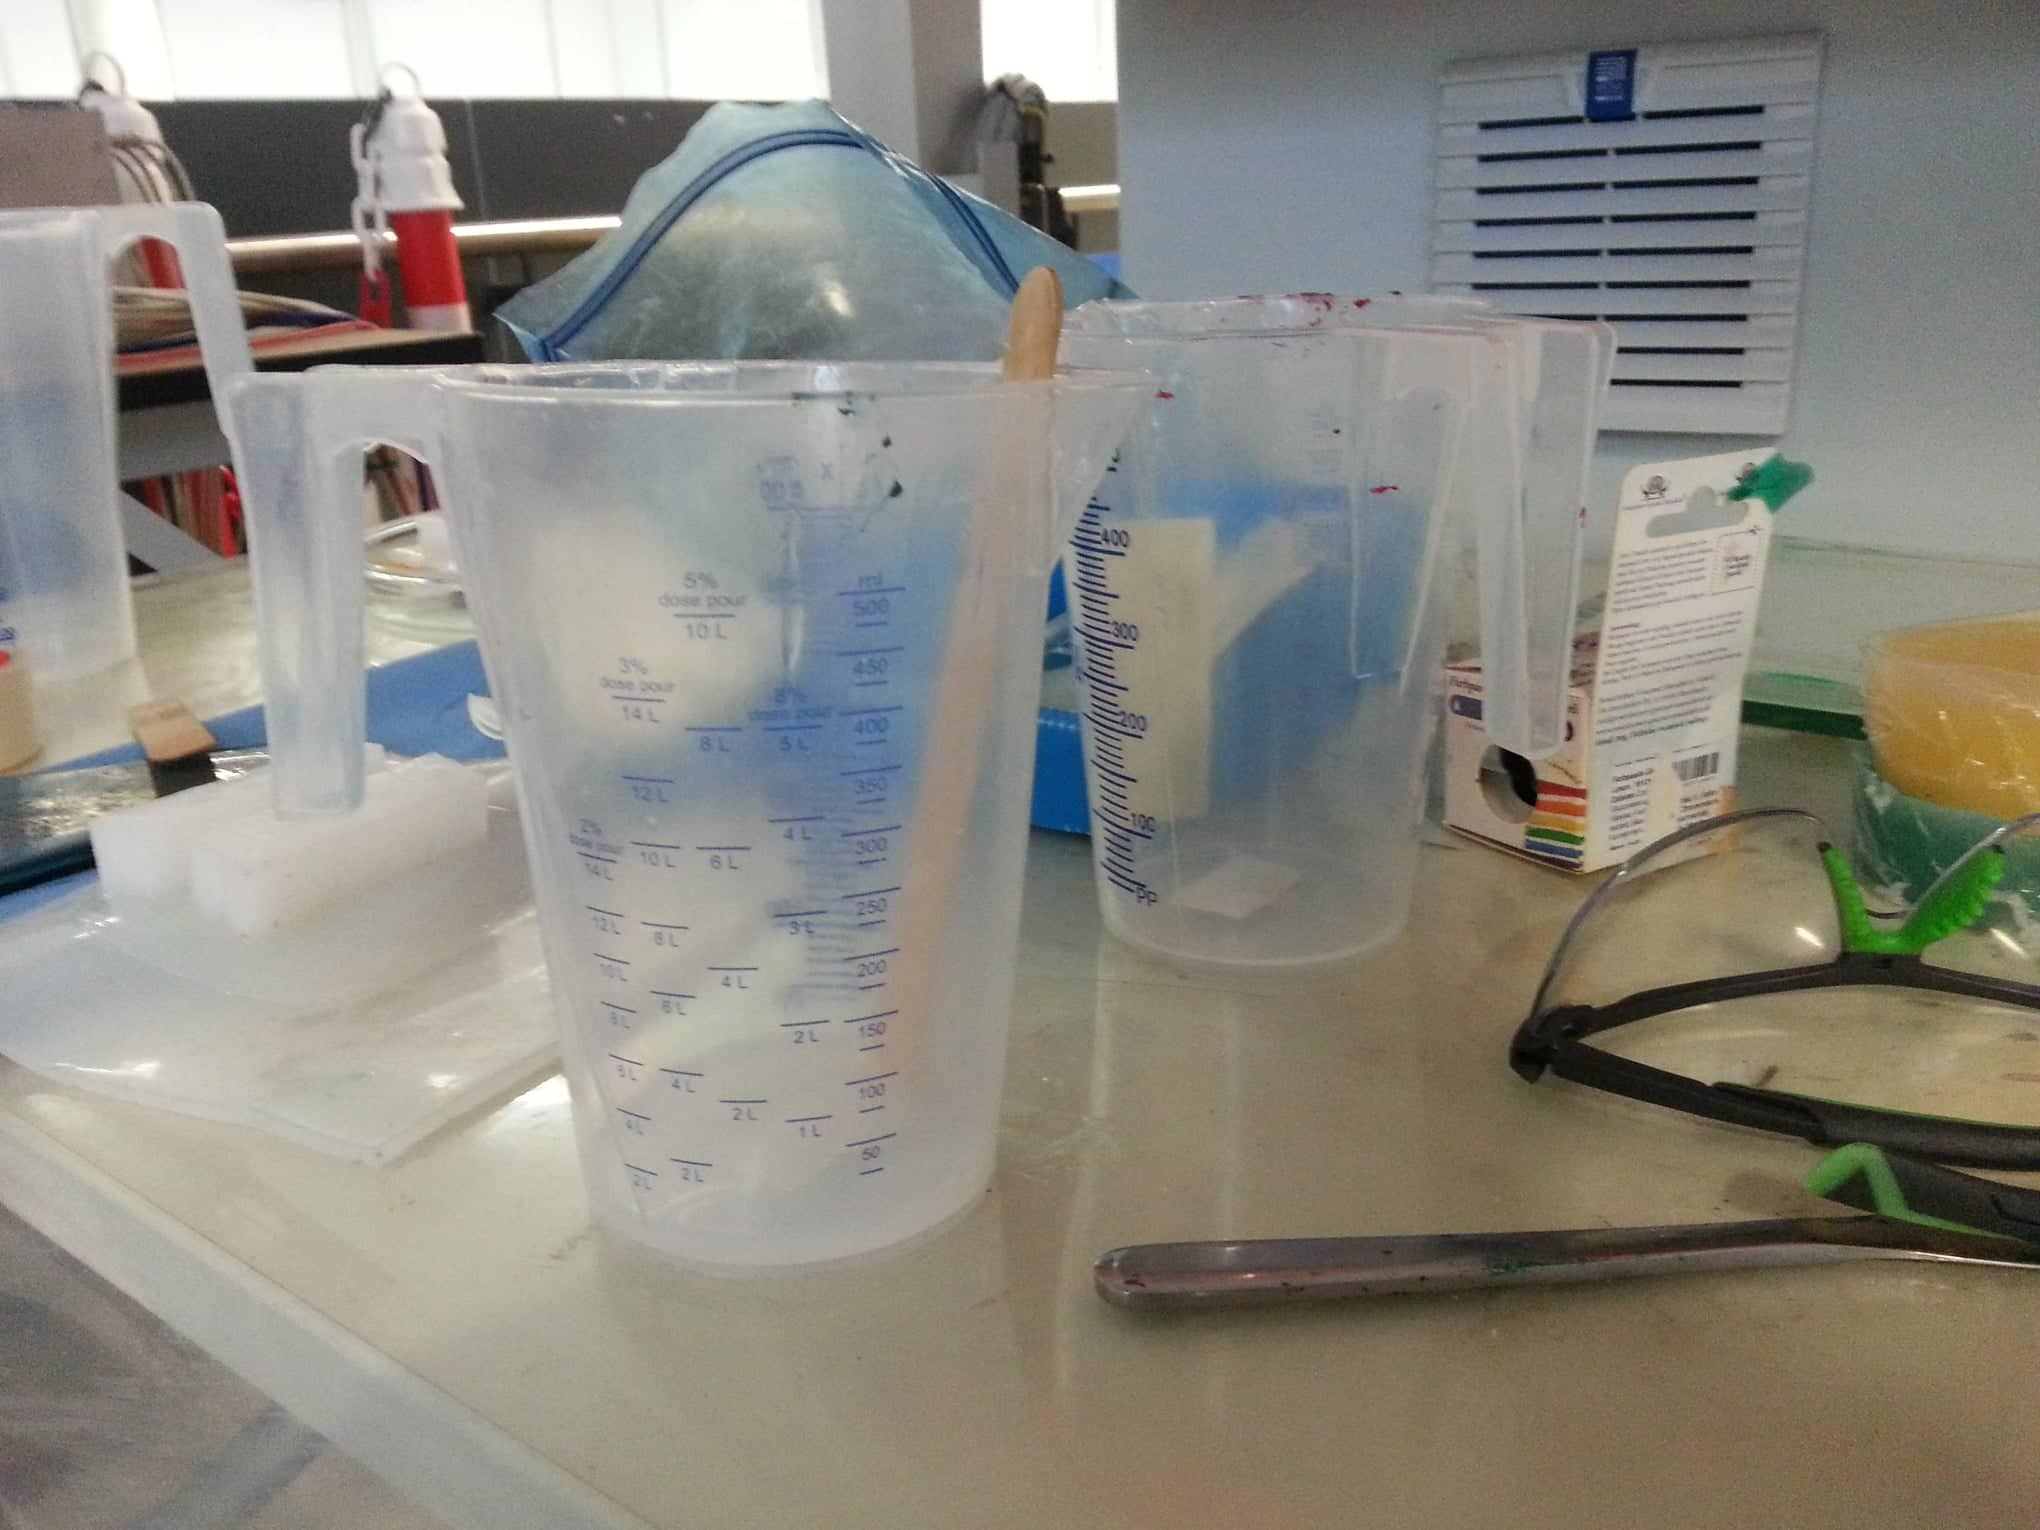
You can use any container that comes in mind for mixing the two parts.
The important thing is to never use these containers for food or cooking.
When the mixture is ready you have to spray on the 3d shapes with silicone spray!
If you do not do this, then the rubber will brake while you are trying to take it
out of the shape. And then the shape is not usable anymore as there will be rubber
left in.
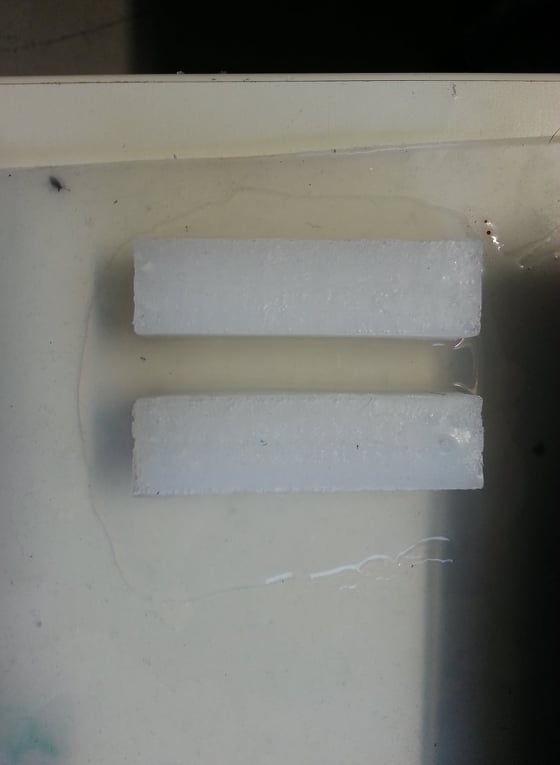
After you pour the mixed rubber solution on your 3d printed shape, you will
have to wait until it has fully catalysed and tightened. When this is done
you can take the rubber shape out of the 3d mold.
When you take the rubber shape out of the 3d shape the part that was facing down
will have the opening for the air path. We have to close this face of the rubber
shape, just so the air can float in the shape. You do this by mixing a little
portion of the rubber parts and puring it onto a plate. Then you put you rubber
shapes facing with the opened side down to the plate. And then ofcourse you have
to wait until this has catalyzed too. Then you carefully cut out the shapes out of
the rubber plate and you can go ahead and try how they have worked out.
FabLab Kamp-Lintfort, Ms. Adriana Cabrera, Soft Prototyping
‹ ›