The following photos are supported with a short explanation of the whole process of making Inflatables.
On this image are shown the first steps of creating the base of the Inflatable.
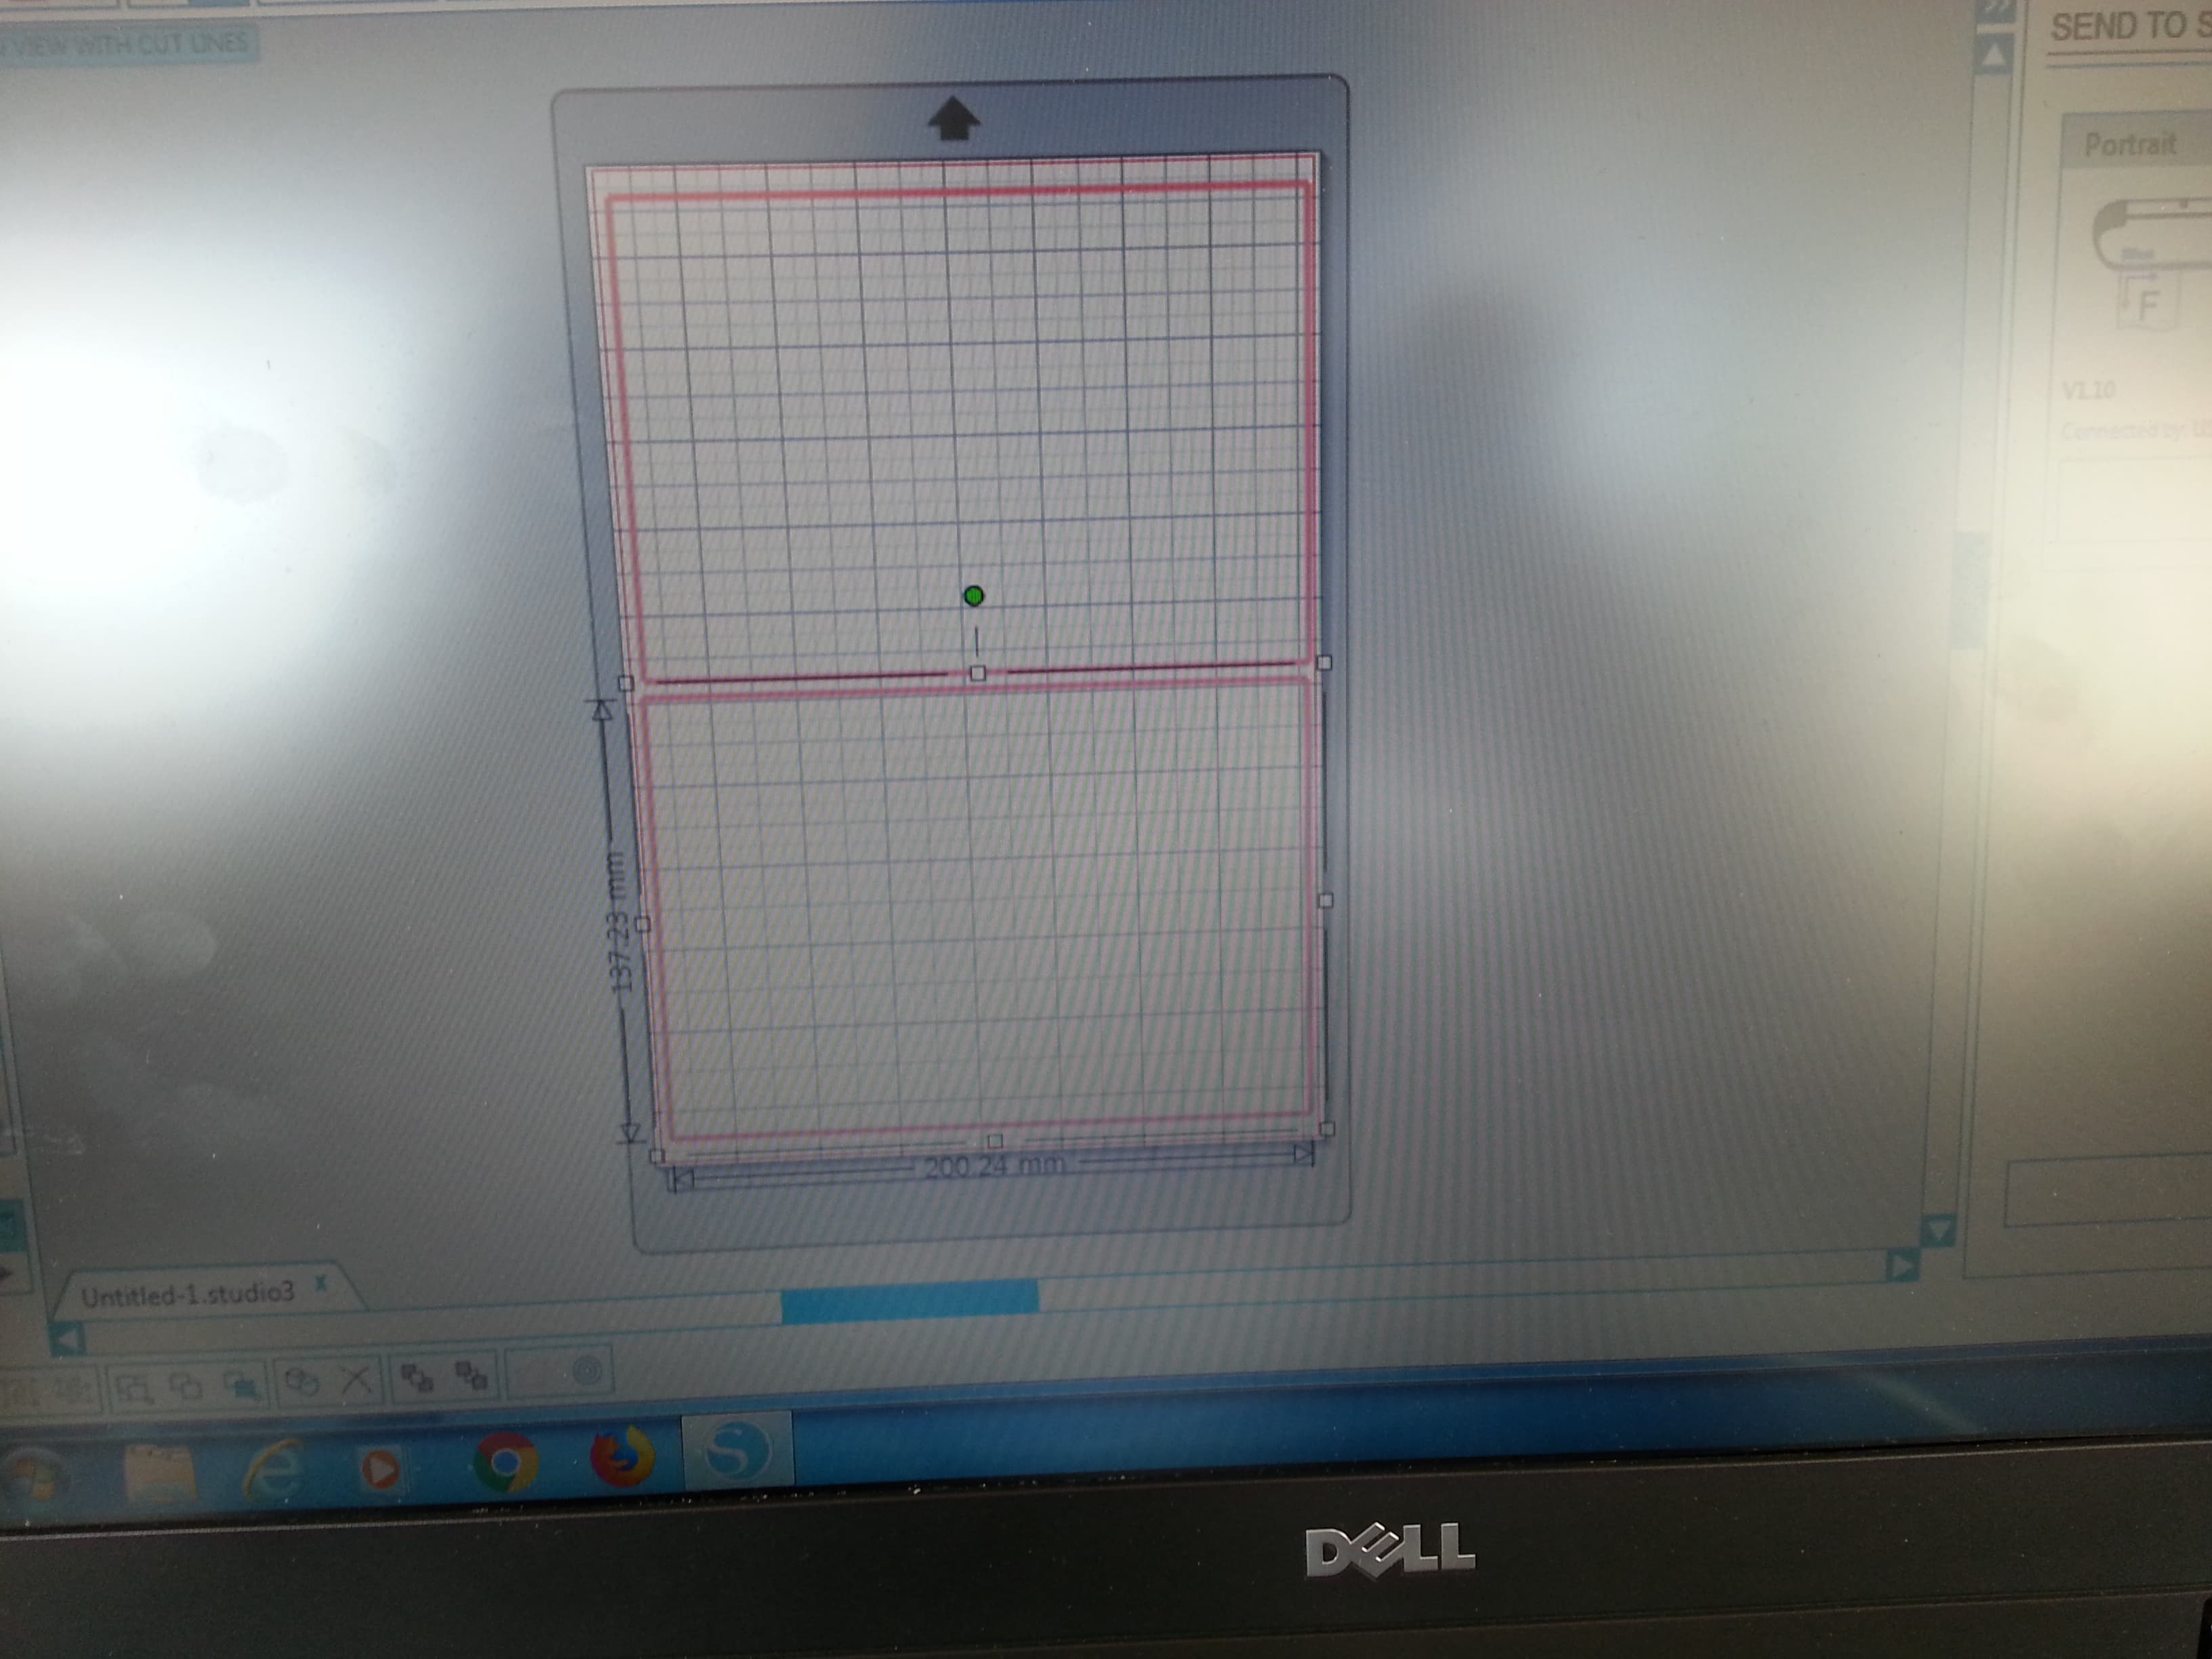
The very first step is to create a graphic which then will be cut on a backing paper.
The baking paper signifies the parts of the Inflatable in which air will go in.
The graphic can be created on illustrator or on Silhouette, which is the program
for the machine as well. So if there is a very basic geometrical shape, which does
not need a lot of precision, it can be quicker done on Silhouette, as shown on the
photo.
When the shape, in which air should come in, is created we can proceed to
cut that shape on backing paper sheet usng Silhouette. The size of the parchment
paper should be maximum A4. When making the graphic for the backing paper it is
important to not use the whole space, because when we create the graphic for the
vinyl (explained later) we need to put a set off with a few mm.
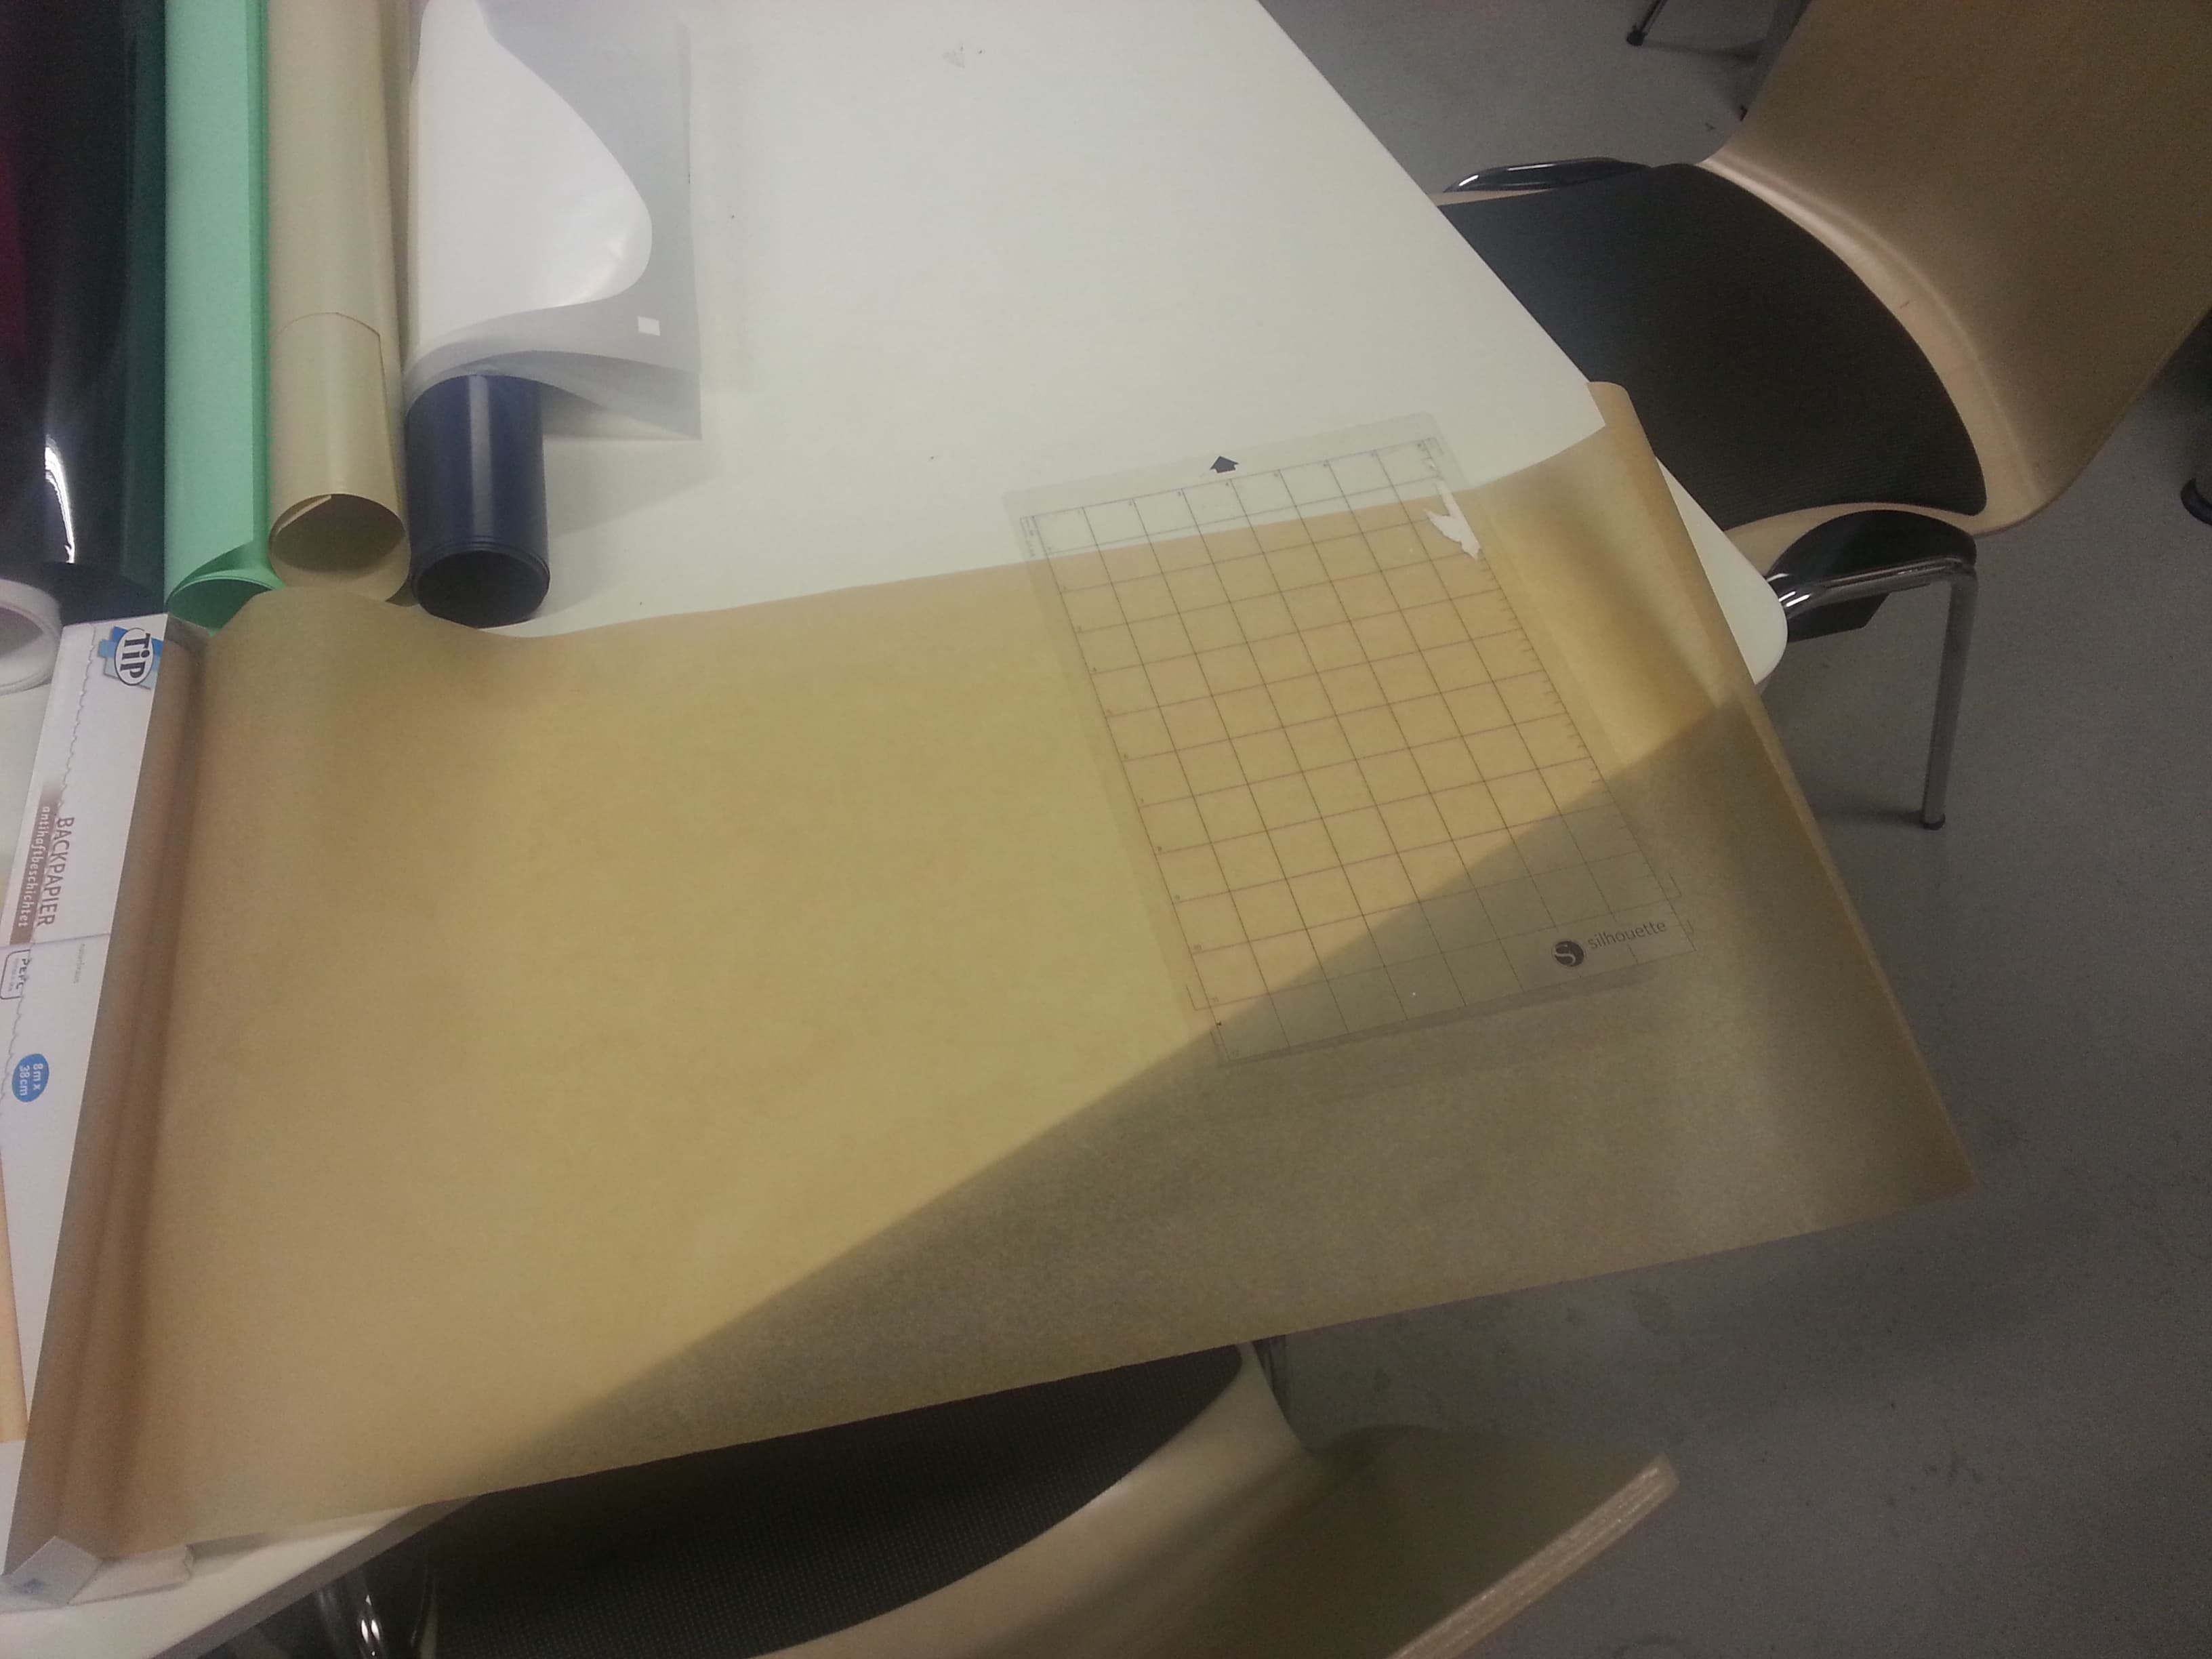
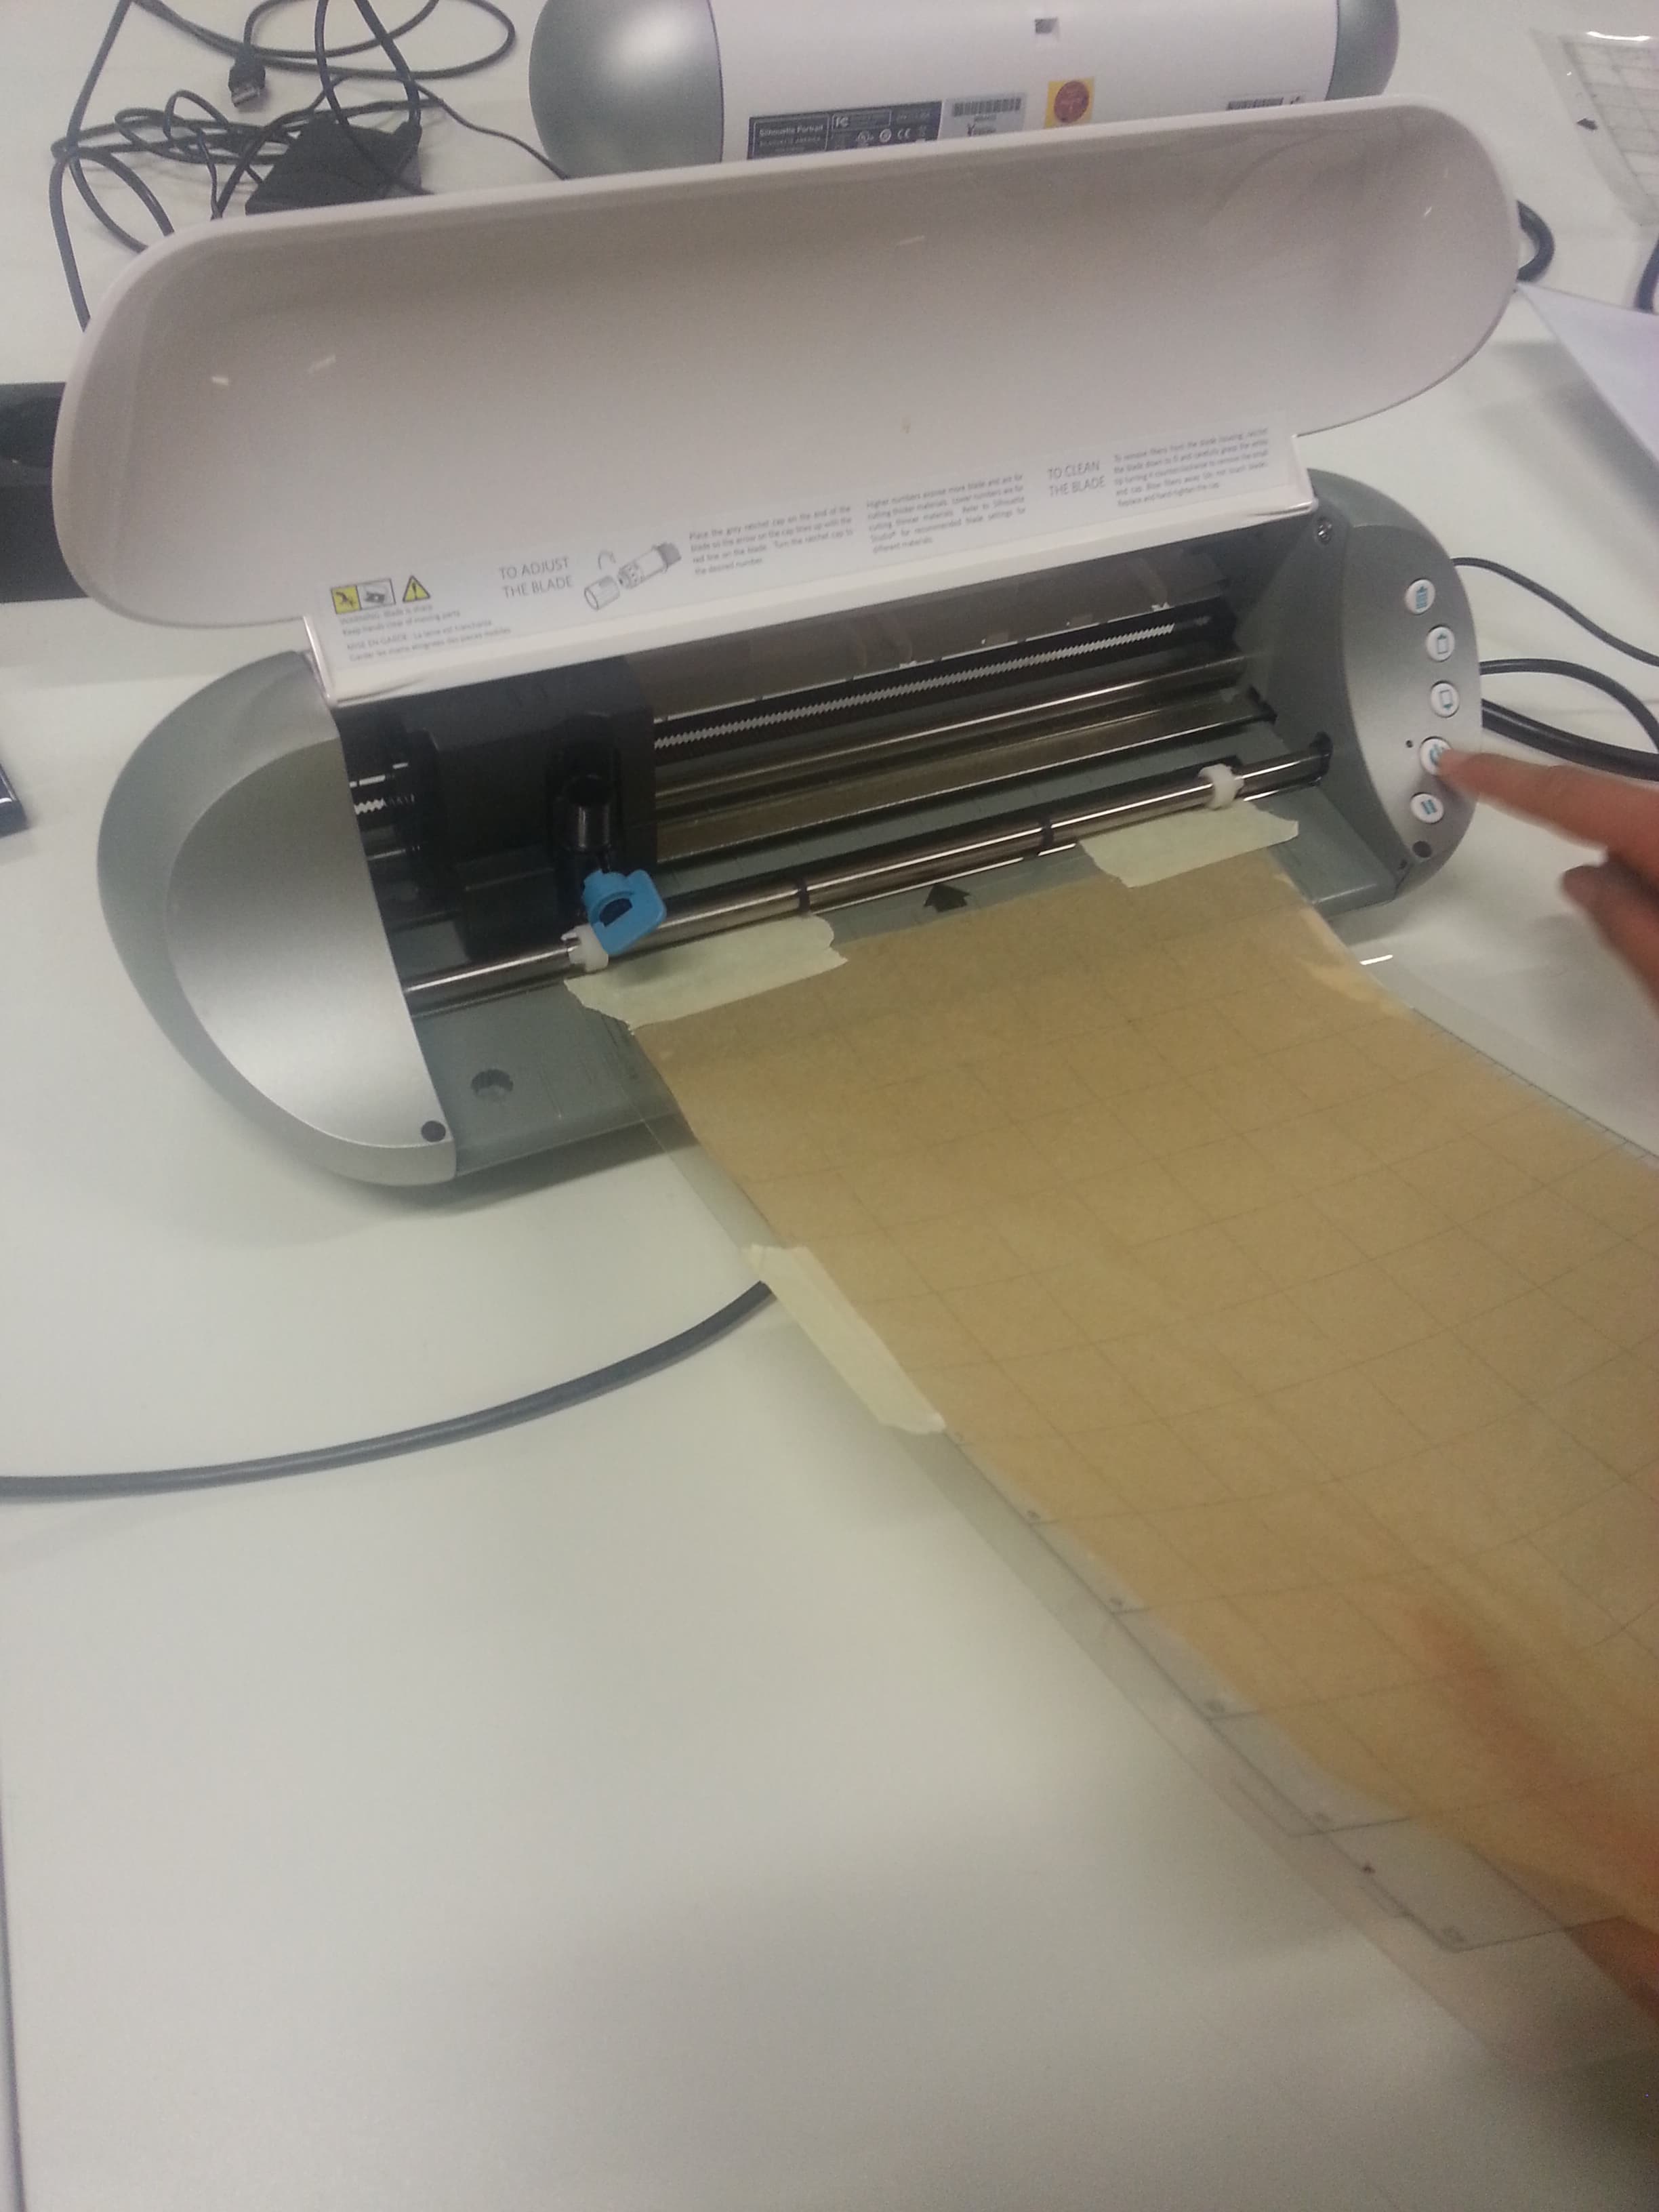
Cut the backing paper in A4 and stick it to the plastic plate of Silhouette.
Use paper tape as it is the easiest and cleanest to remove afterwards.
Now you are ready to turn on the Silhouette!
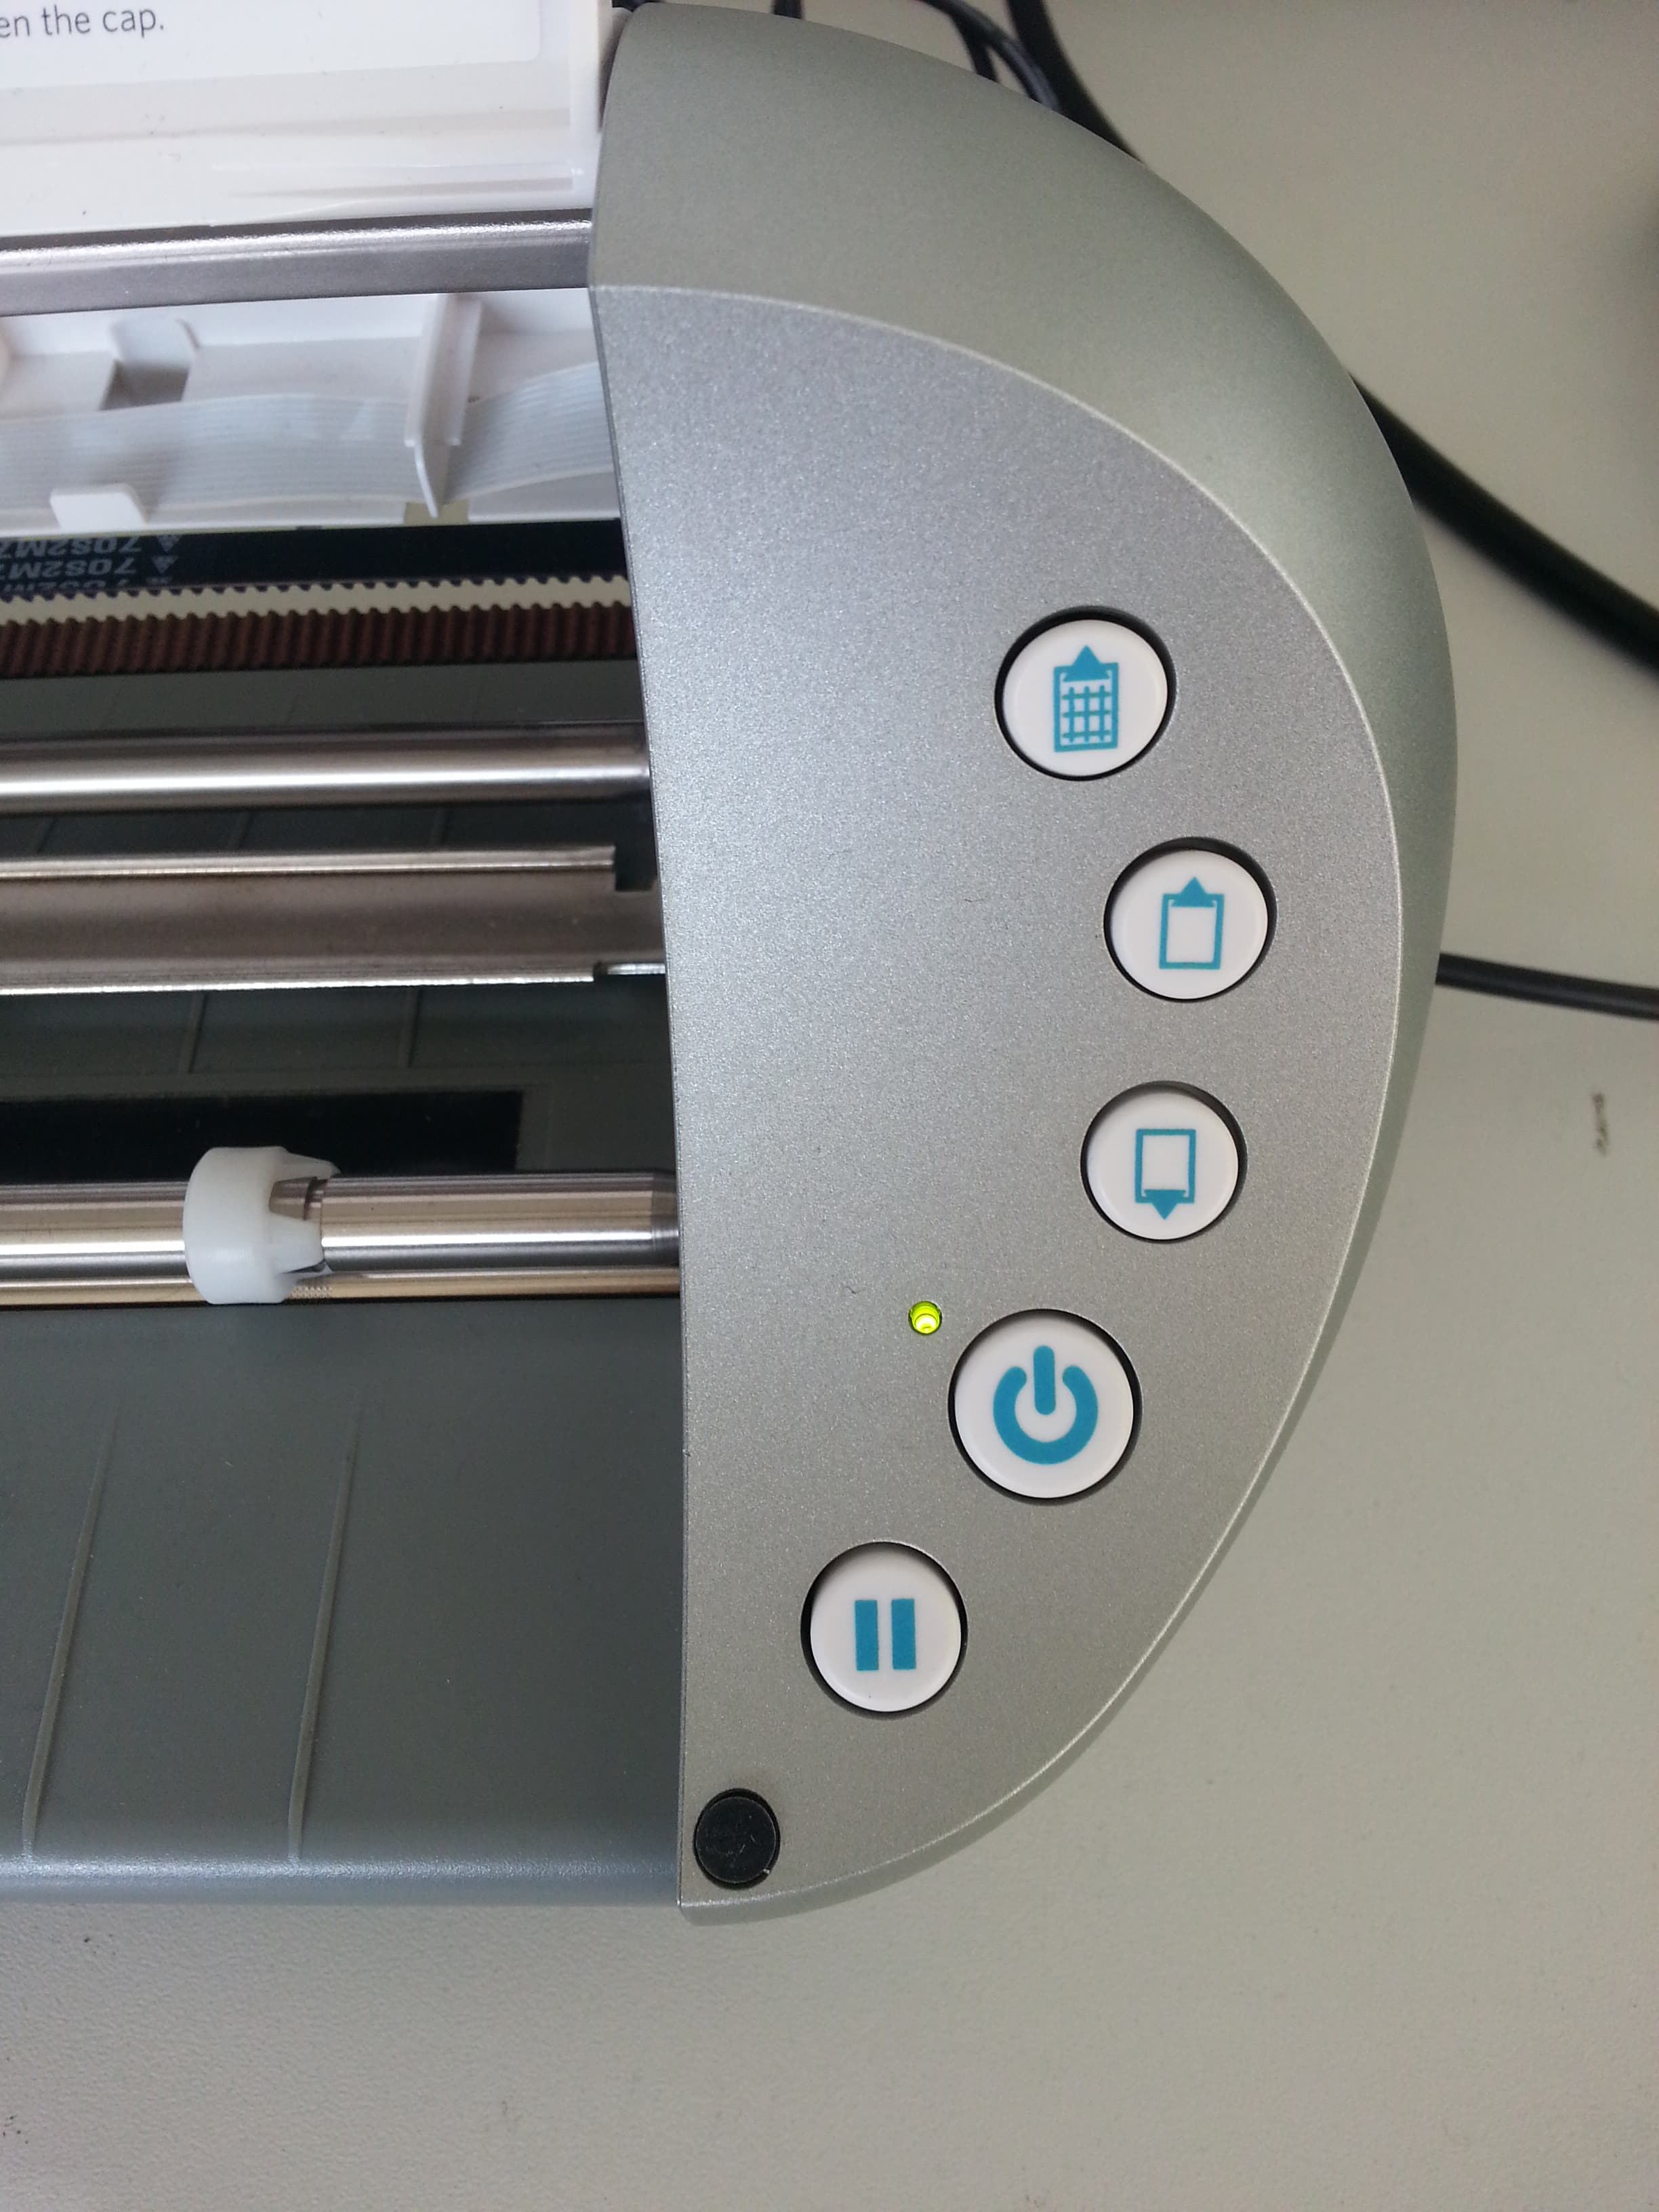
Well, now go ahead and press the ON button on the machine!
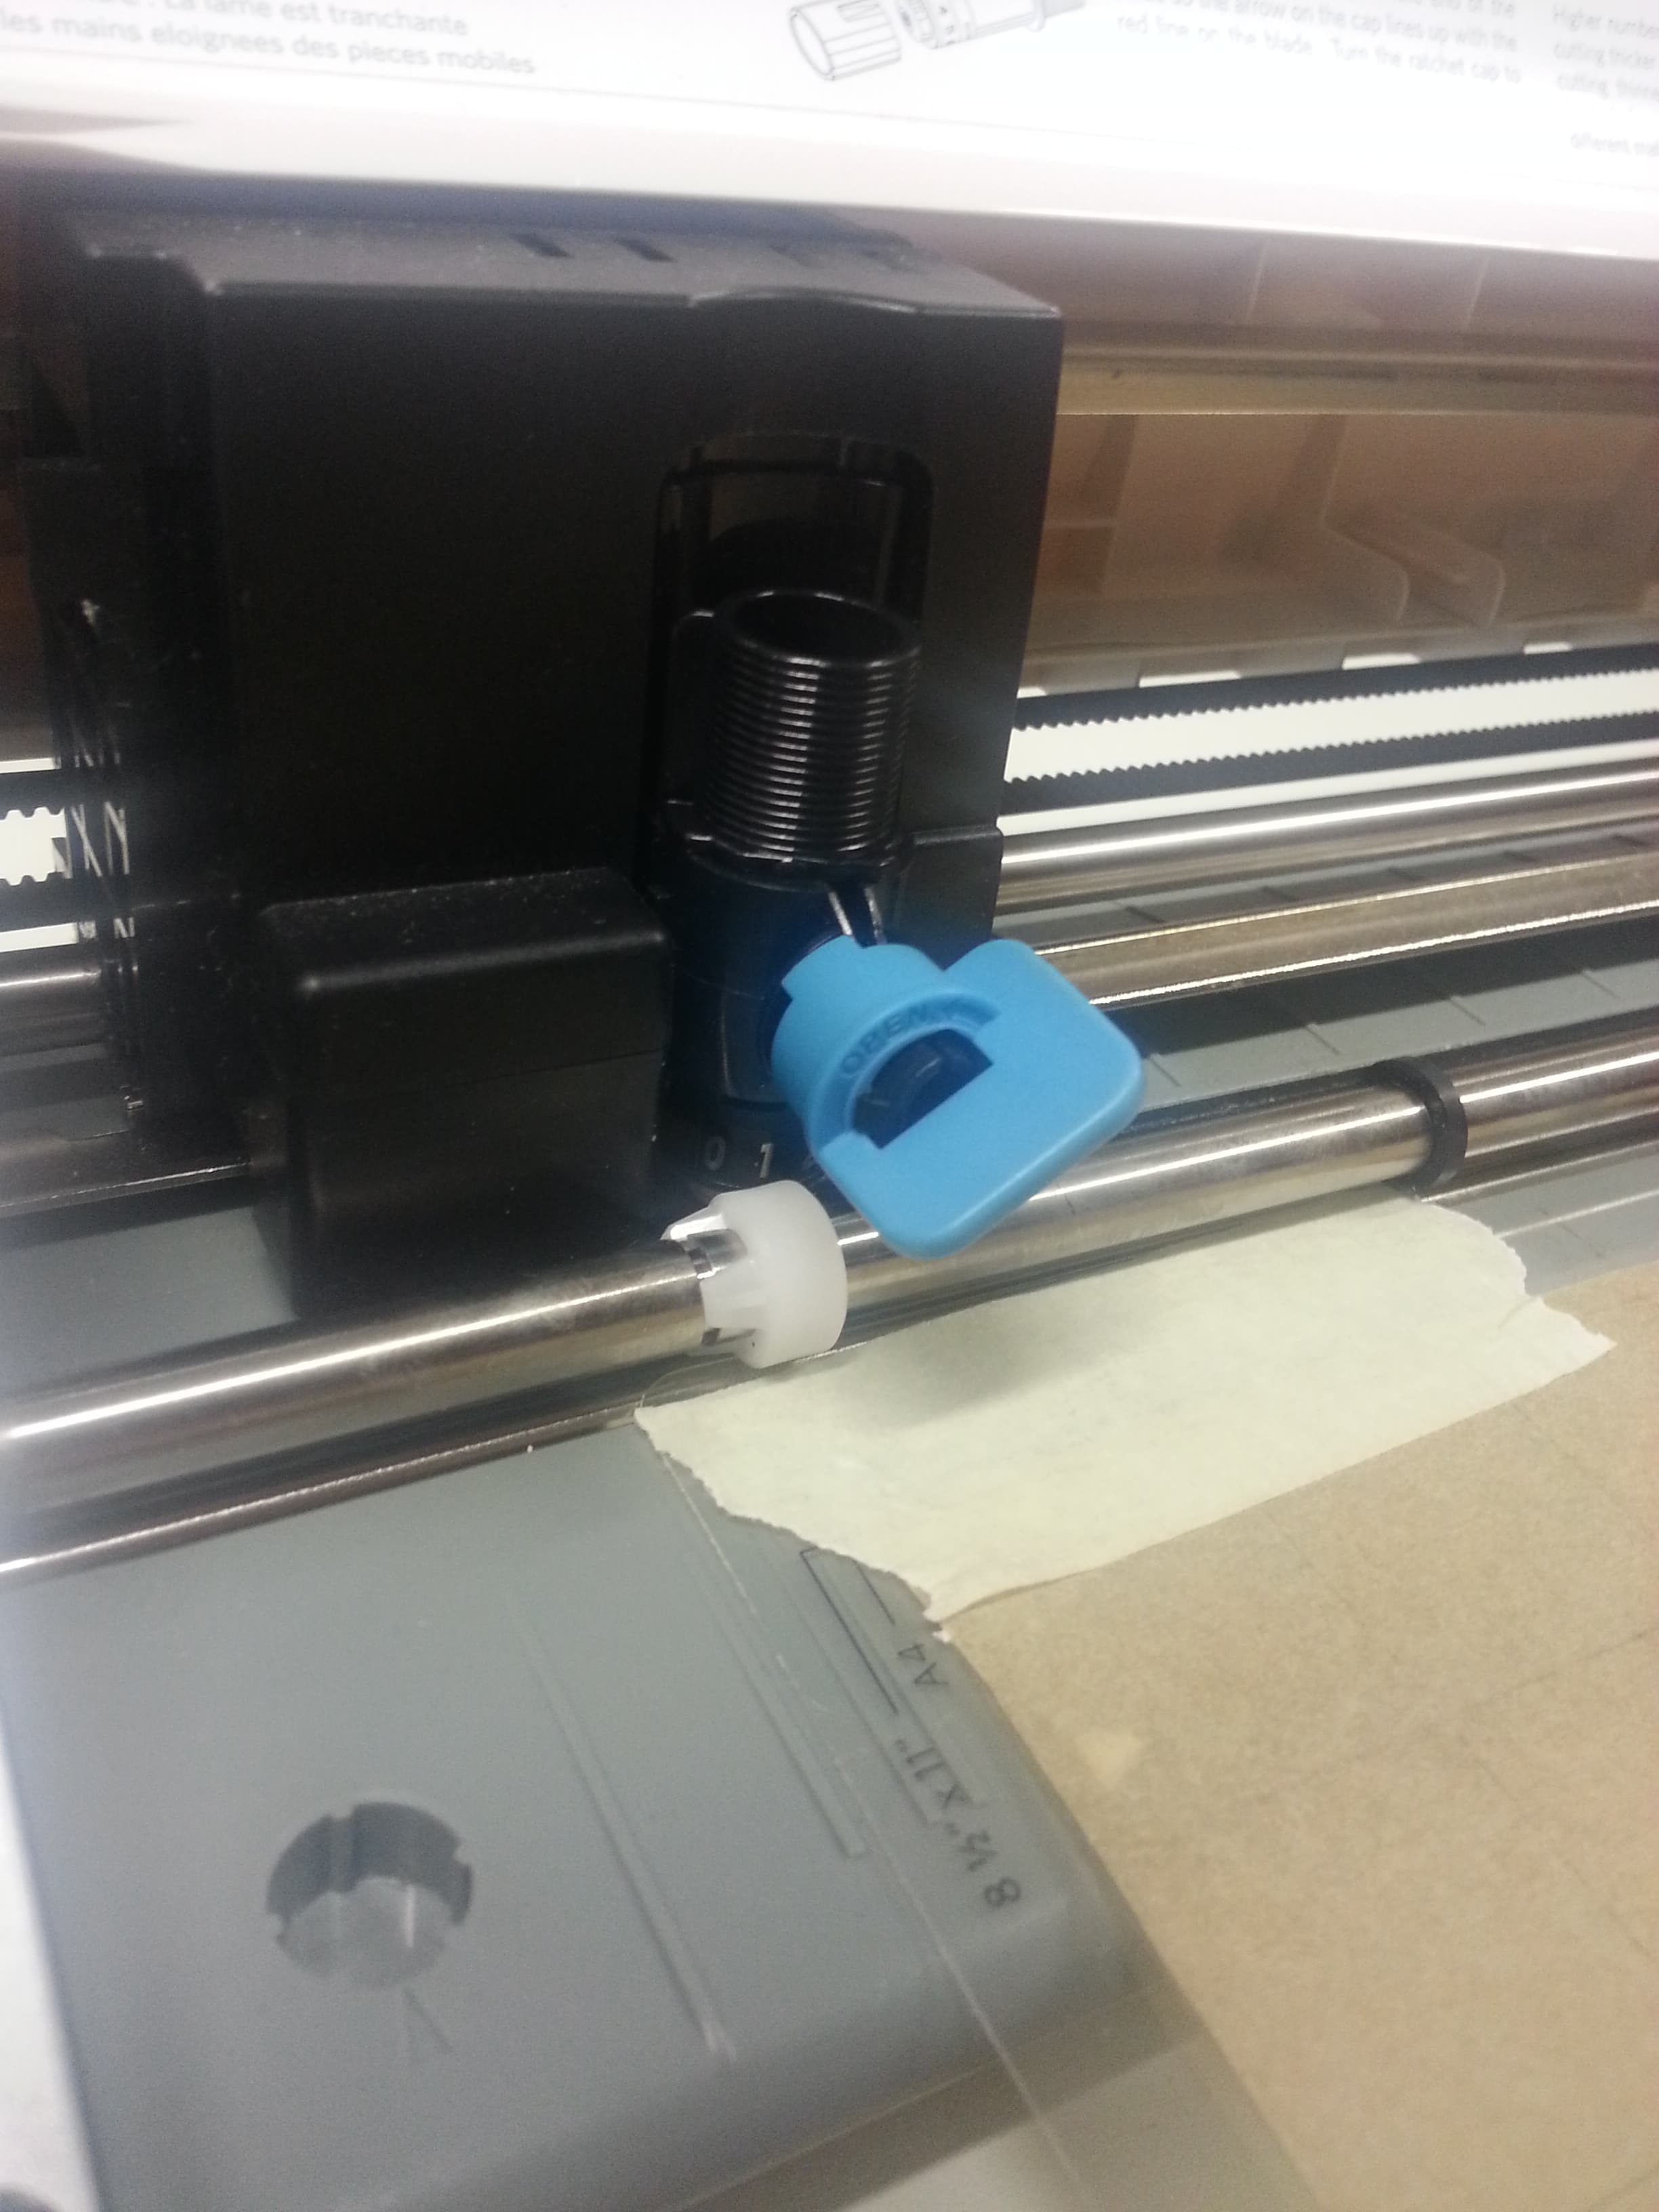
The numbers of the nozzle are for the power that it will use. For ticker
material is used respectively a bigger number of the nozzle. For tinner paper,
such as backing paper, the nozzle will do amazing job when set on 2. For the
vinyl, I have used 5. These setting should be put also in the program of
Silhouette manualy. When the nozzle has been manualy set on 2, and the settings
have been updated in the program than we can proceed to the following step.
Connect the machine with your laptop using the clable provided in each box
of Silhouette.
After the machine is on, the settings are put in the machine and the program,
after Solhouette is connected with your laptop, we need to put the backing
paper sticked to the plastic plate in. Use the arrow to place the plate
under the nozzle in streight line. Then press the very first button on
the right handside. It is an illustration of the plastic plate. After
the machine has taken the plate with the parchment paper simply press
Start in Silhouette from your PC. If you made an Ai file, you should save
it as a specific file and send it to a PC with Silhouette on it.
This is the only program the machine communicates with.
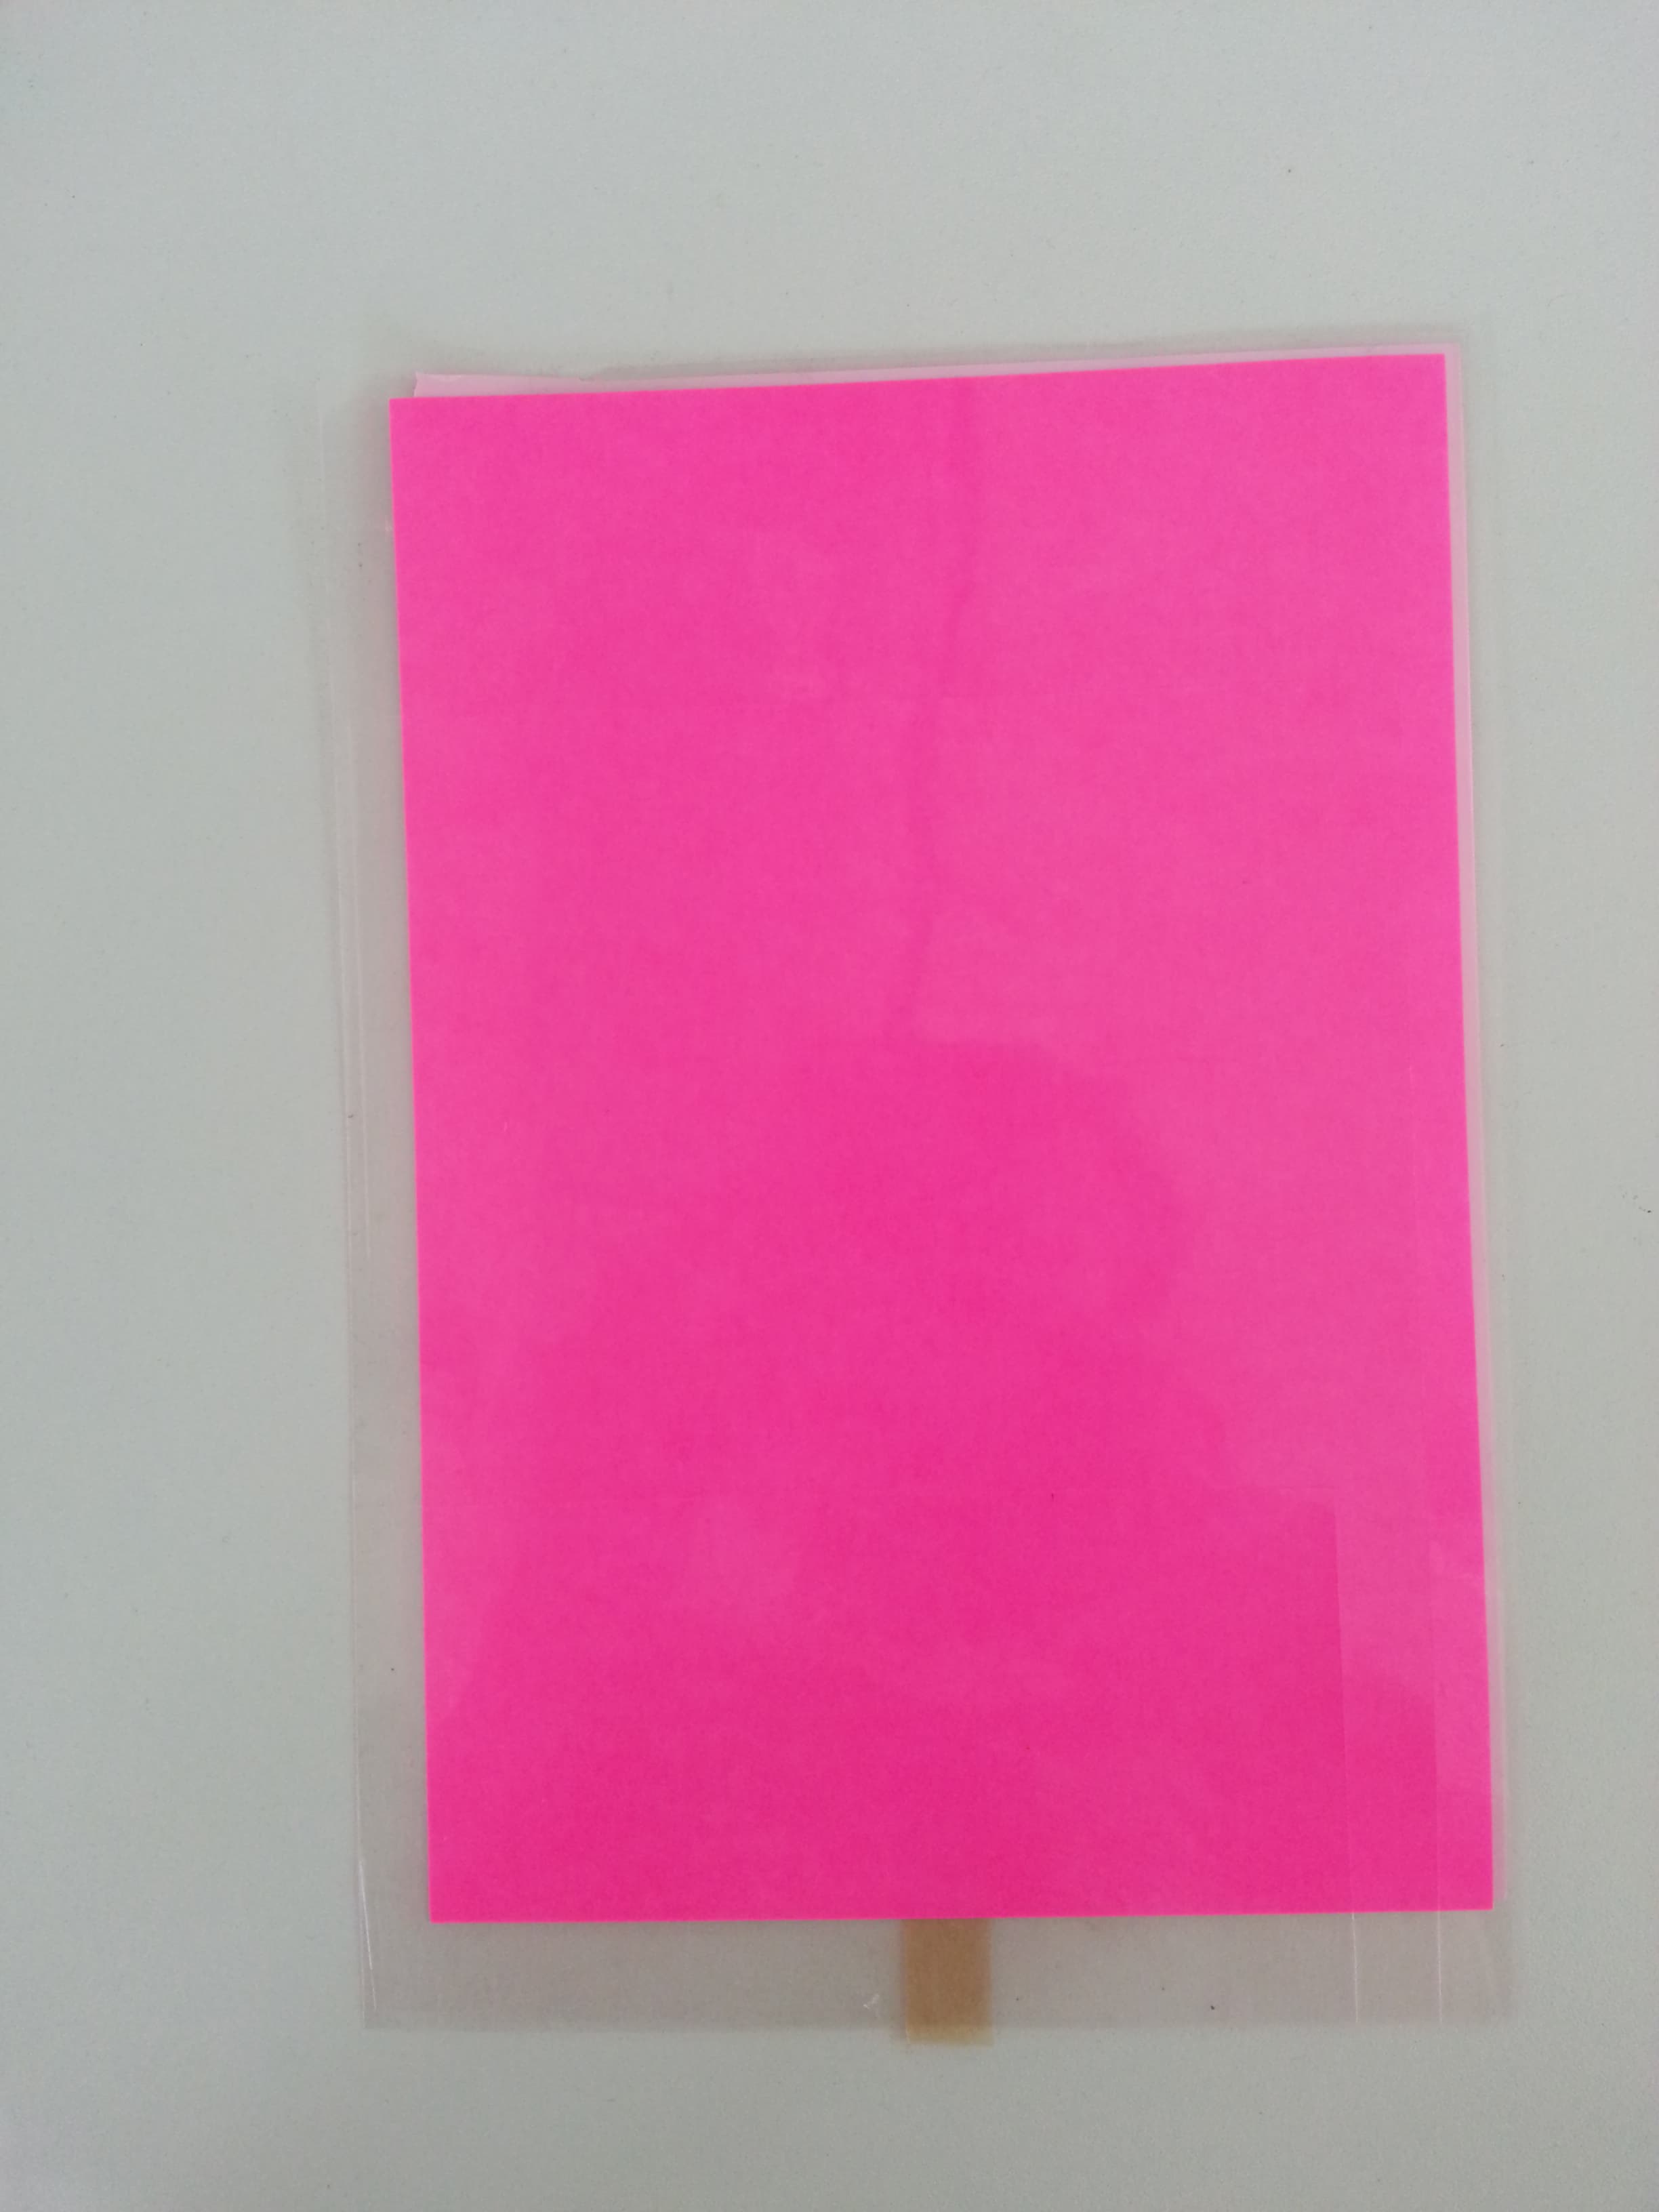
After the backing paper is cut we are ready to proceed to the vinyl. The vinyl,
as already mentioned earlier is thicker than the parchment paper therefore we
will use a nozzle power 5 put also in the program. When making the graphic
of the vinyl we have to set at least 5 mm offset which is serving for a
frame which will stick and keep the air inside. After the graphic is ready
we have to put the vynil on the plastic plate from Silhouette and stick it
again with paper tape. Push the first button on the right handside to place
the plate in the machine and send your document.
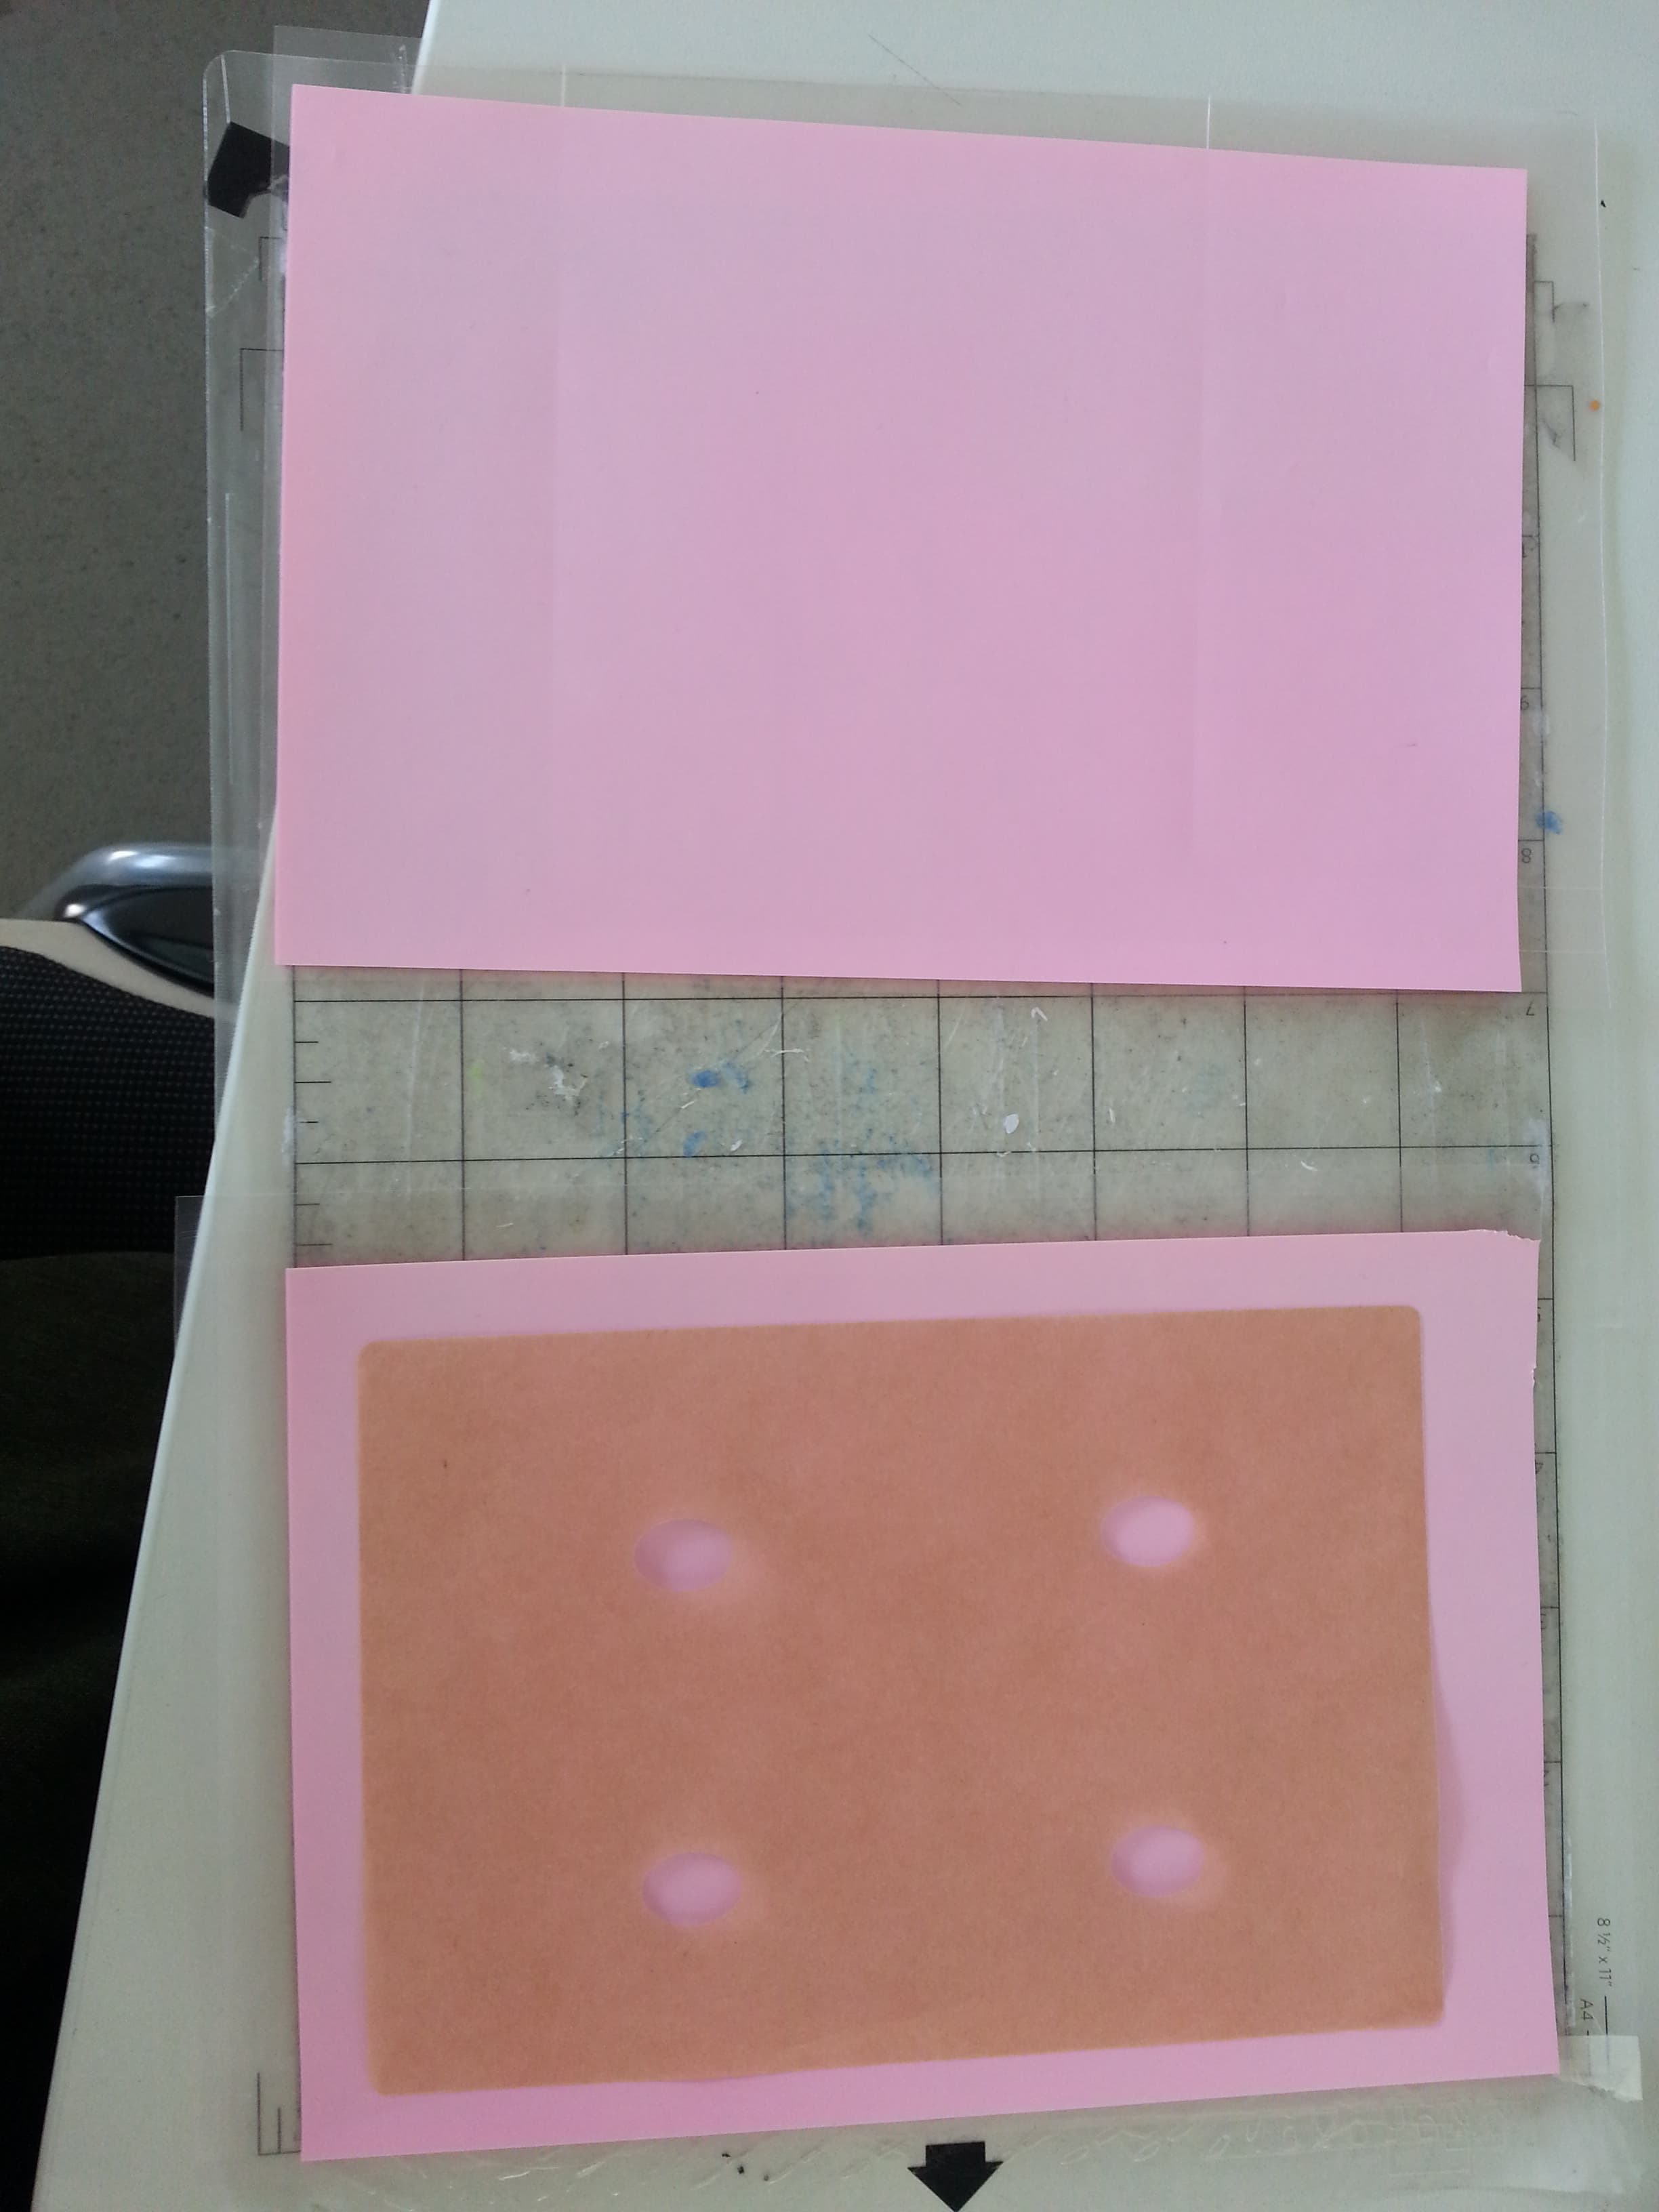
After cutting the vinyl there will be this material which you do not need.
Remove it carefully and cut the vinyl in 2 for the front and the back side
of the Inflatable.
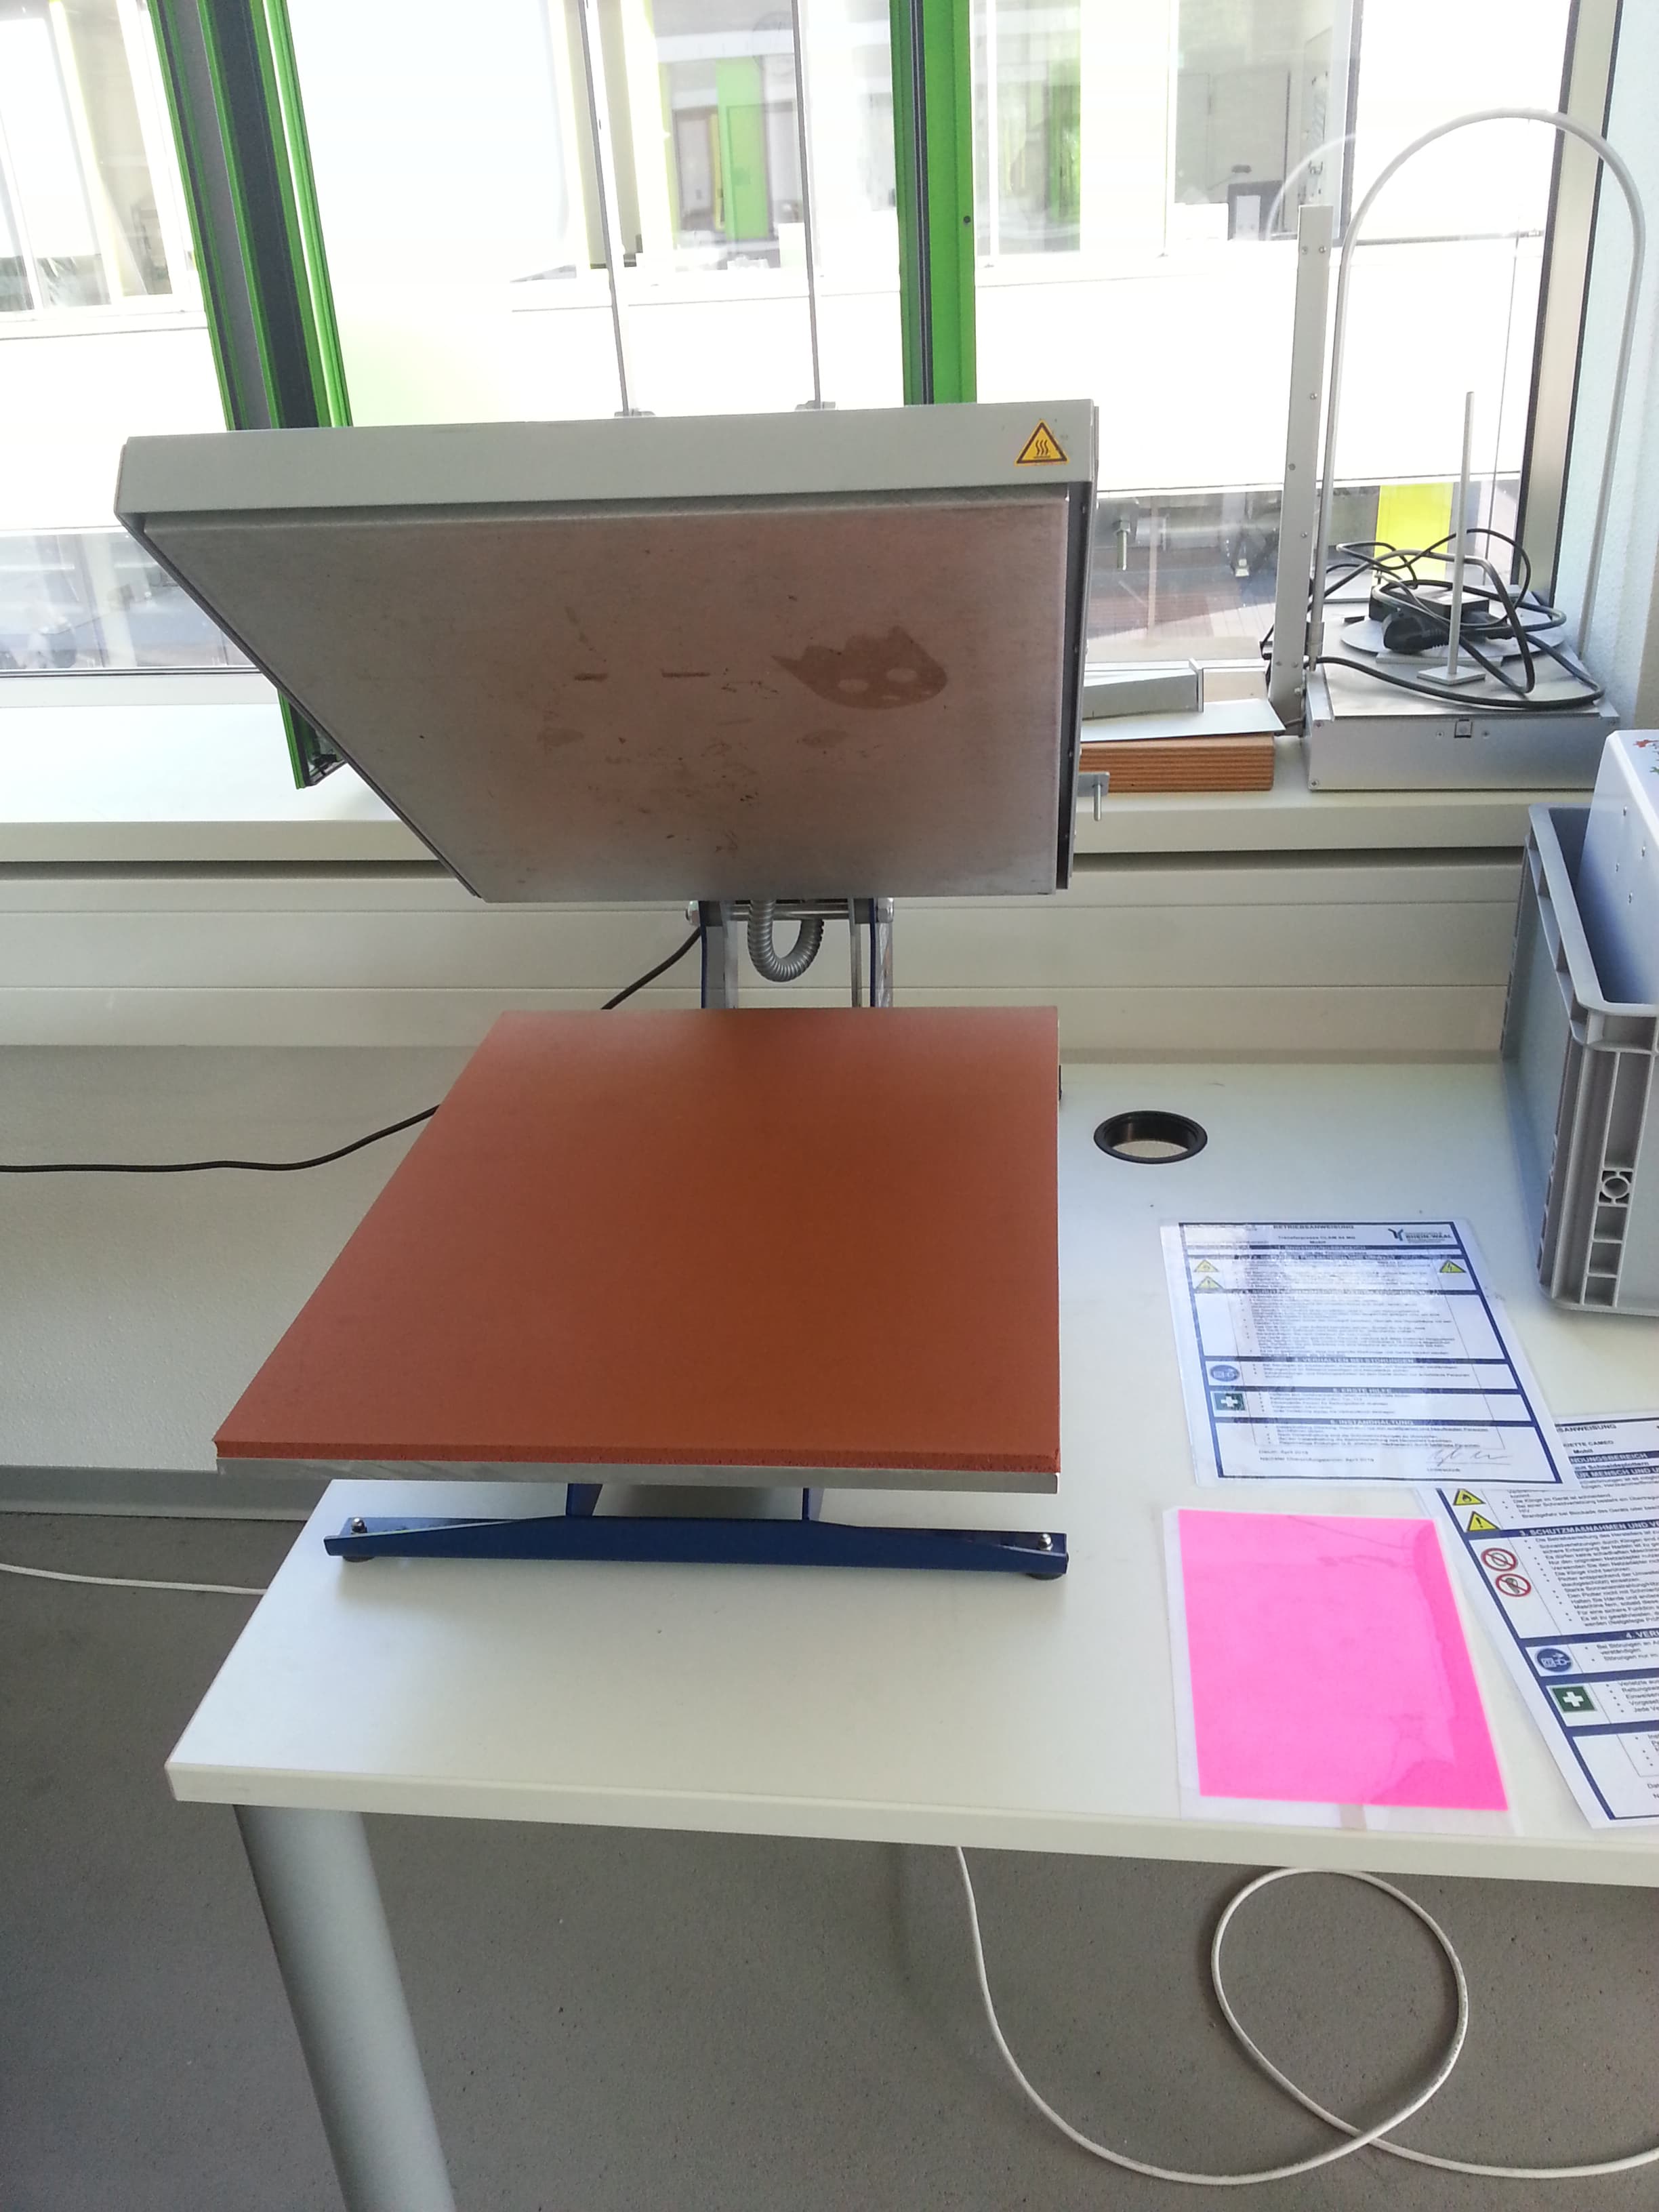
After all your pieces are ready for sticking together than turn on the Hot machine.
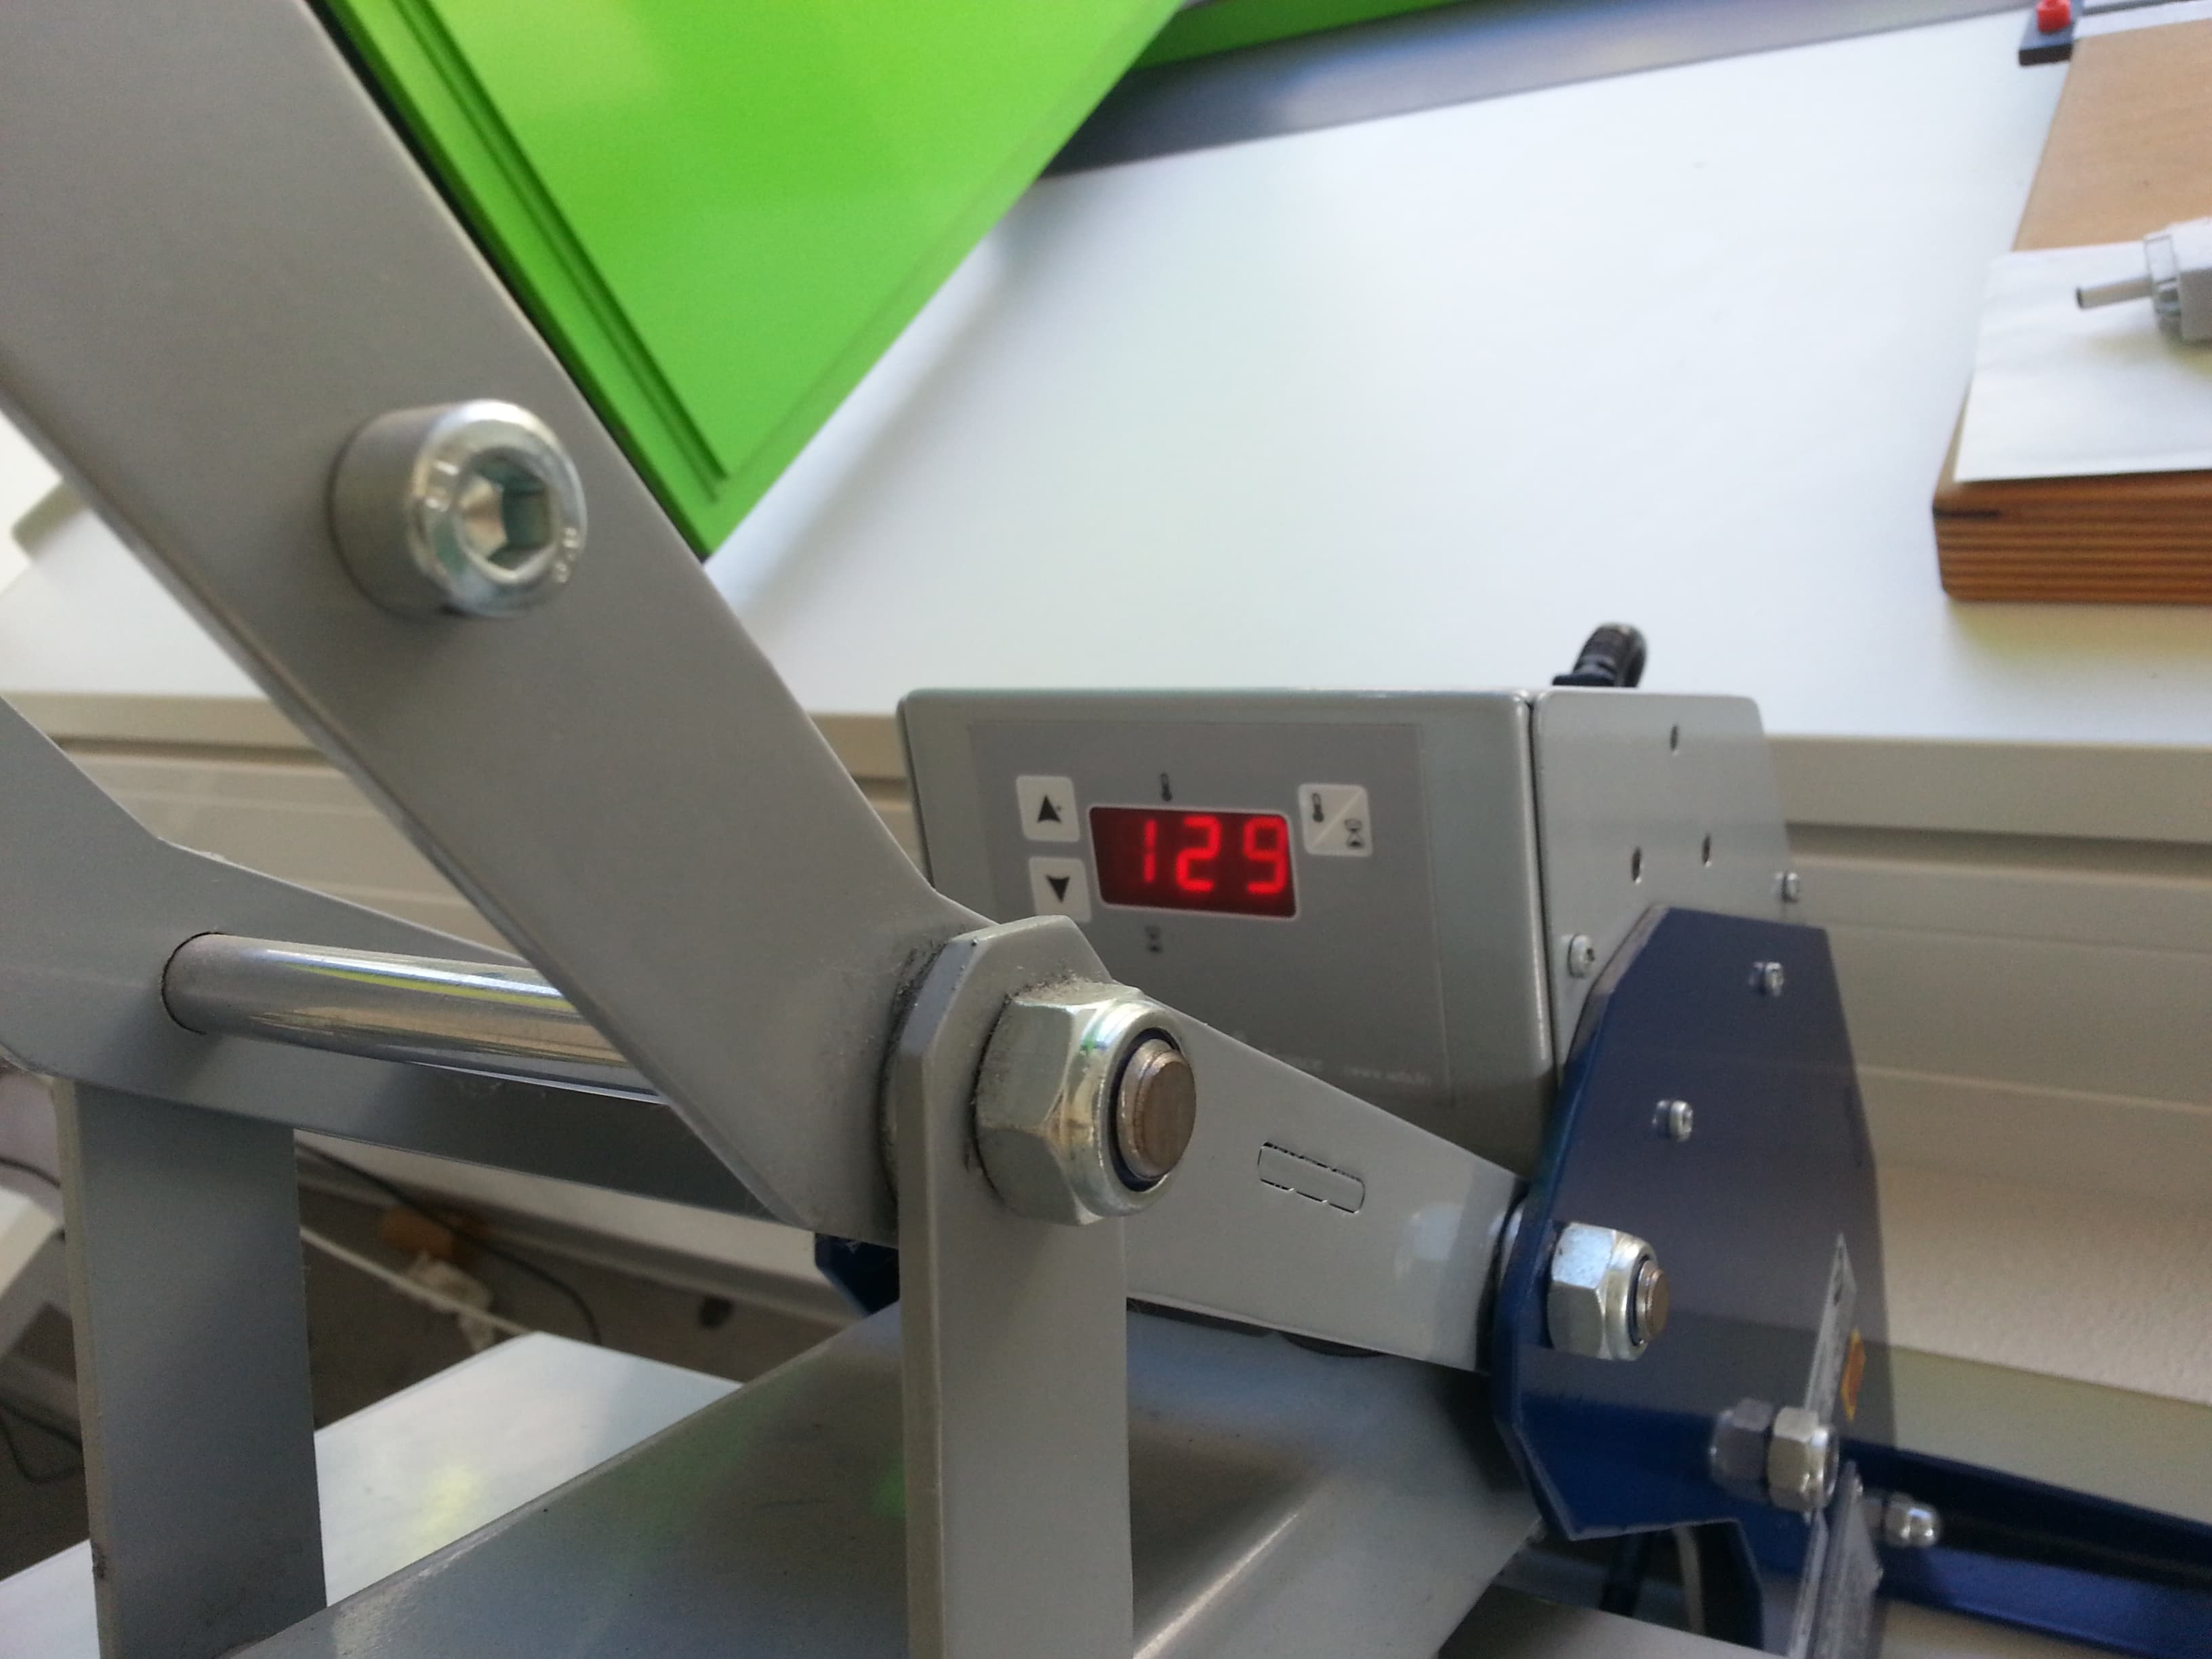
Turn on the sticking machine and wait until it reaches 230 gedrees. When it is done
put a baking paper sheet on the bottom, place your inflatable structure in
and place a secong baking paper sheet on top of it, to prevent the vinyl
from sticking to the Hot machine. Hold in there for around 3 minutes and
remove. It will be very hot in the beginning, so leave the product for
a couple of minutes to cool down. Remove the cover of the vinyl slowly,
to not demage your structure.

After all is sticked together, there is only one thing left to do.
Stick a tube in and blow.
Enjoy your results!
FabLab Kamp-Lintfort, Ms. Adriana Cabrera, Soft Prototyping
‹ ›