This is documentation for preparing a vector interlocking pattern
and cutting it using the Laser Cutter. The pattern should have male and female interlocking parts.
At the end the whole pattern, or a piece of it should be included into a garment.
Using a vector program create your female and male part. I found out that geometrically correct shapes
create great patterns, only using their original shapes. You can find many inspirations online!
So the first step is to create each of your pieces. Here I am going to show you my male and
female parts later on, and am going to give you some small tips i find for usefull.
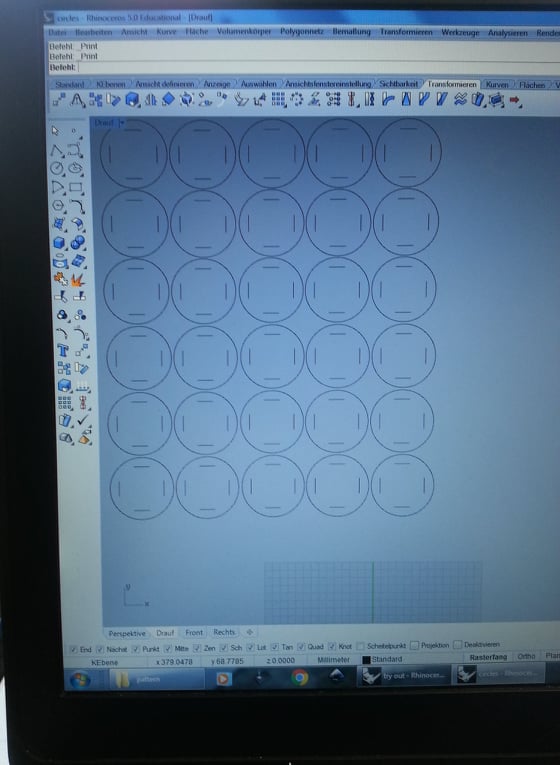
This on the photo is the vector for my female part (the part of the pattern in which
the lock has to go) I have used circles. You can use anything else!
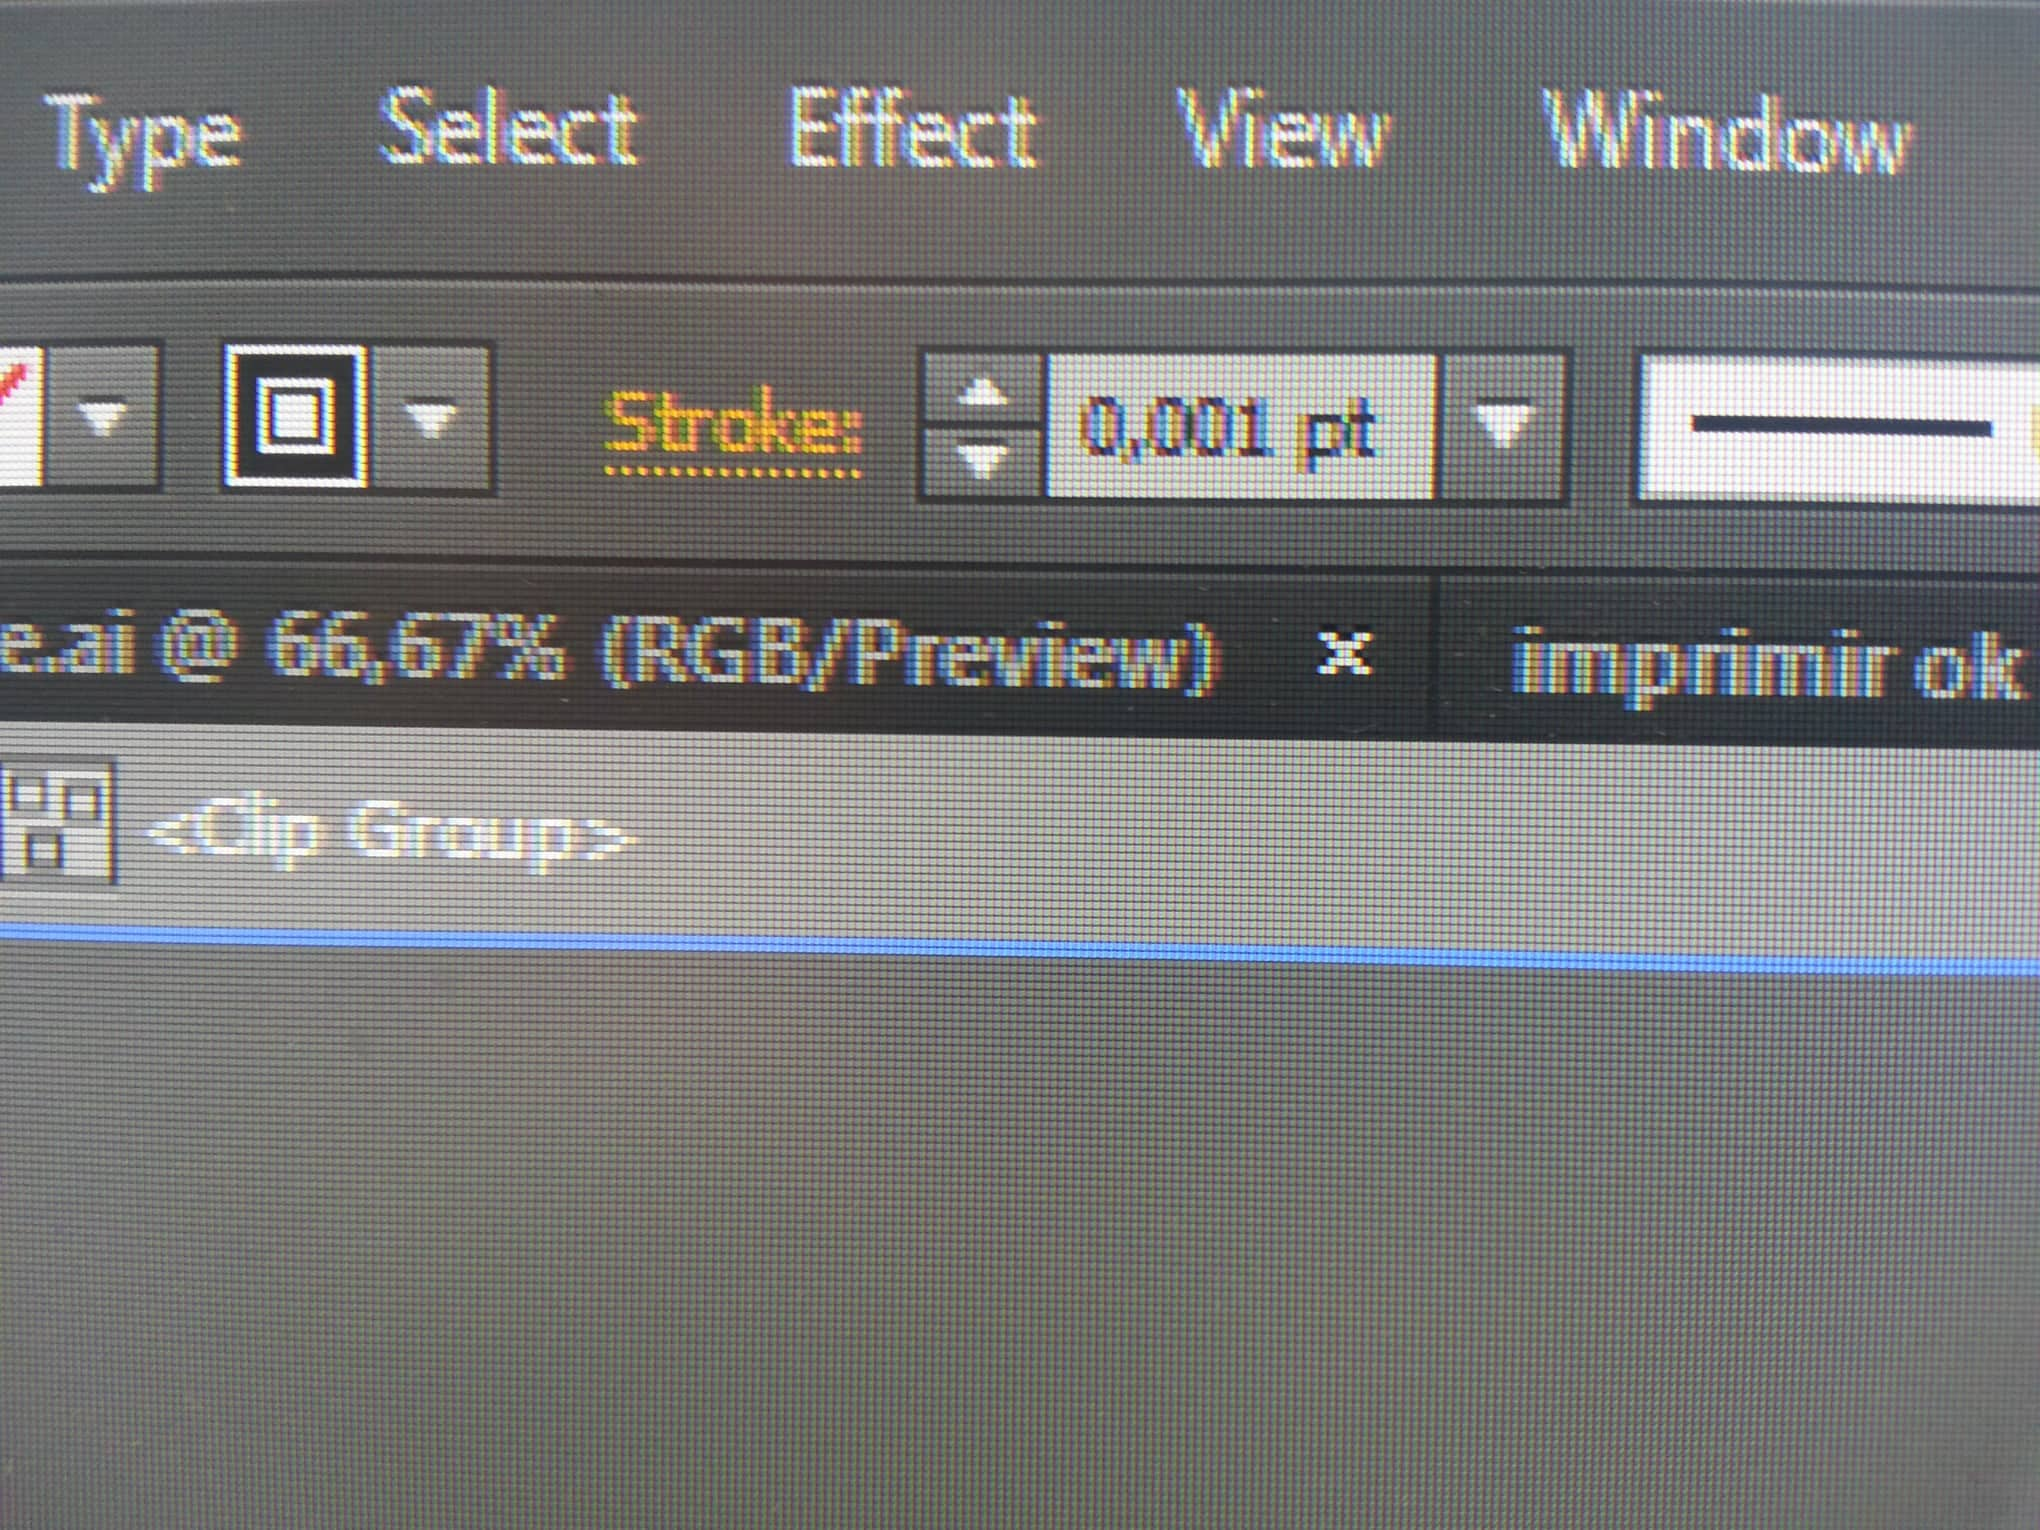
When you vector is ready you must take care to set up the stroke values.
0.001 pt stroke will be cut. Any bigger values will be engraved.
On the setting for the Laser Cutter there are setting for the engraving
where you can choose the deepness.
This is the male part of my pattern. I have no engraving so all the strokes
are set up with 0,001 pt value.
Because of technical issues, we were using Rhino instead of Adobe Illustrator.
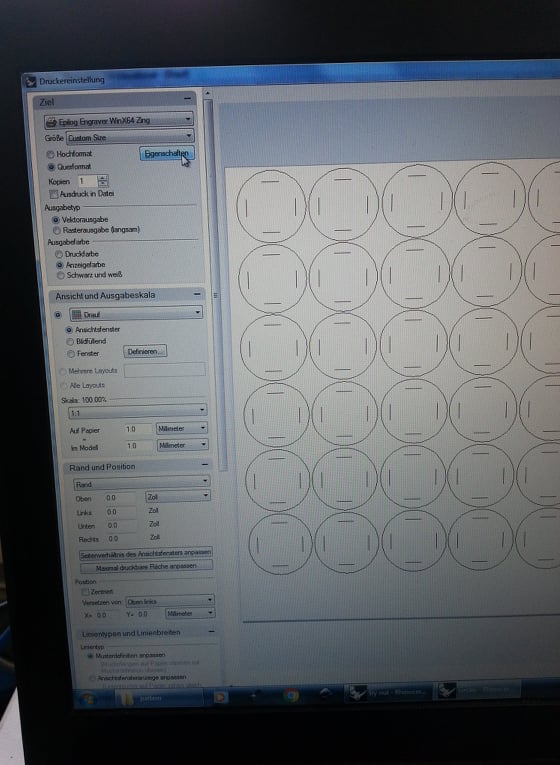
When you open your .dxf file (saved from .ai to .dxf just so it can be opne in
Rhino) you pres Cntrl + P for printing and you will get the window showed on the
photo. Then you go to Settings to turn on the Laser Cutter Settings.
I have two photos exaplining the setting for the two different materials I used.
The photo on the left is for the female part of the interlocking pattern.
I made the female part using a thing material and the male part using thicker one.
I thought that this would help the interlocking to be stable and it worked.
Another way of making the interlocking stable is to make the holes in the female
part smaller than the size of the male lock. I also did this (see photos below).
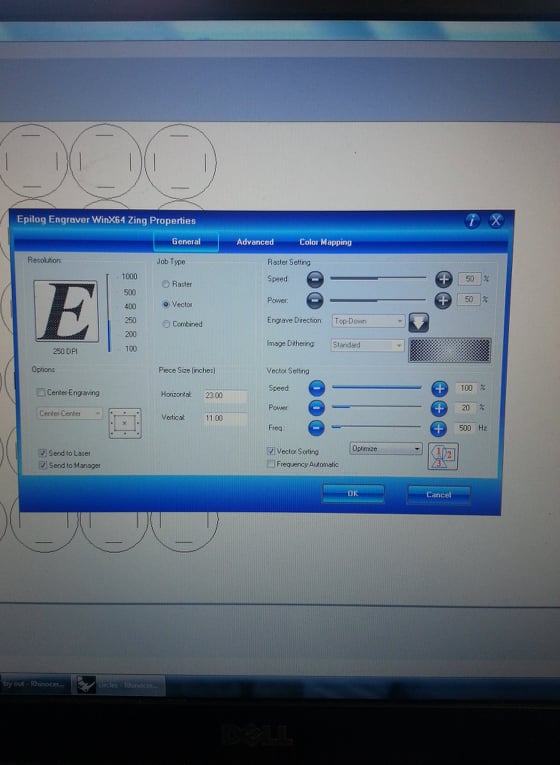
On the left photo (very thin matterial) the settings are as follows:
Speed: 100%
Power: 20%
Frq: 500 Hz
Speed parameter : signifies the movement of the laser head.
Power parameter: output power (for thicker materials you need more power)
Frequency parameter: laser pulses per second
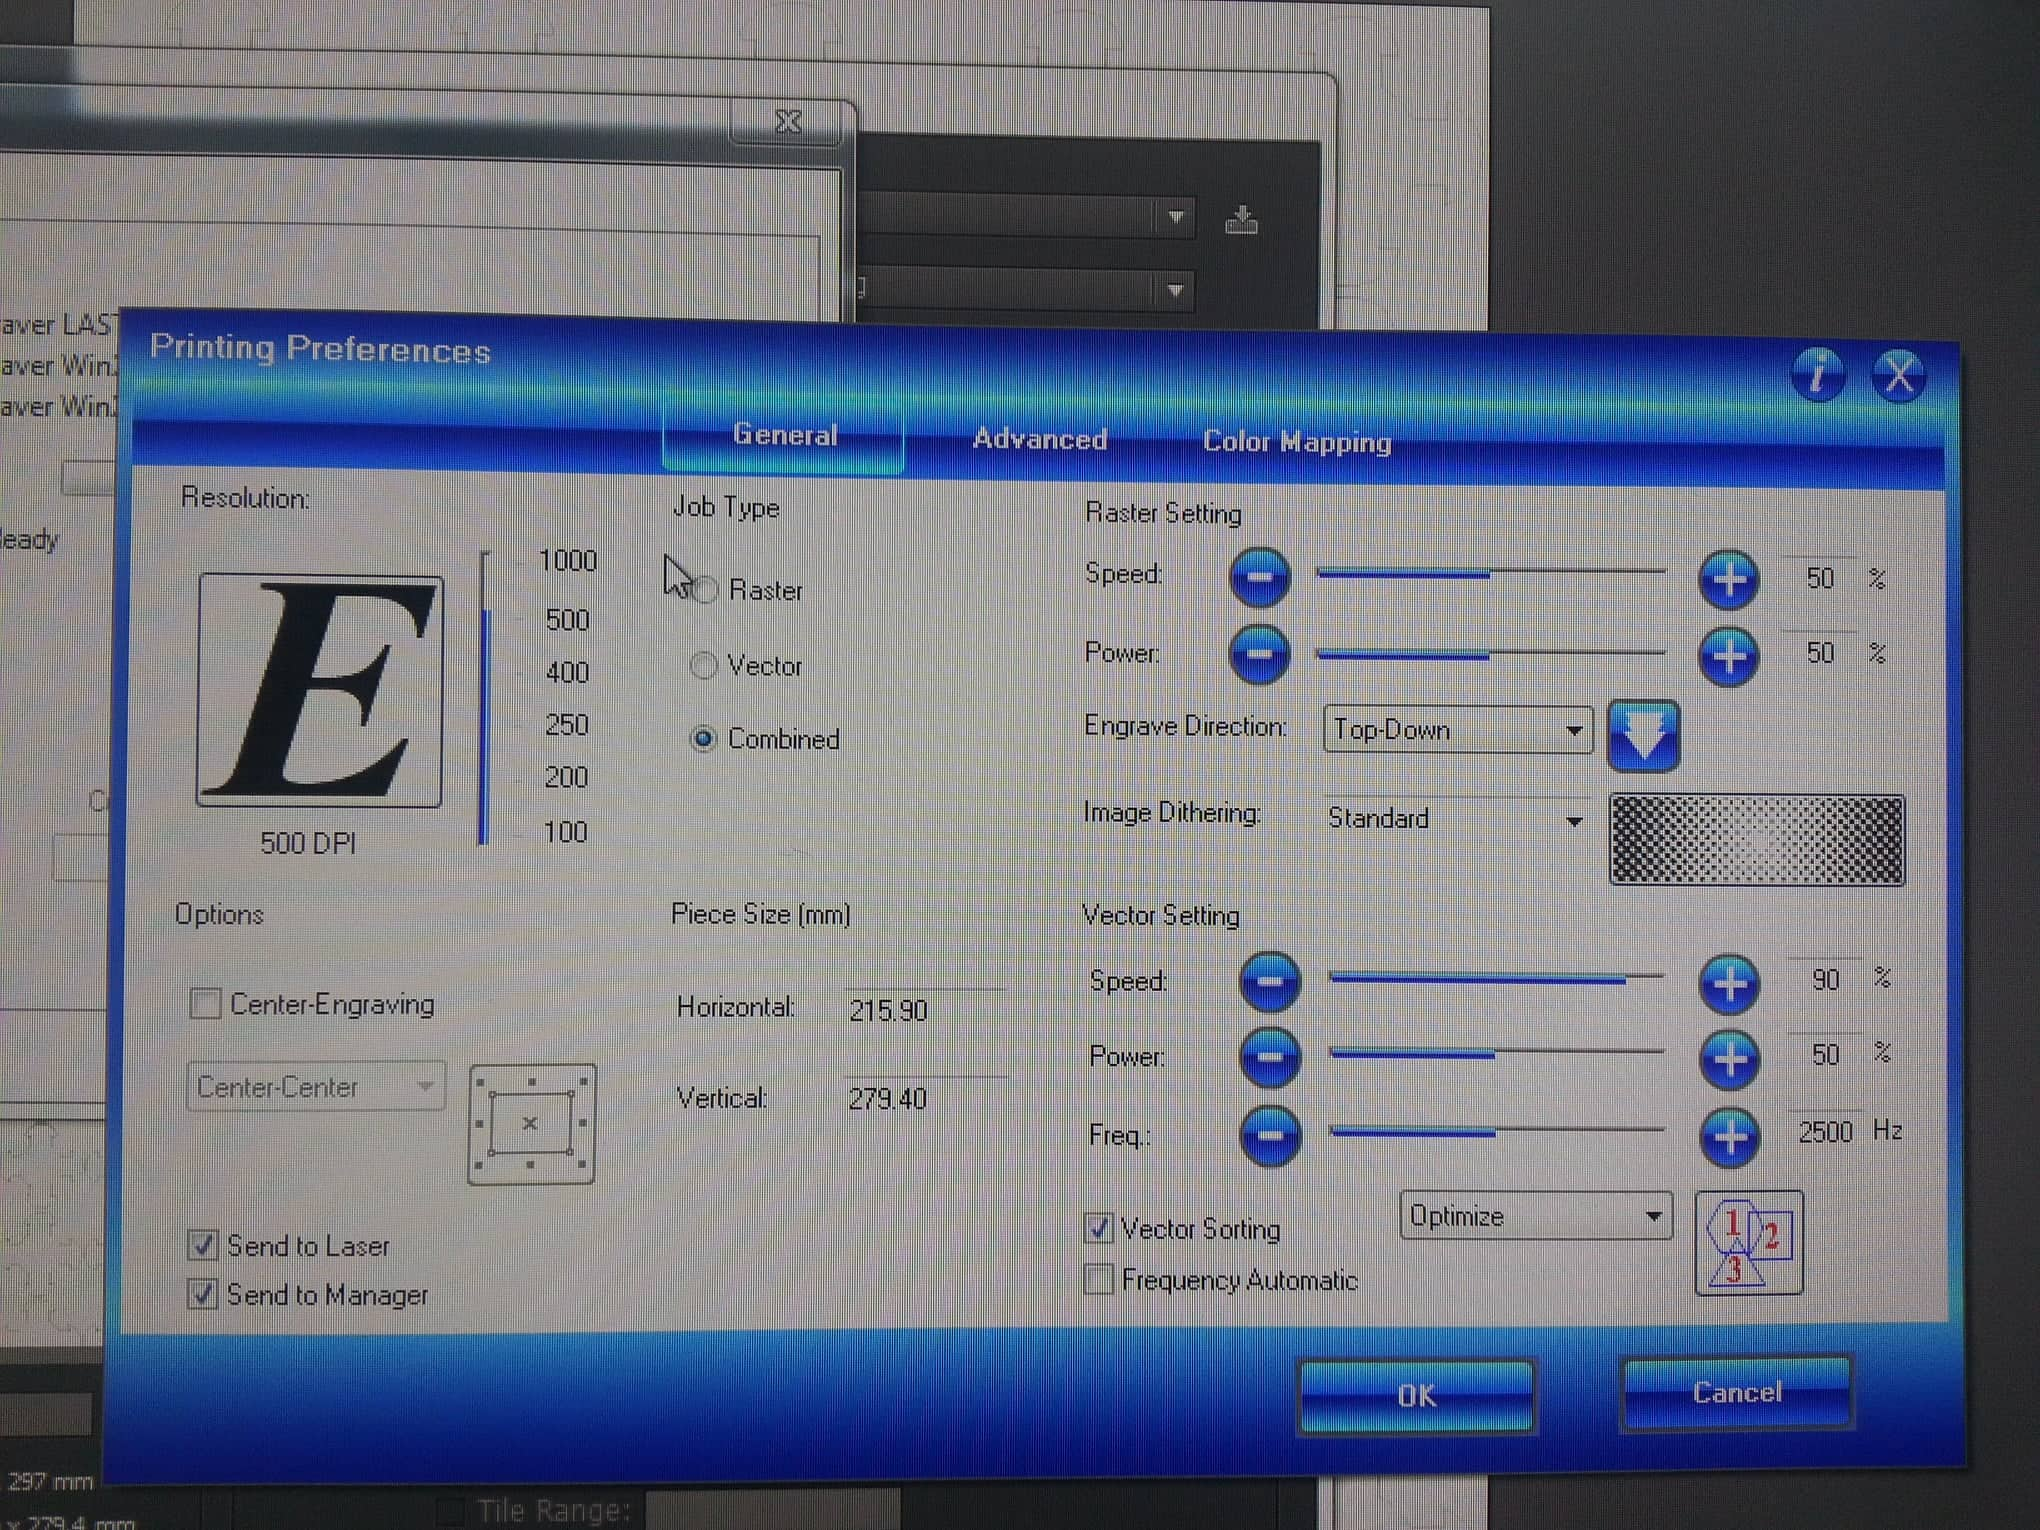
On the right photo (thicker material) the settings are as follows:
Speed: 90%
Power: 50%
Frq: 2500 Hz
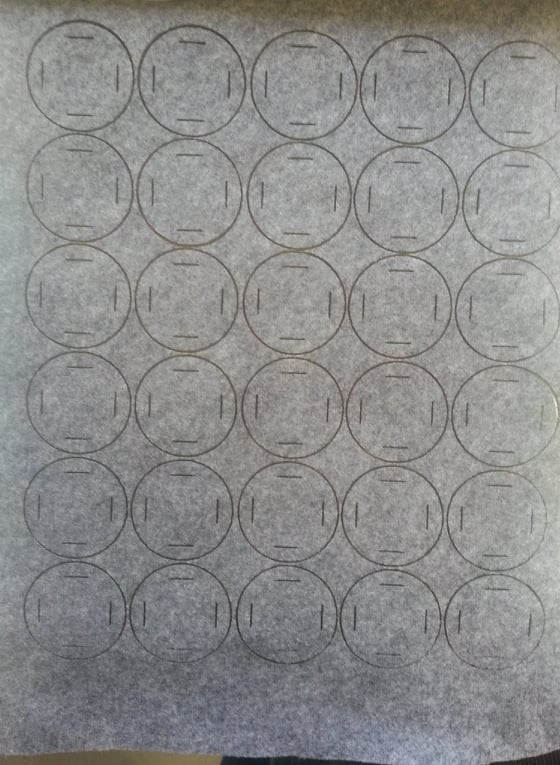
I used filtz for both patterns. The female part uses thin filtz (2mm)
The male part uses thicker filtz immitating material: polyacryl (5mm)
(see following photo). You can see on the photo that the female part
turned out great. There are no burned traces, which occurs when the
settings are a bit off. A way of checking out the settings is making
a color map. This is a must do always when you laser cut new materials!
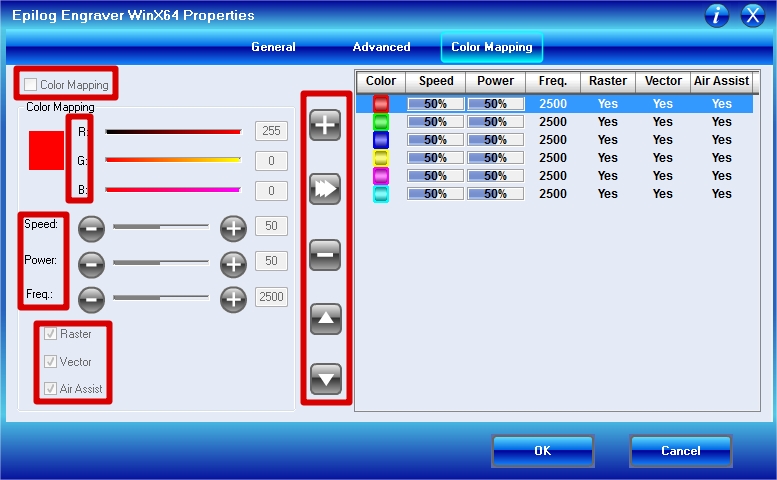
For making a collor map you need to create 6 sqares on Ai and give them the 7 main
RGB color values : red (255,0,0), green (0,255,0), blue(0,0,255), yellow (255,255,0),
cyan(0,255,255) and magenta (255,0,255). When you are doen with the ai color map
file press Cntr + P to go to the laser cutter settings. Than choose from the top
panel Color Maping and give each color different values to check wich one is the most
appropriate for your material. Normally we leave the speed at 100% the frequency
at 50% and we change the power values. The colors on the color mapping should be
the same order as the colors in the ai file.
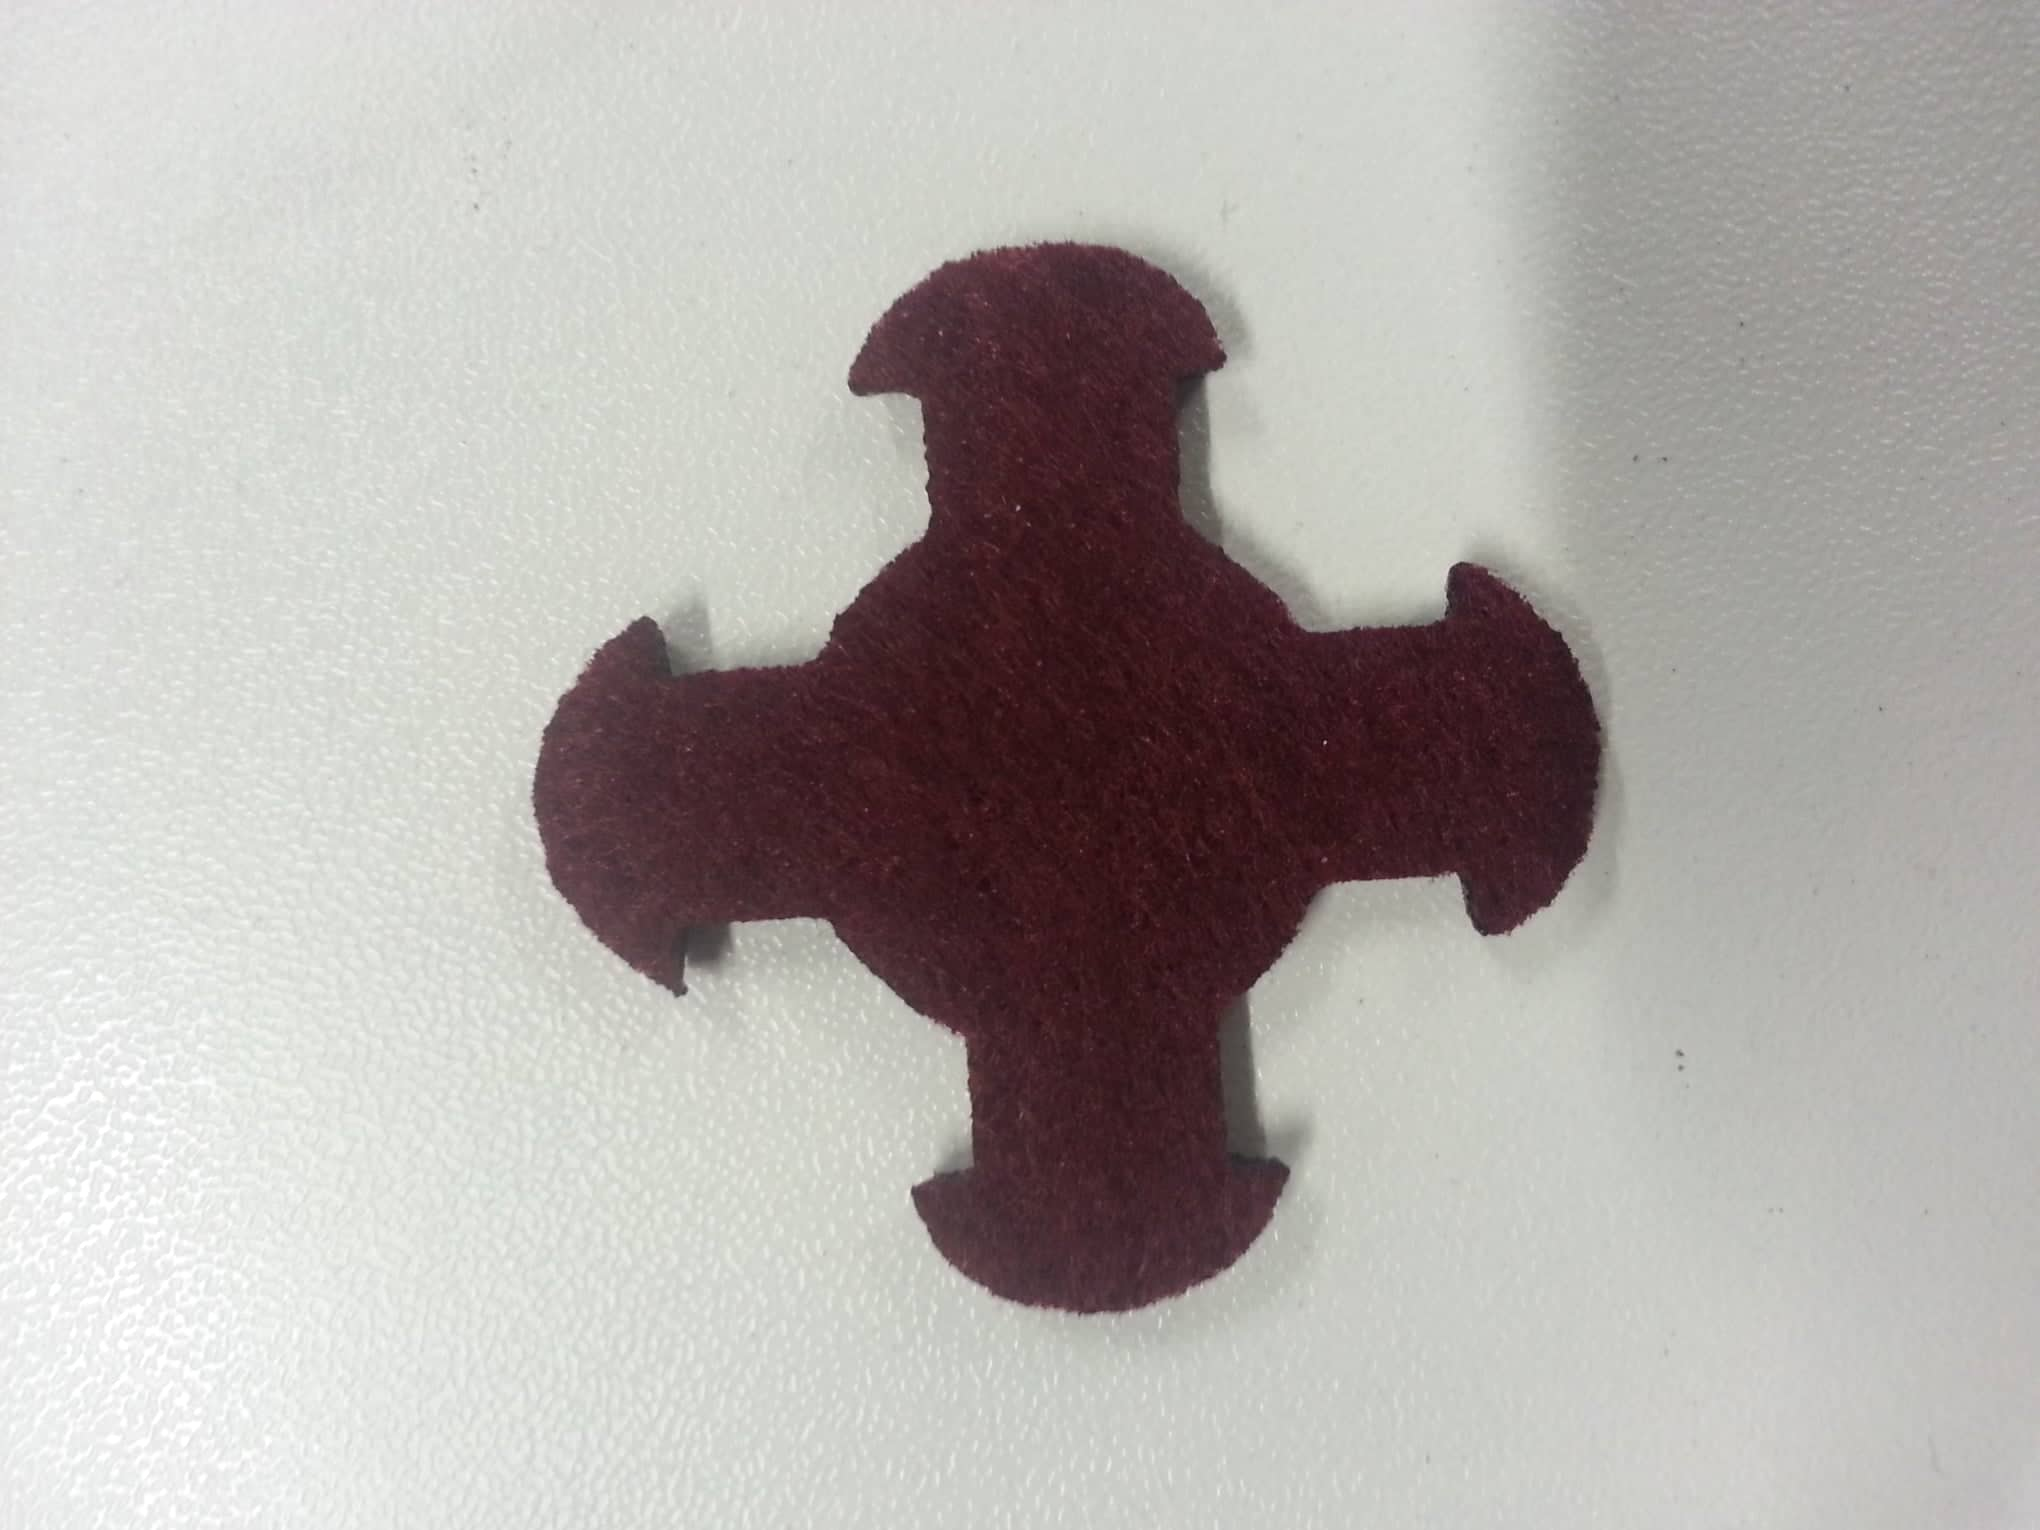
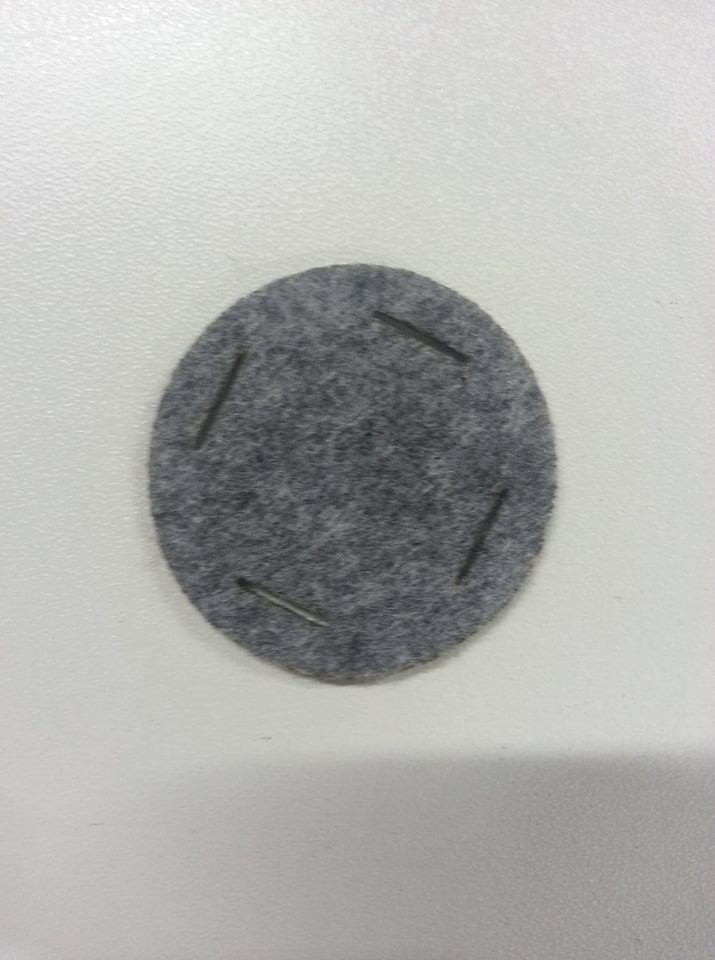
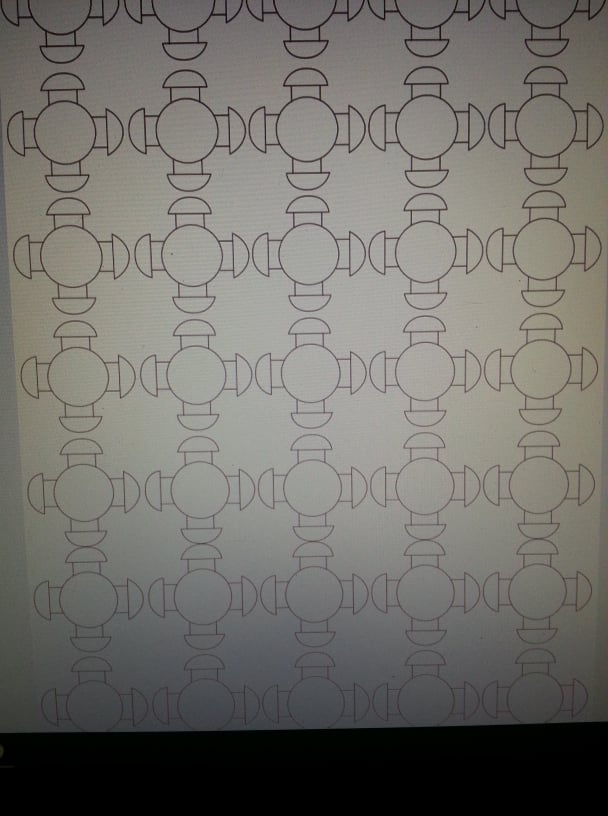
This is an example of my female and male parts of the pattern.
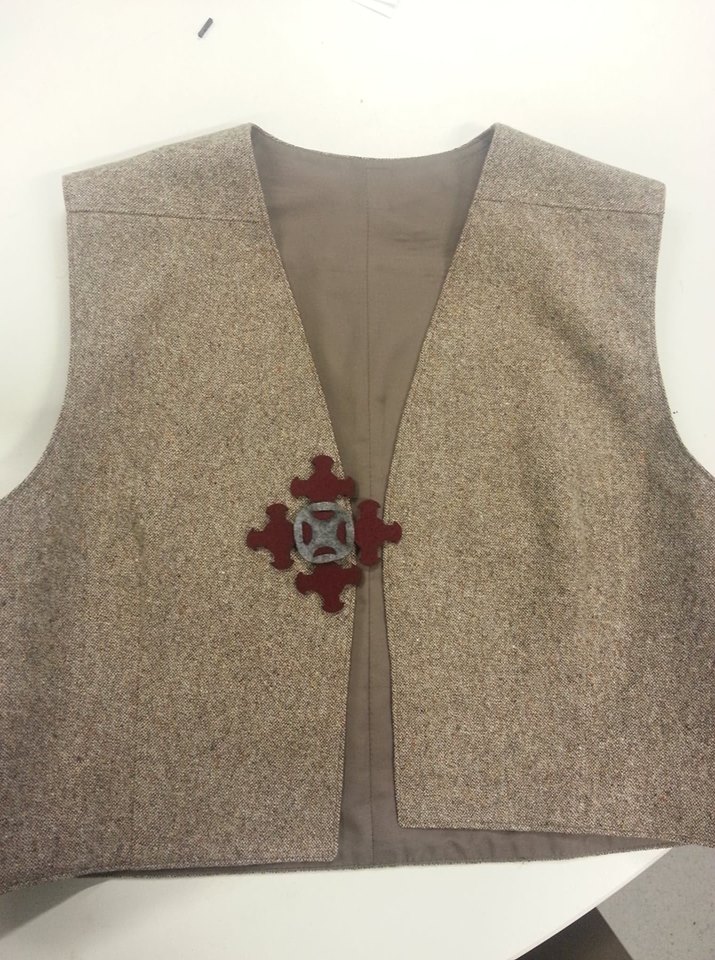
I used a piece of the pattern as a closing mechanism for this vest.
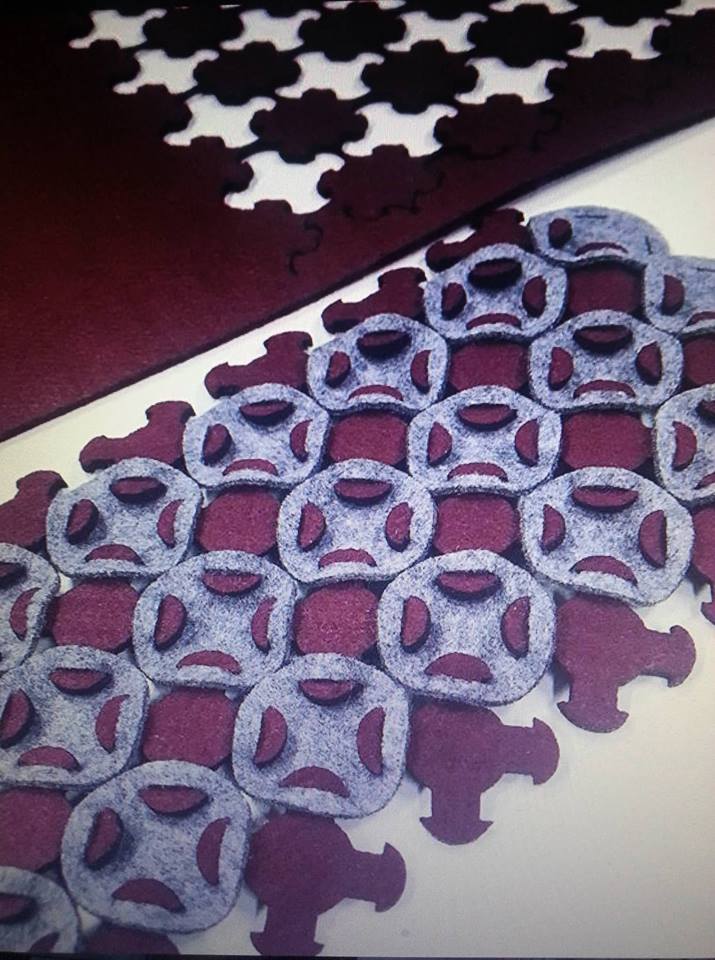
This is the whole pattern which can be continued forever.
FabLab Kamp-Lintfort, Ms. Adriana Cabrera, Soft Prototyping
‹ ›