Using electronics is easy, interesting and pritty exciting.
Of course there are numerous professional implications of electronics, but if you know only
the basics you can create small and fun objects for presents or just for your own.
Take a look at my documentation and give it a try at home. You don't need anything special.
What you need is a LED light, a battery, a copper tape or other transmitter.
If you have no idea what an electricity circle is, please google it.
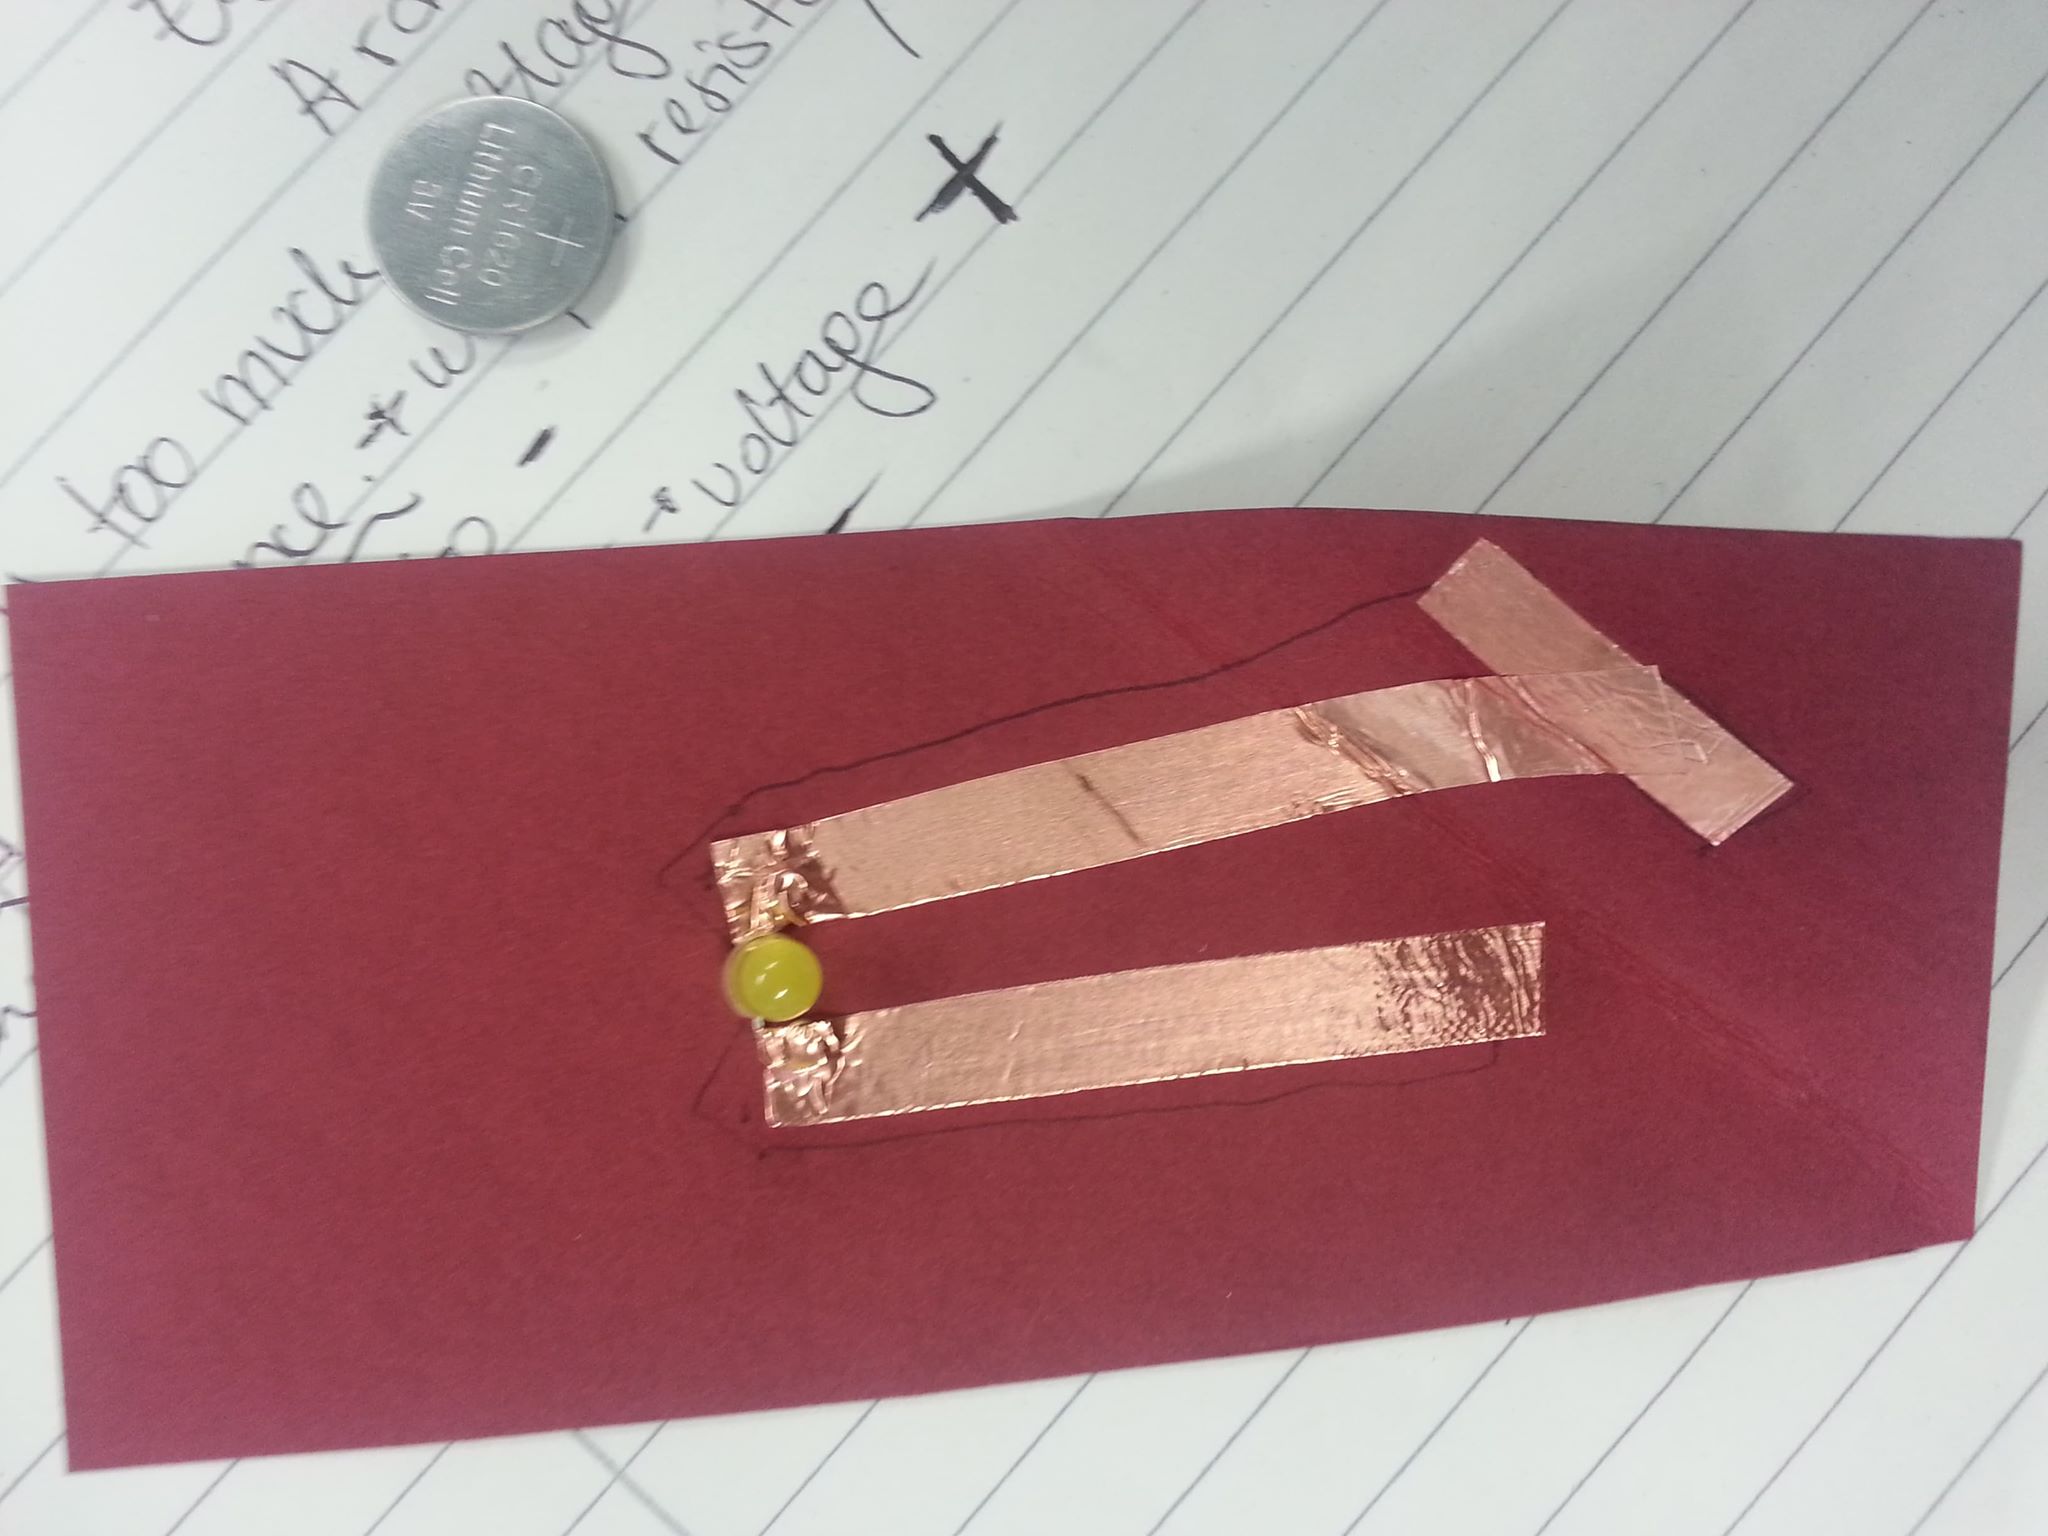
You should start with making a rough sketch on how you would like your circle to
look like (paralles, series). You should not forget to write down where is the +
an where is the - of the LED. The minus of the LED should connect with the minus
of the battery and the same for the positive side. Once you are ready with your
sketch you can proceed with putting the copper tape on. It is our transimitter
of electricity between the battery and the LED.
After your sketch is ready, signifying the + and - side of the LED,
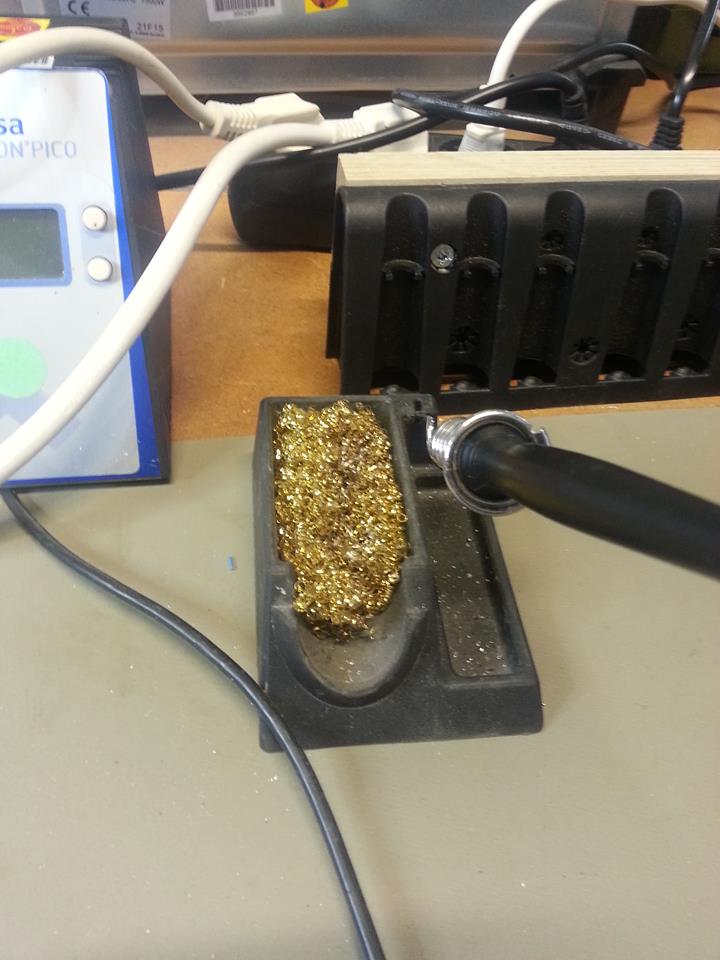
and the copper tape is already on its place, we can proceed with soldering.
All parts of attached pieces of copper tape should be soldered to prevent
any electricity disturbances. The legs of the LED should also be soldered
to the copper tape, as in this way we assure complete connection.
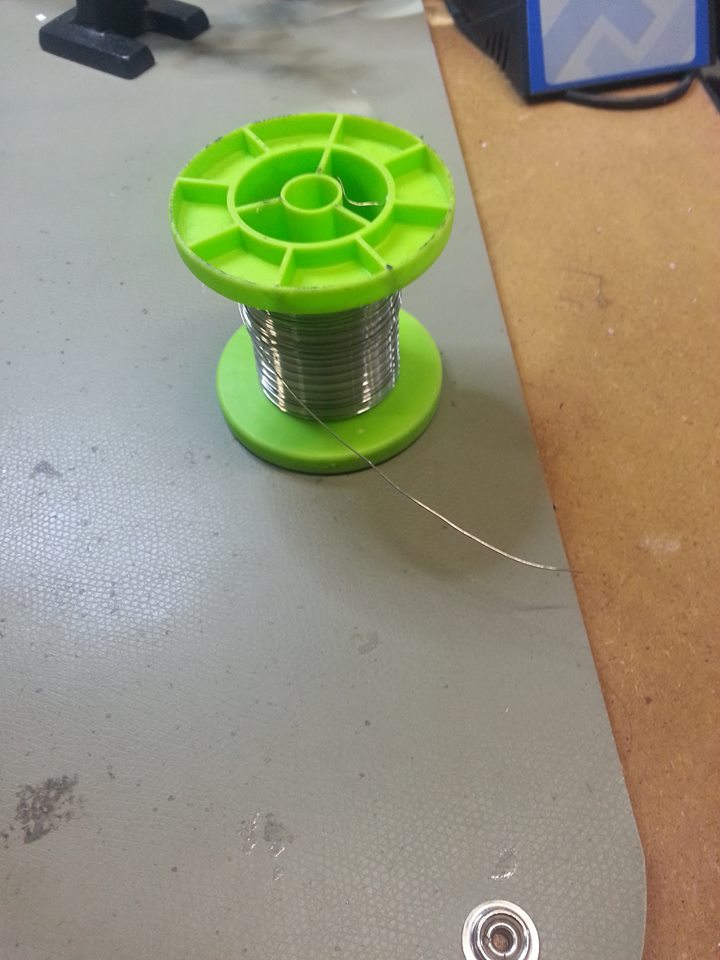
Soldering is a bit scary but not complecated process. The only reason
why I would describe it as scary is the high temperature the machine works with.
The soldering "pen" should get to 390 degrees Celsium. This temperature is
reached in a minute, depending on how old your machine is. You have to be
very careful during this process. The soldering "pen" is called a Soldering
Iron and the material we use to melt is called a Solder. You must keep
always a good distance between the Solder and the Soldering Iron, because
the material melts so quickly, if your fingers are closed, you may get burned
and this is something nobody wants. So, please be very careful during this step.
It is also very important that the cable of your soldering "pen" is
untangled and free for moving. You don't want for sure any cups or things which
can spill next to you while soldering because if you push them you might drop
the soldering pen and then this will have rather unpleasant results.. :)
So rather BE smart than PRETEND to be smart!
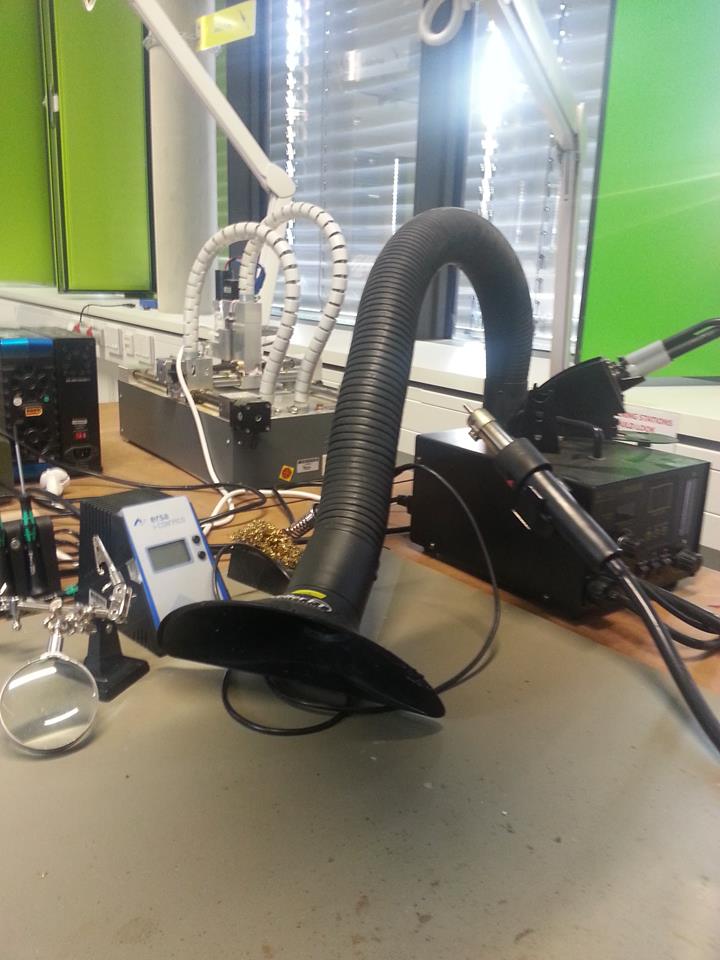
Vacuum station should always be on while soldering because of the
evaporations from the melted material.
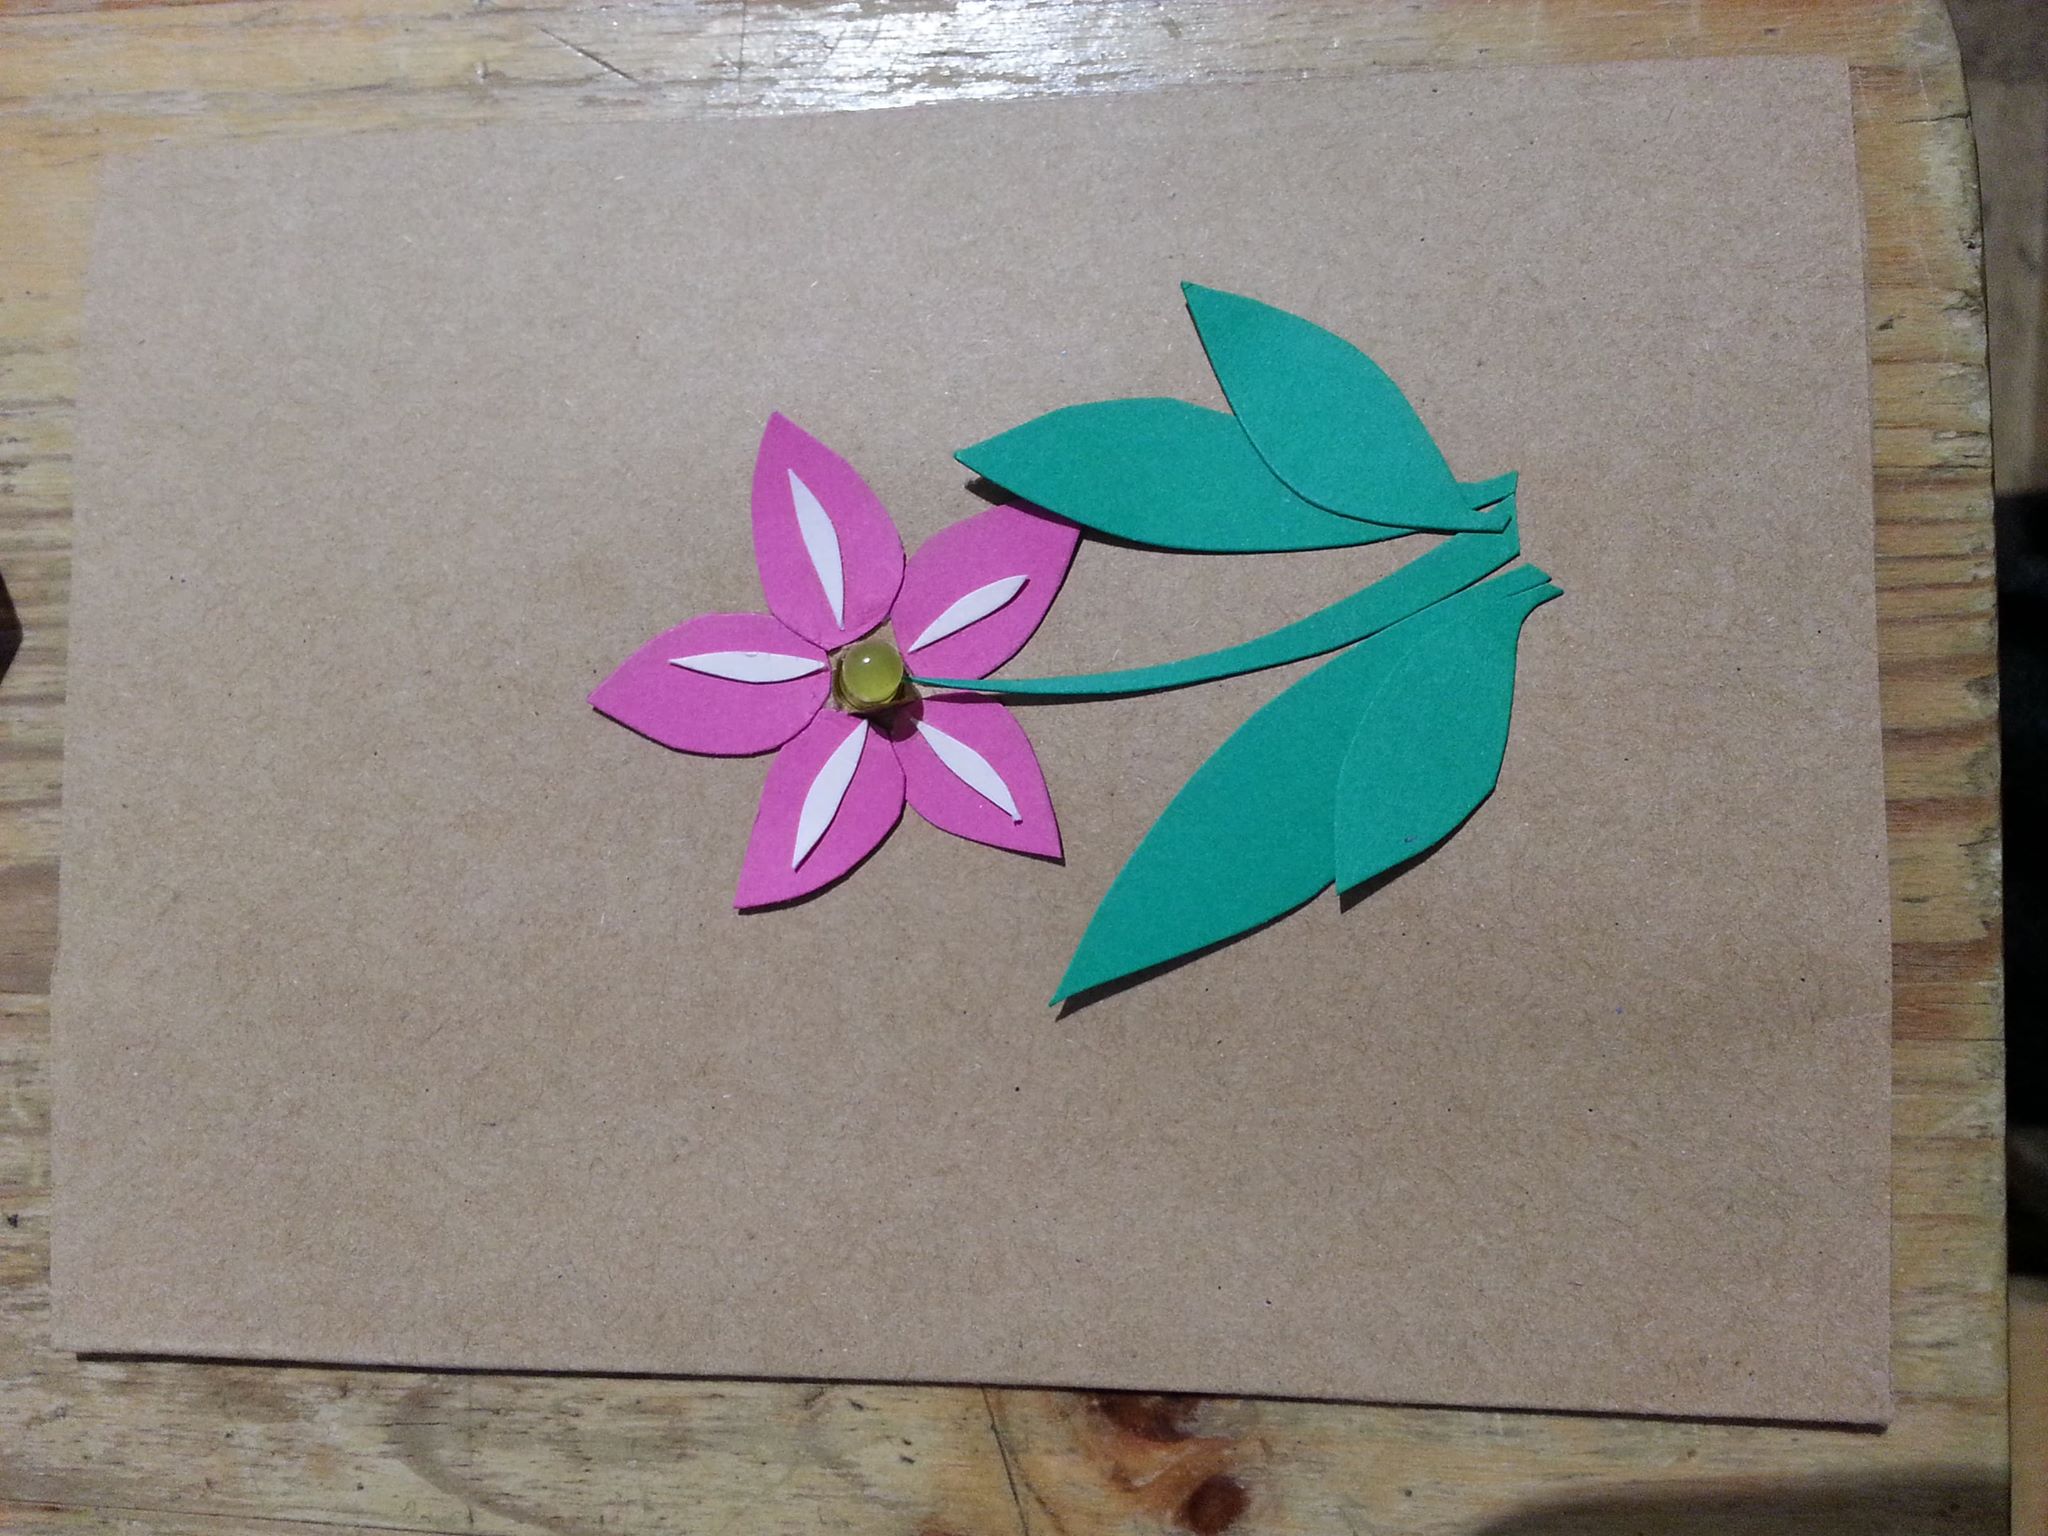
When your electicity circle is ready, and you have tested that everything
runs smooth, your battery is connecting without a problem, then the best
part starts which is to decorate the electronics somehow so it looks nice.
For an example I will show you my end result. It took me a few minutes.
If you have time, you can create something cool and original!
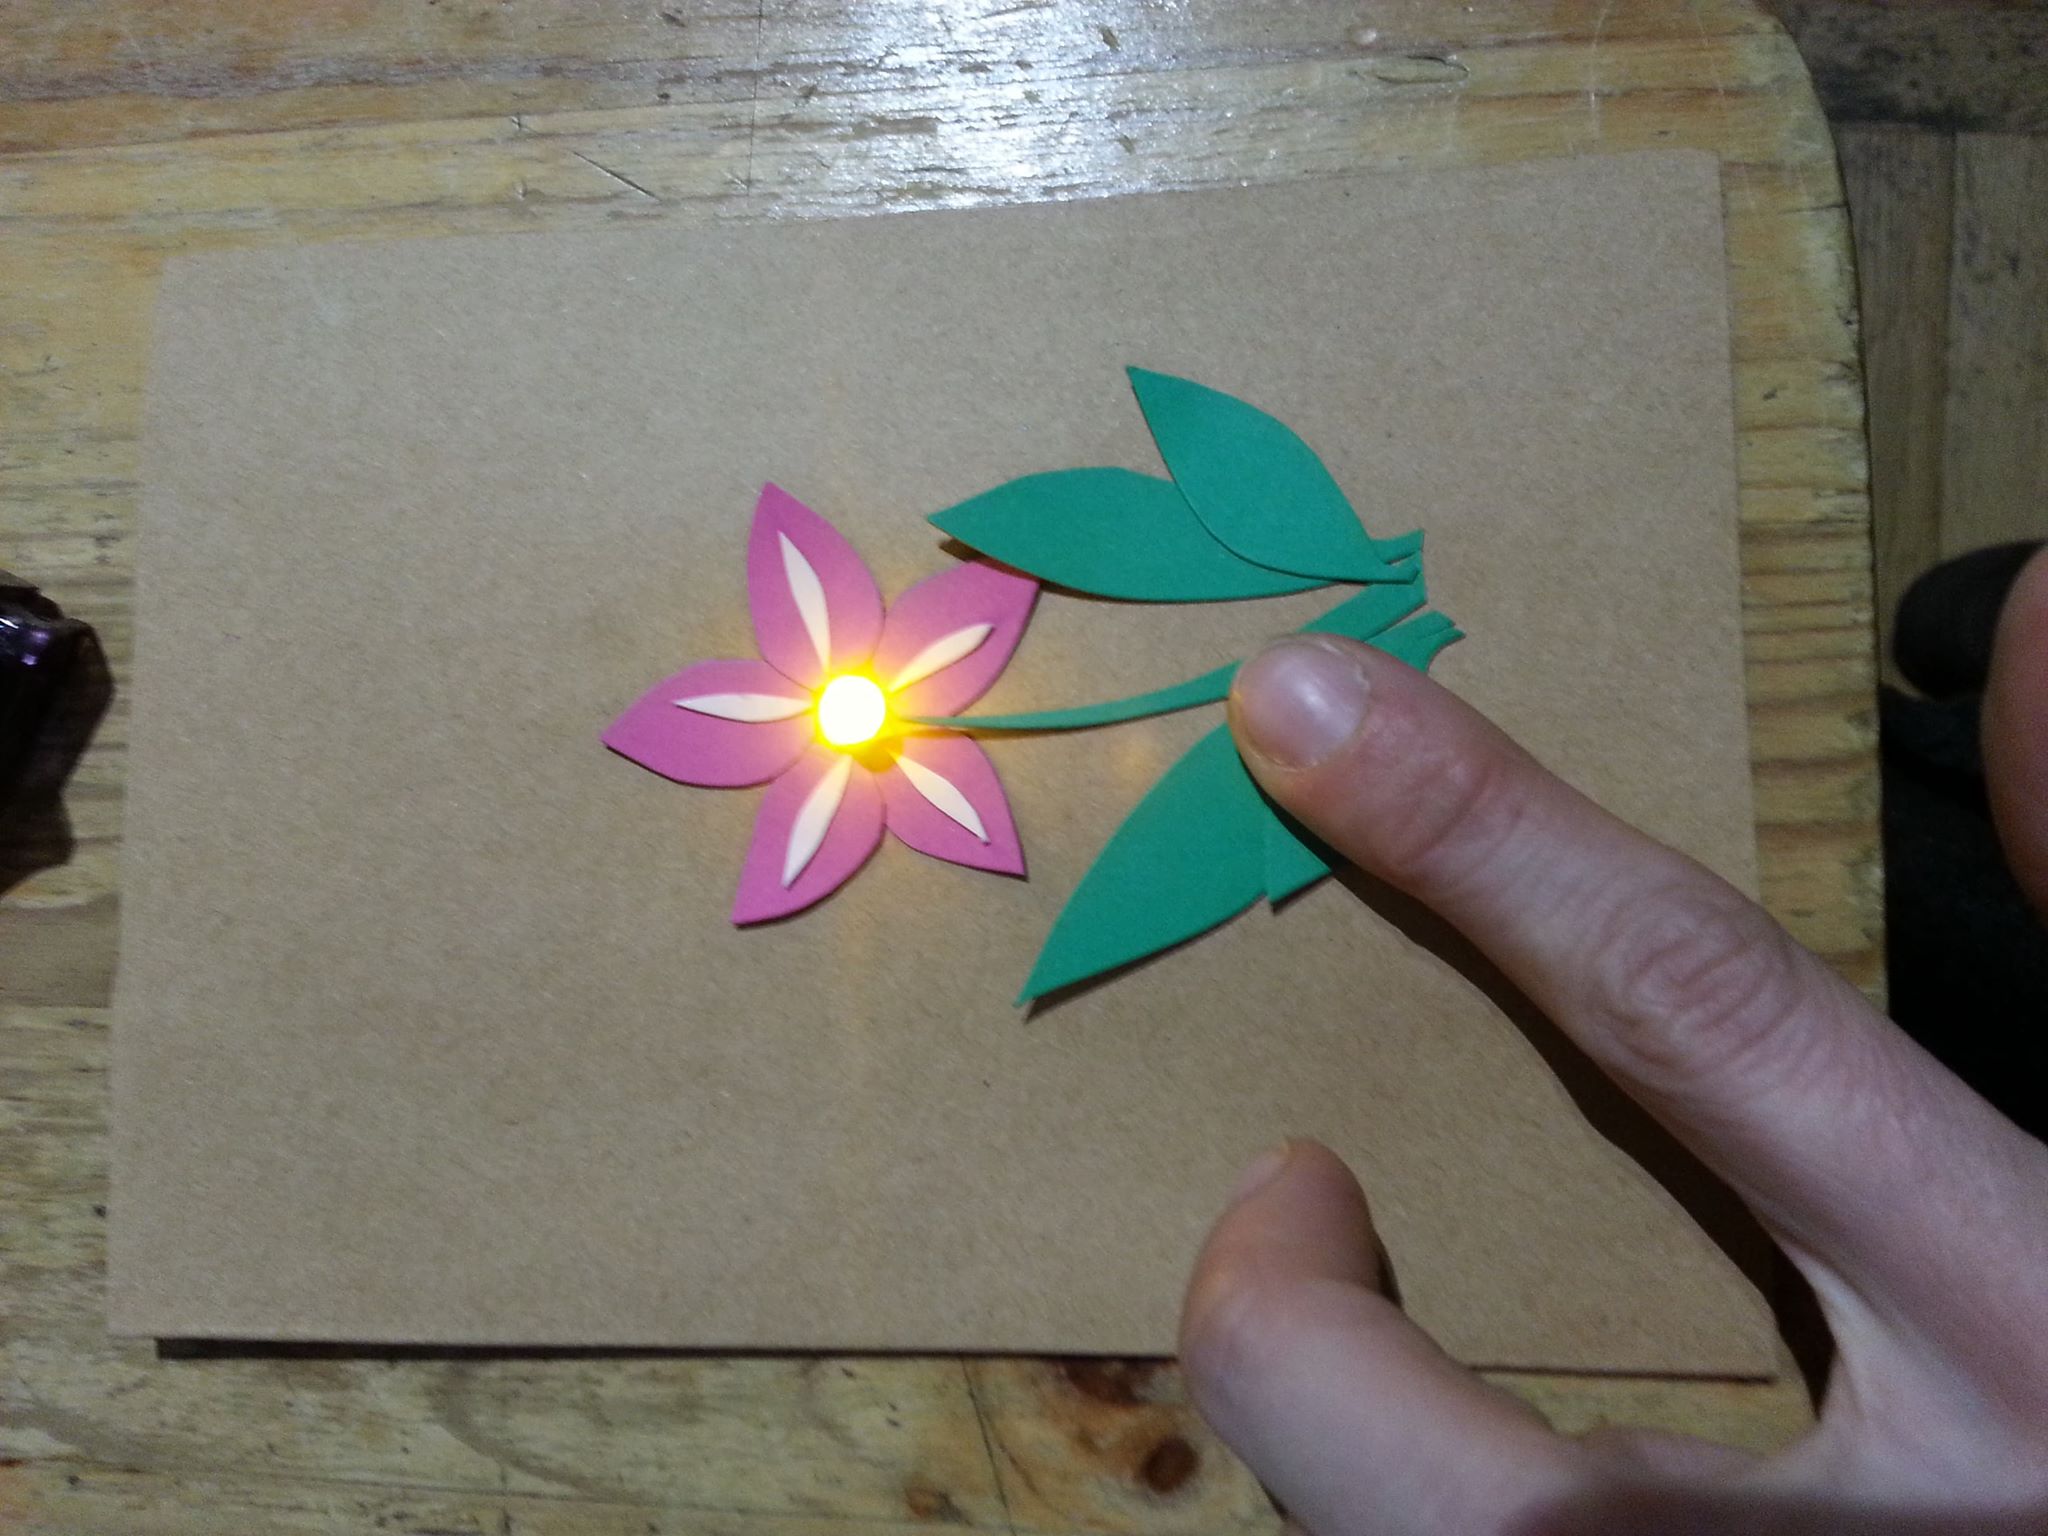
Even if the decoration is a bit simple it still looks so eye catching
because of the light. I have created a cellebration card. The electronic circle
is attached to the front side of the card and then covered with the same paper.
FabLab Kamp-Lintfort, Ms. Adriana Cabrera, Soft Prototyping
‹ ›